Skip to content

The Strawdio

A straw bale studio

    • Home
    • About
    • Blog
    • Gallery
    • Internals
    • Subscribe
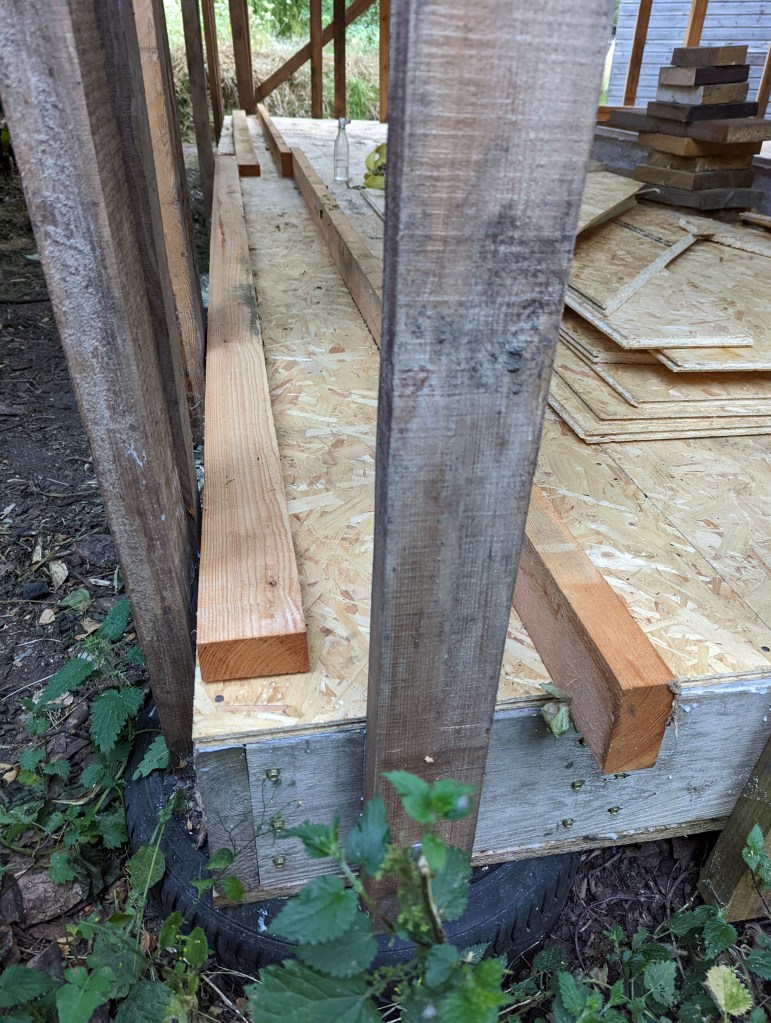
  • Boarding the base plate

    July 21st, 2022

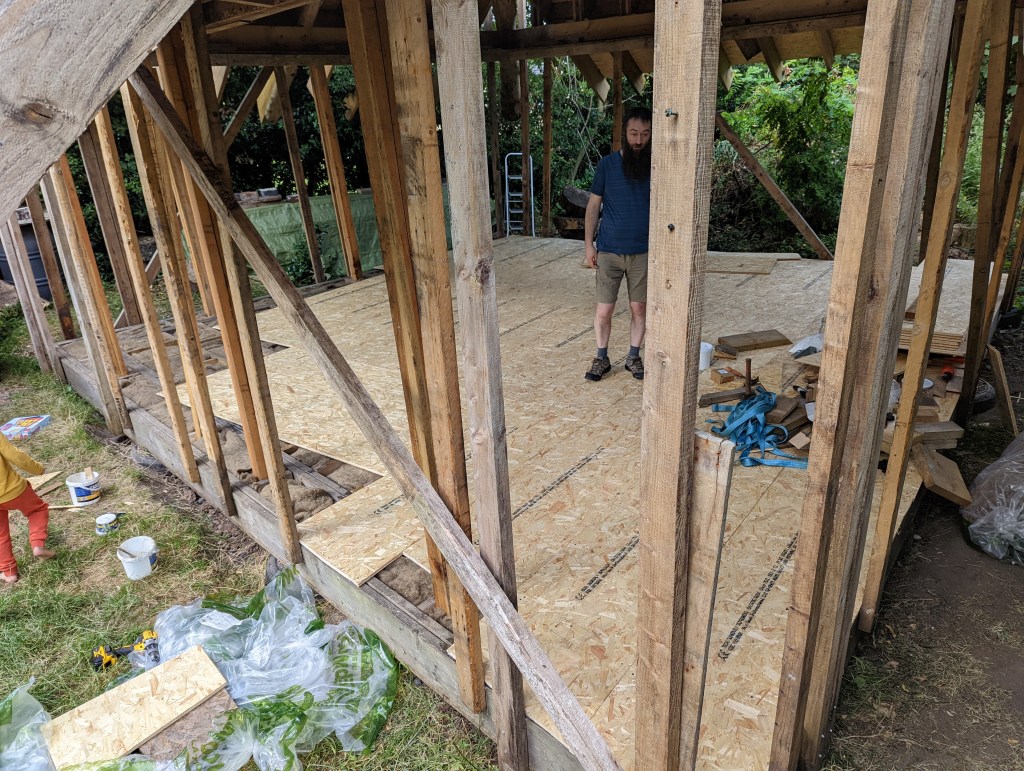
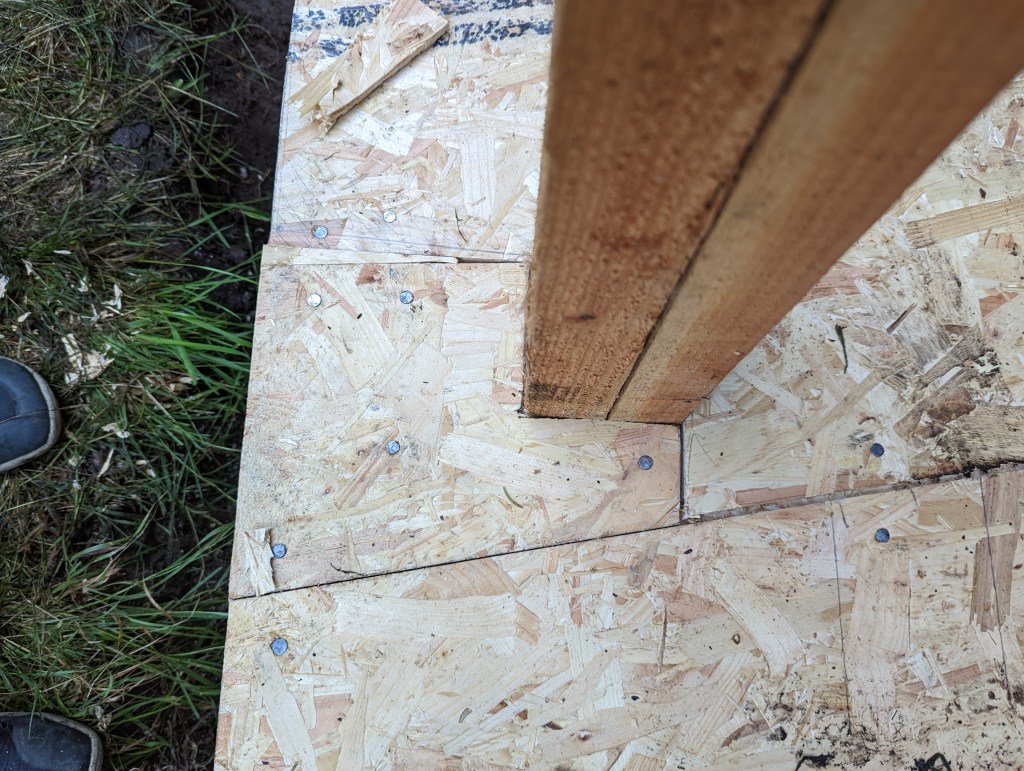
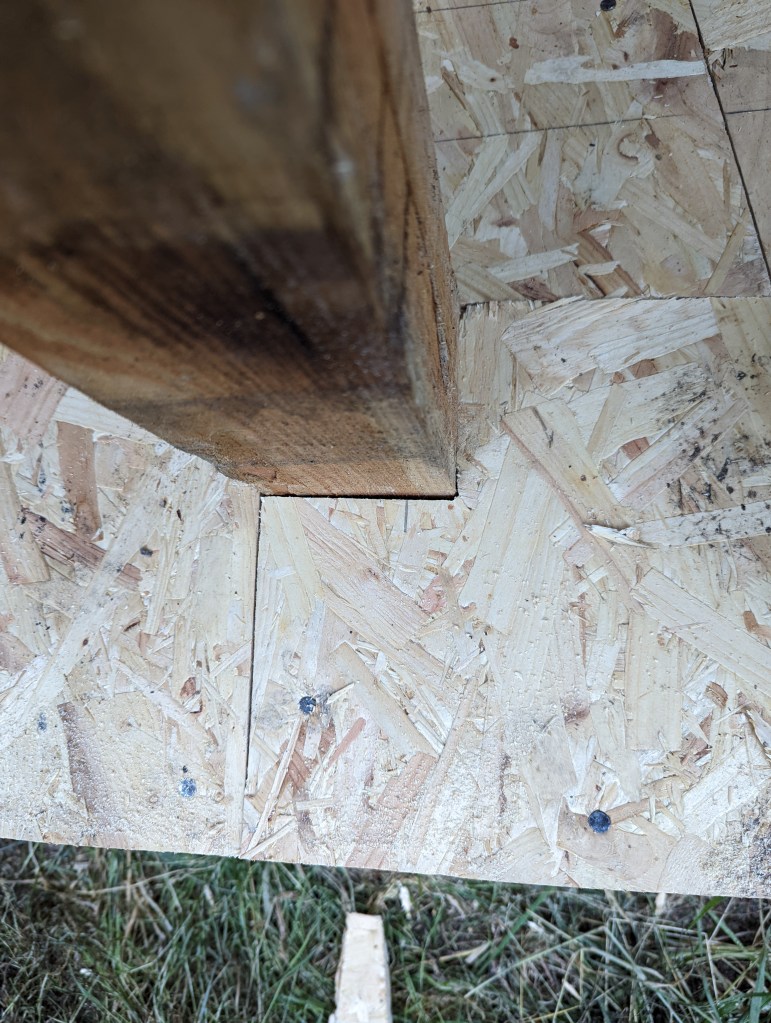
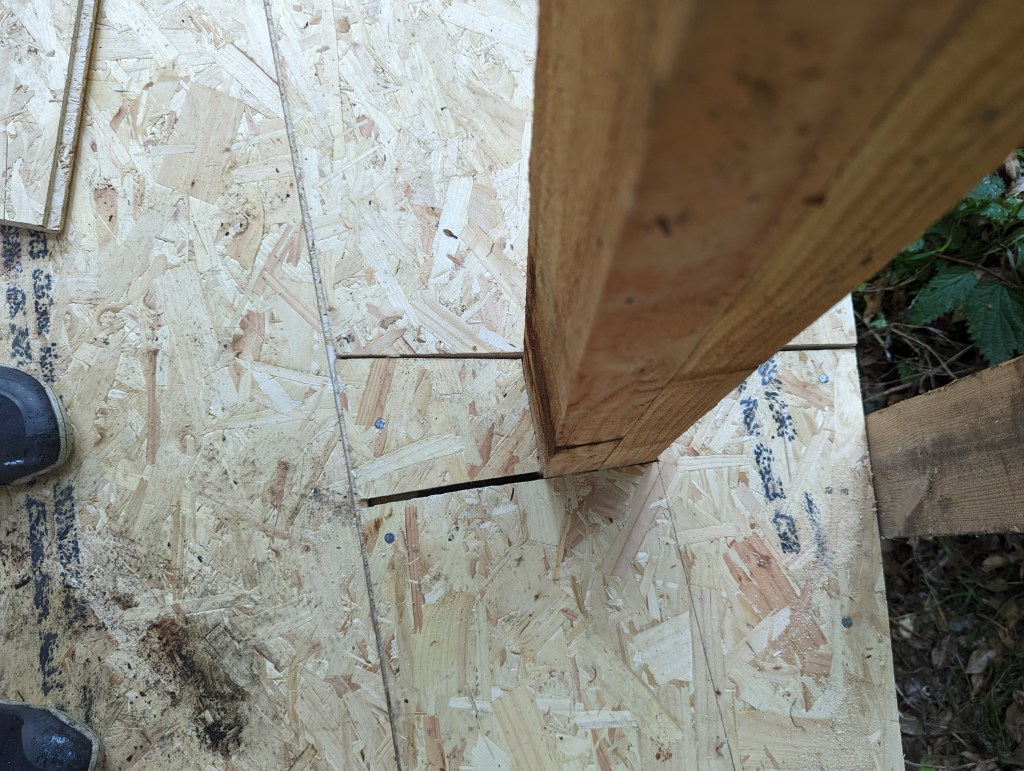
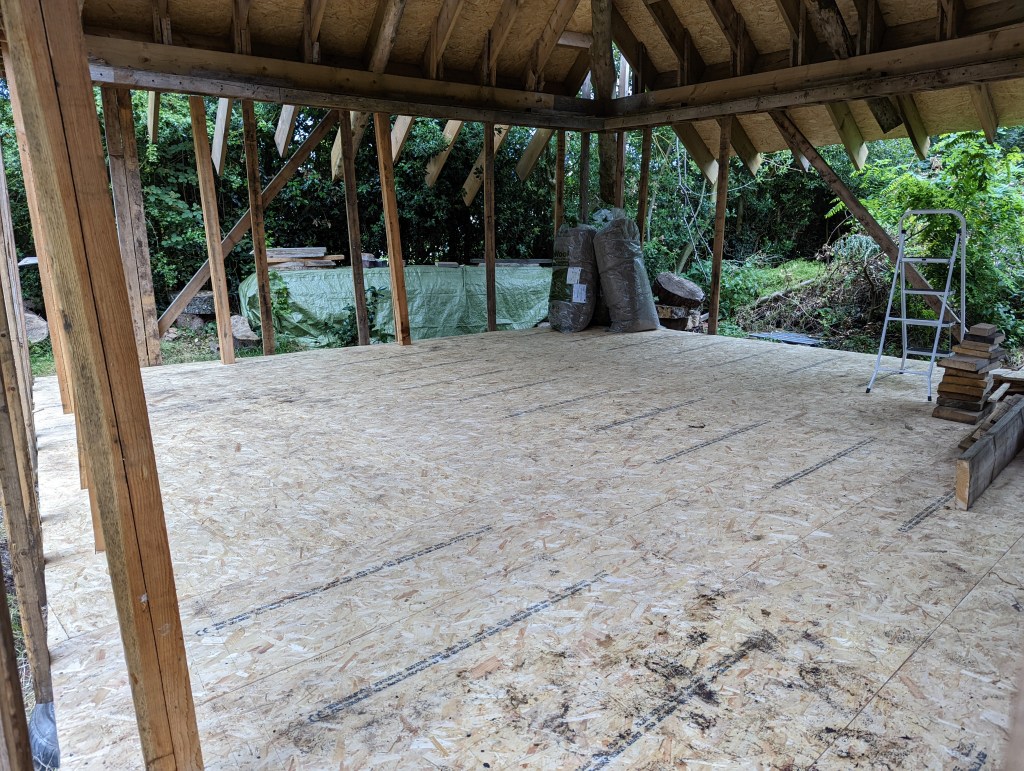
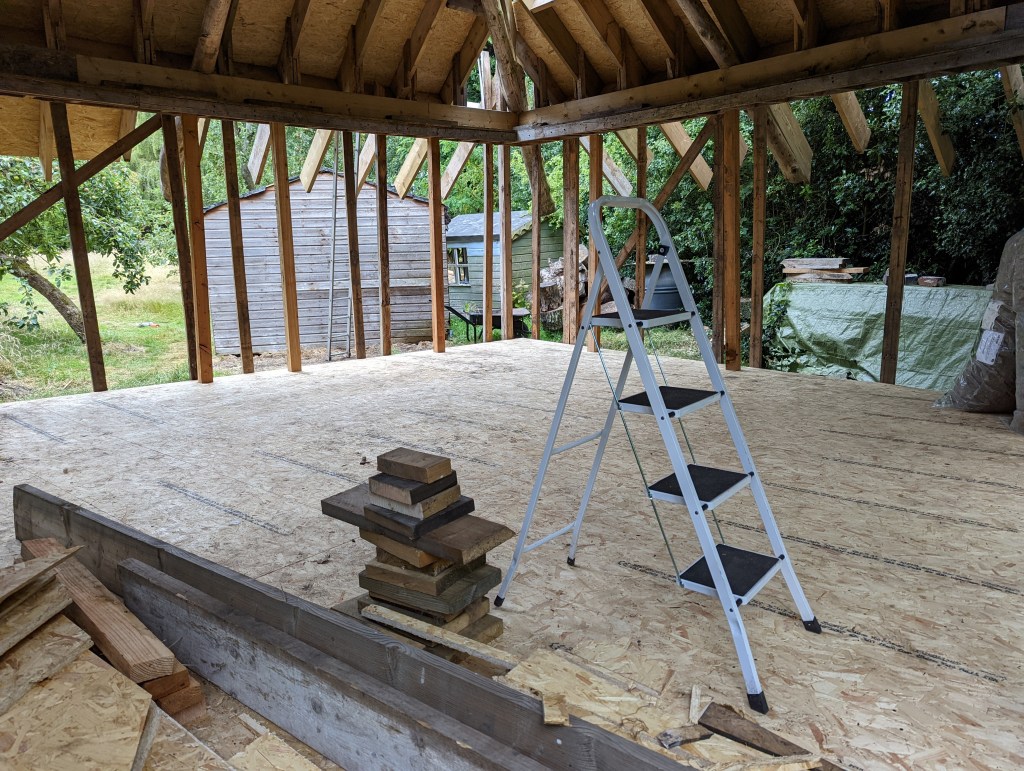
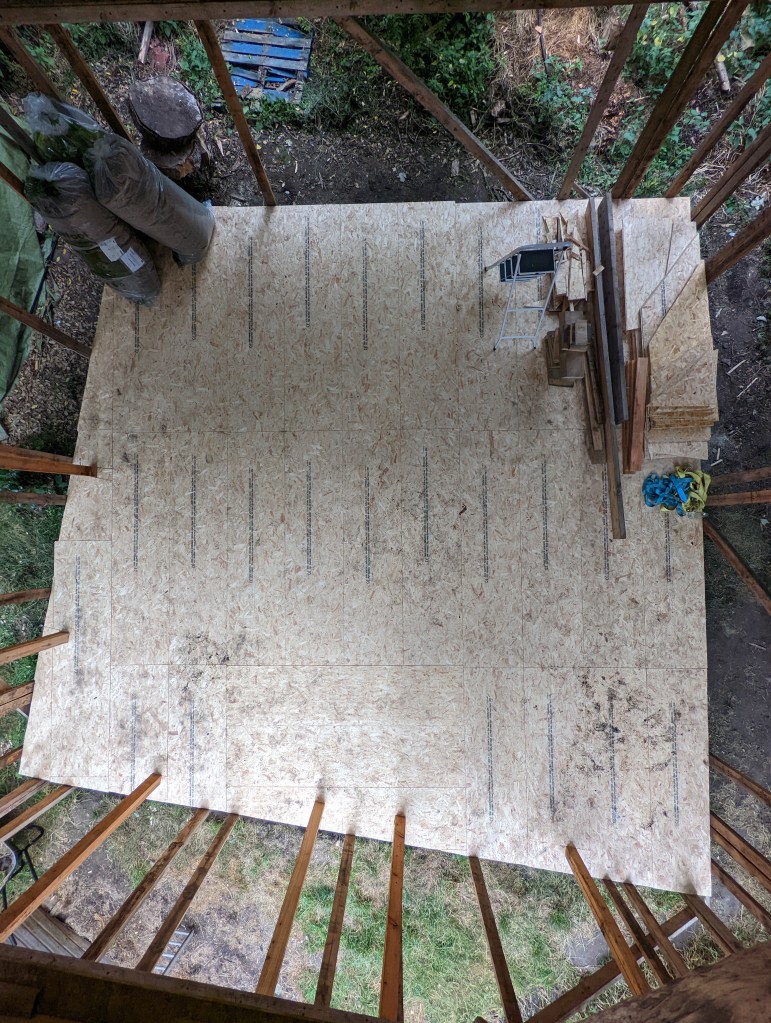
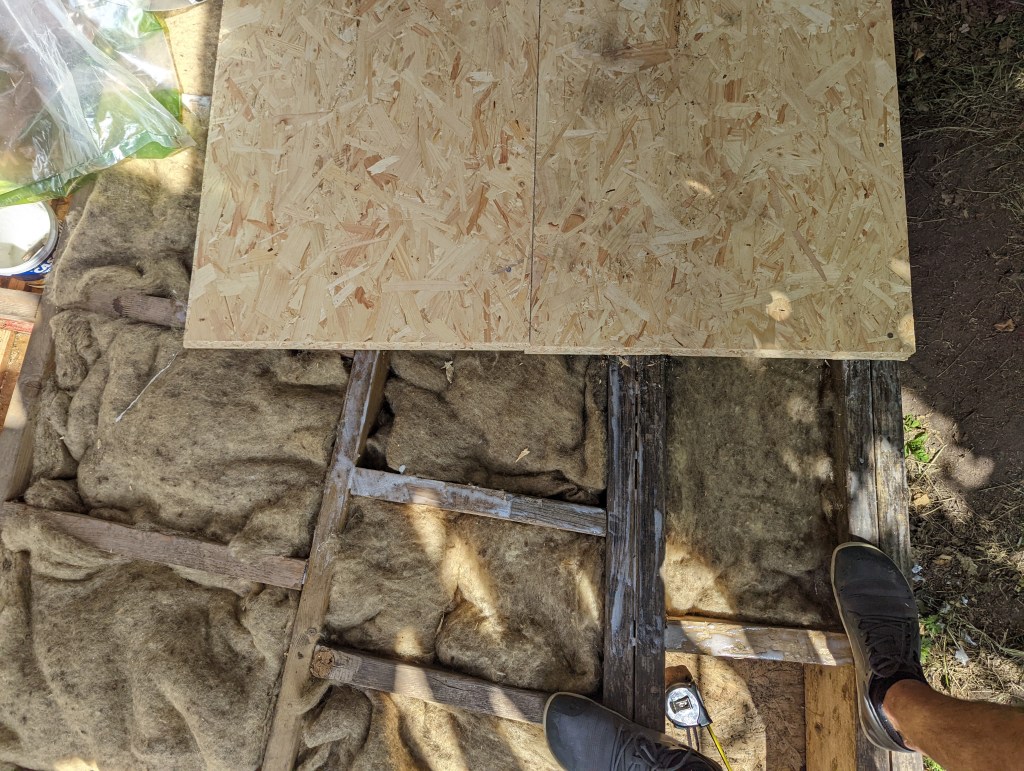
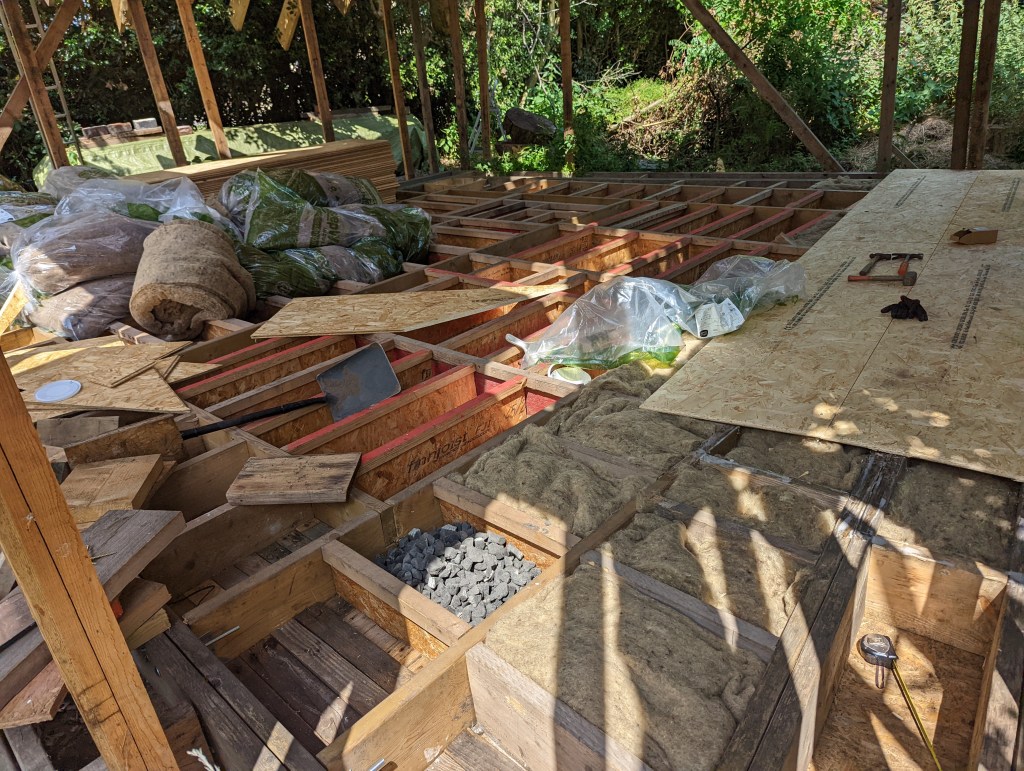
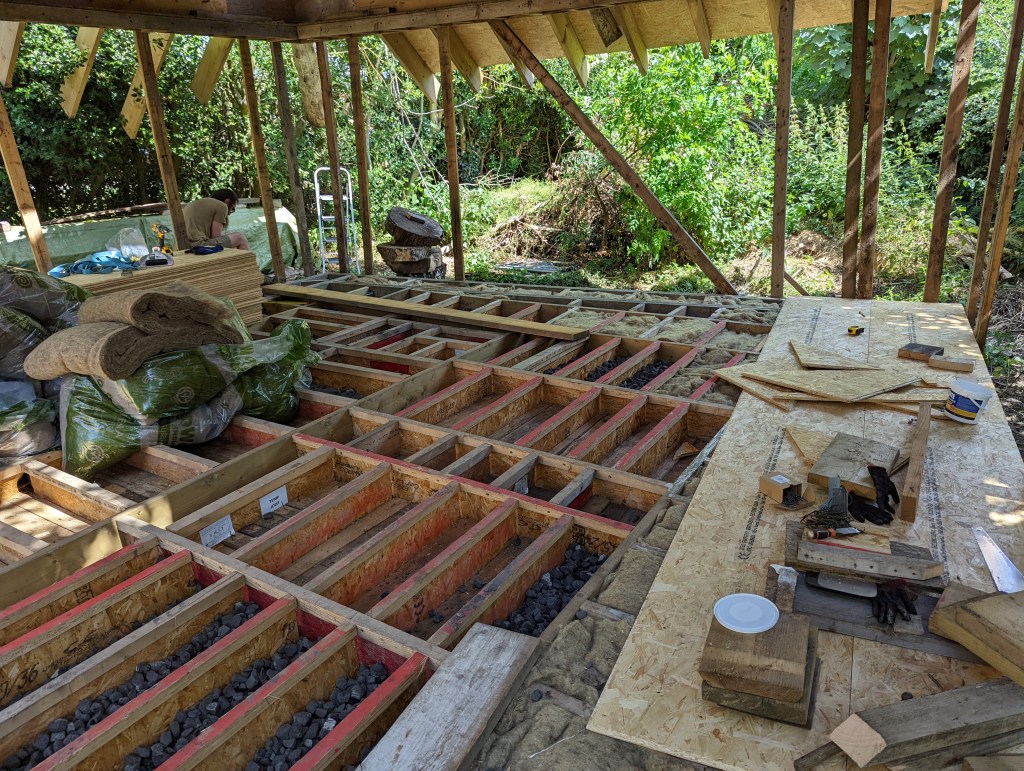
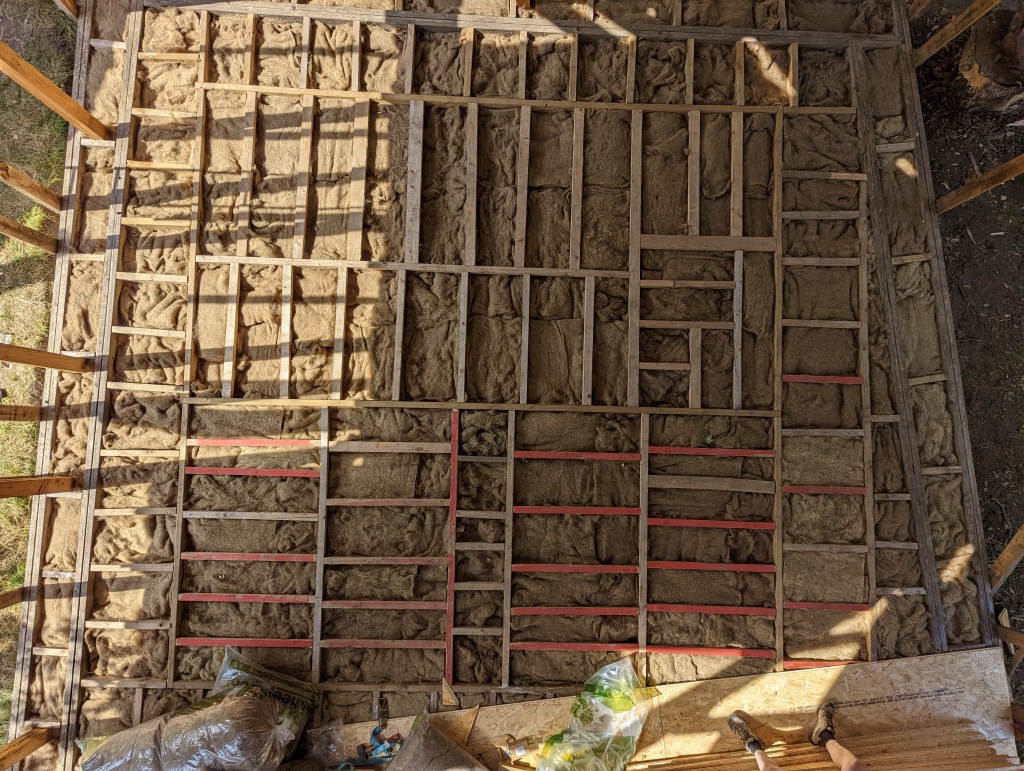
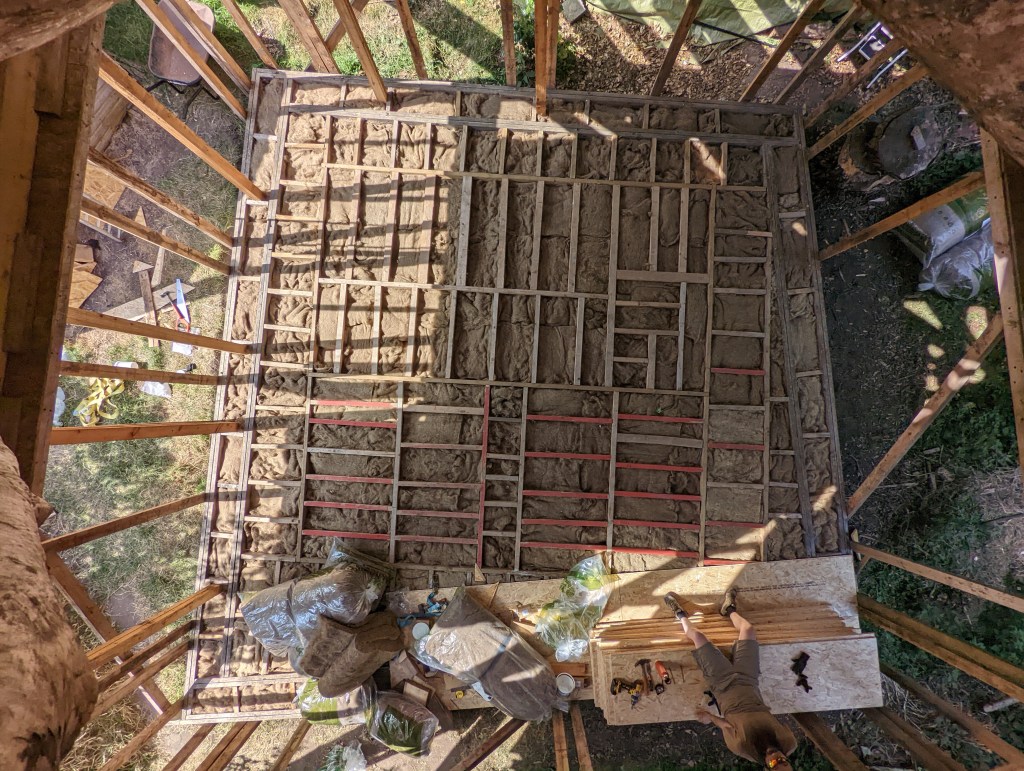
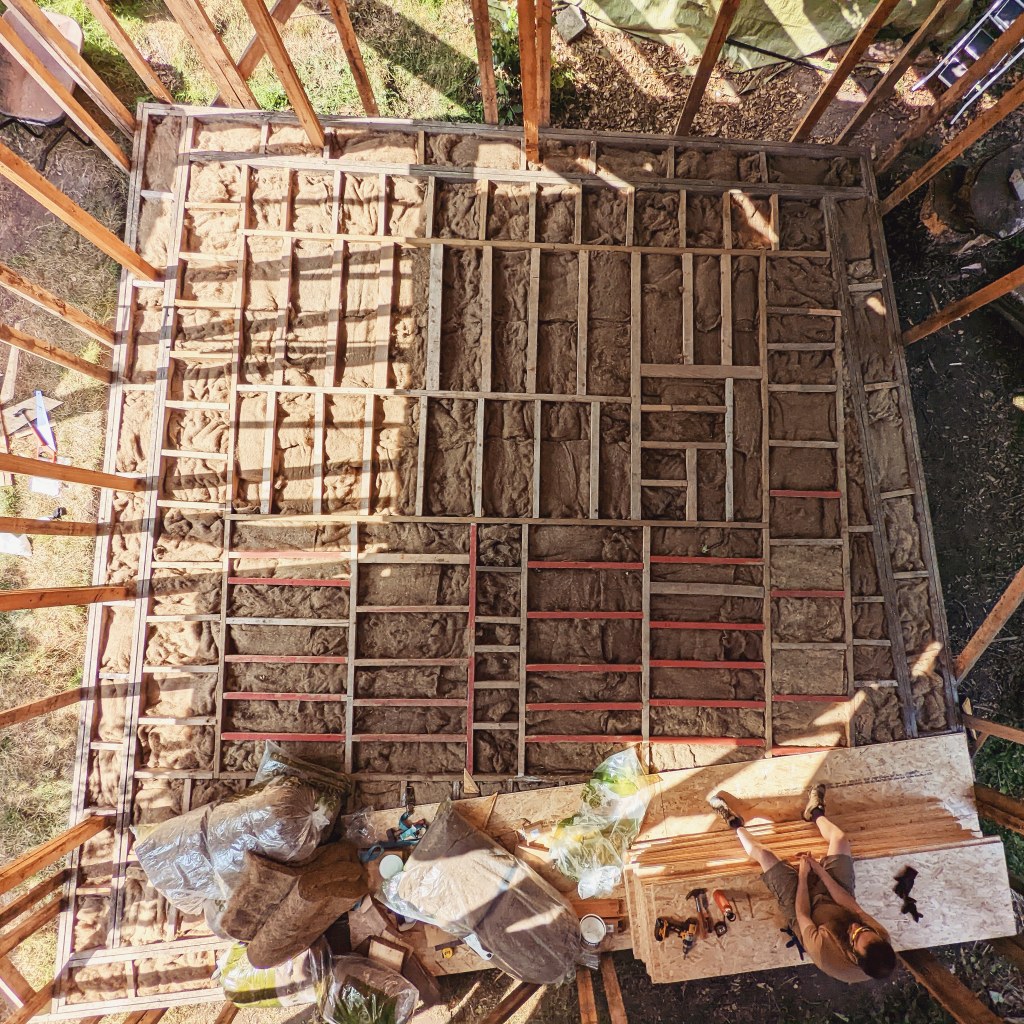
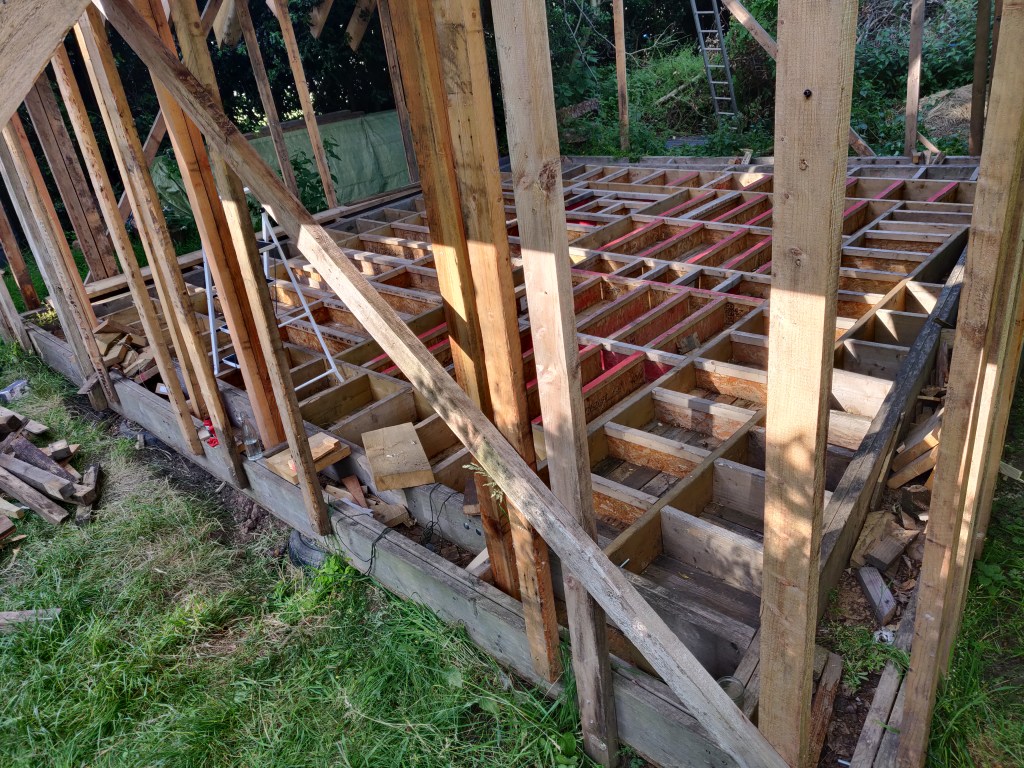
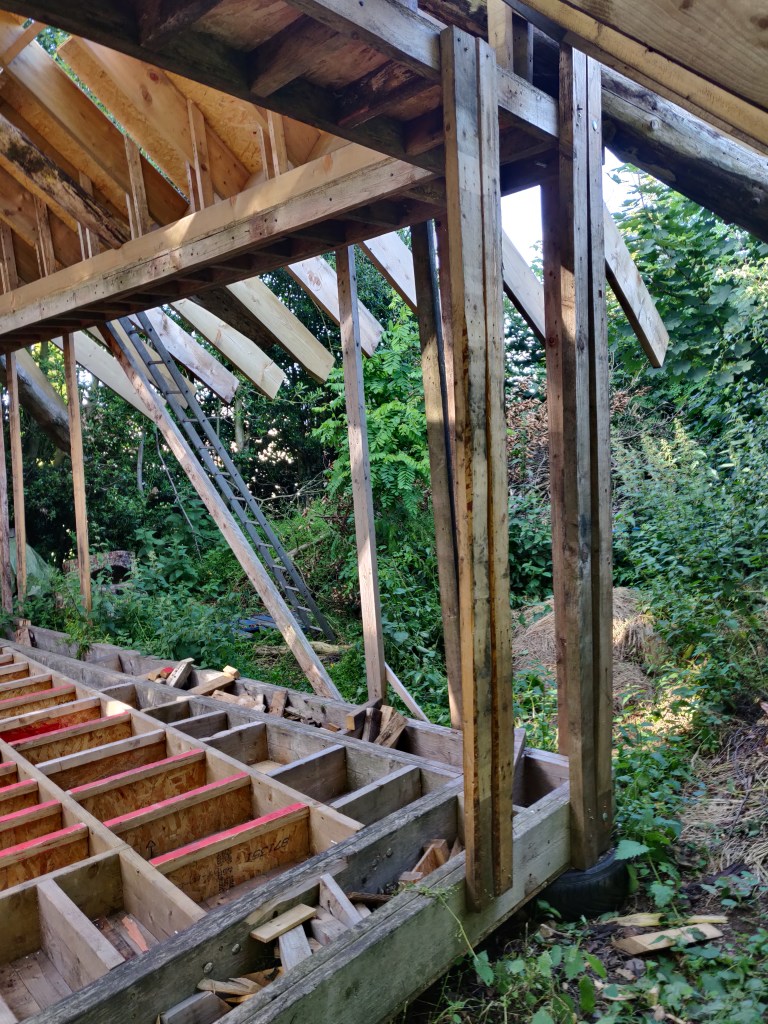
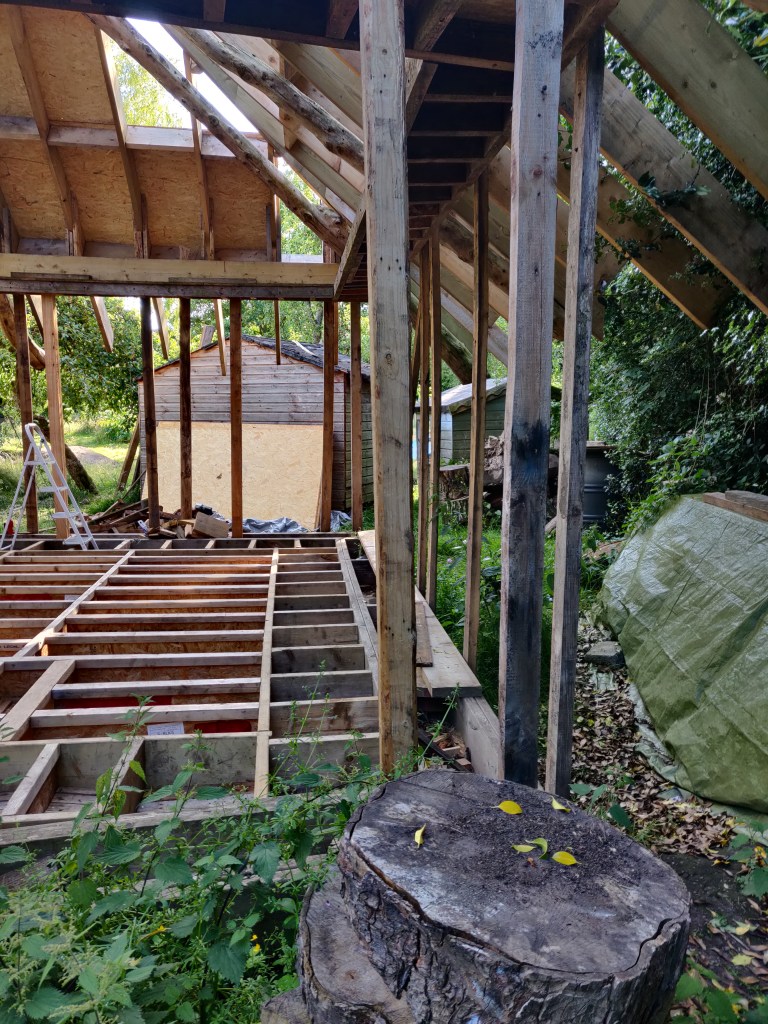
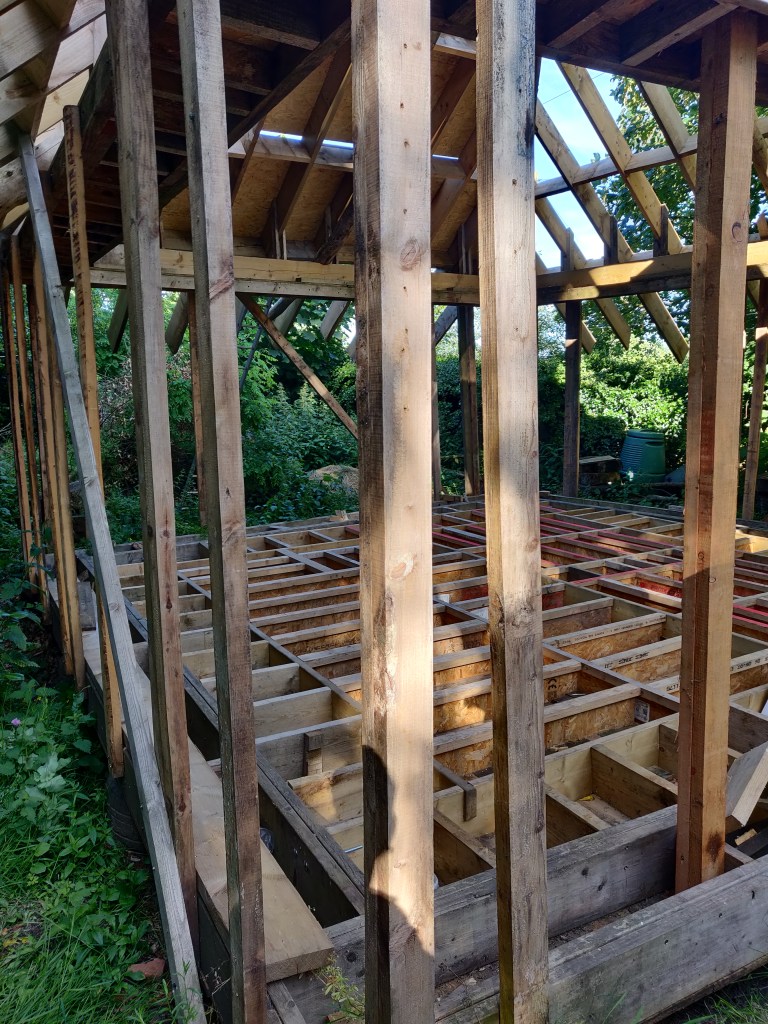
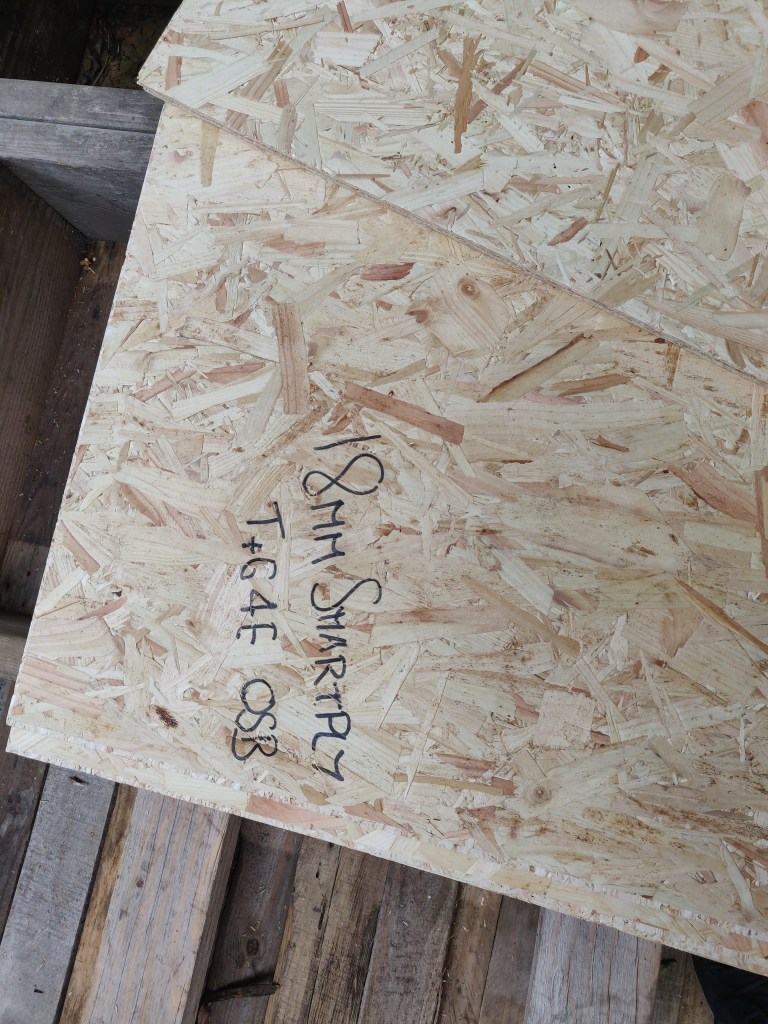
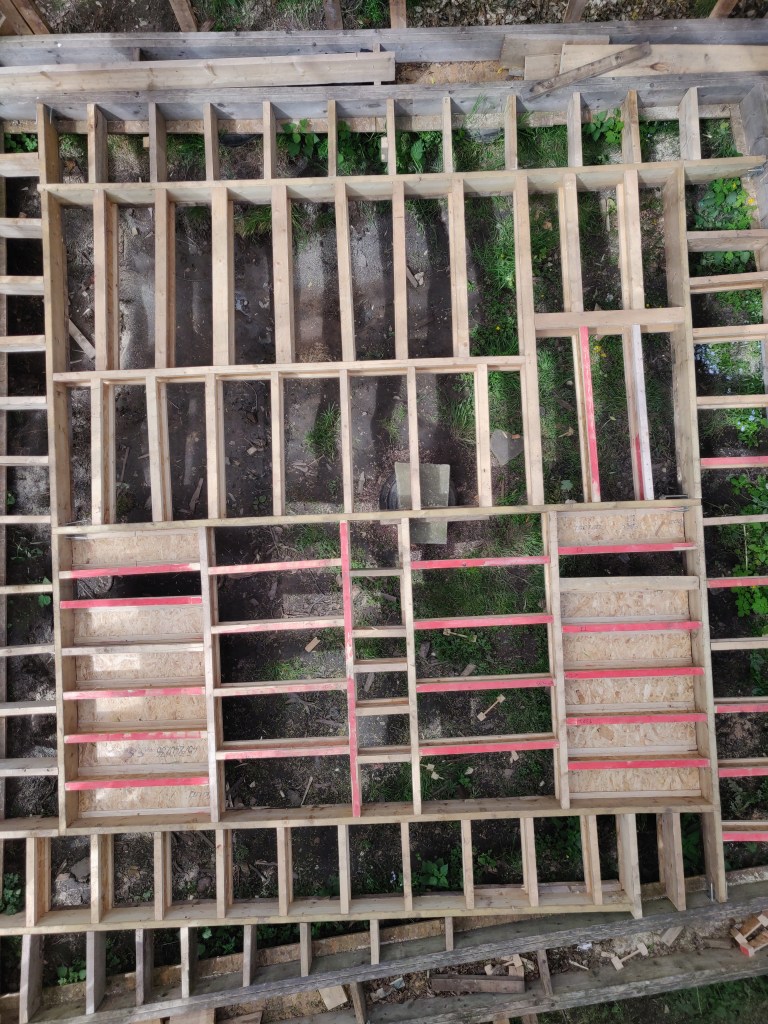
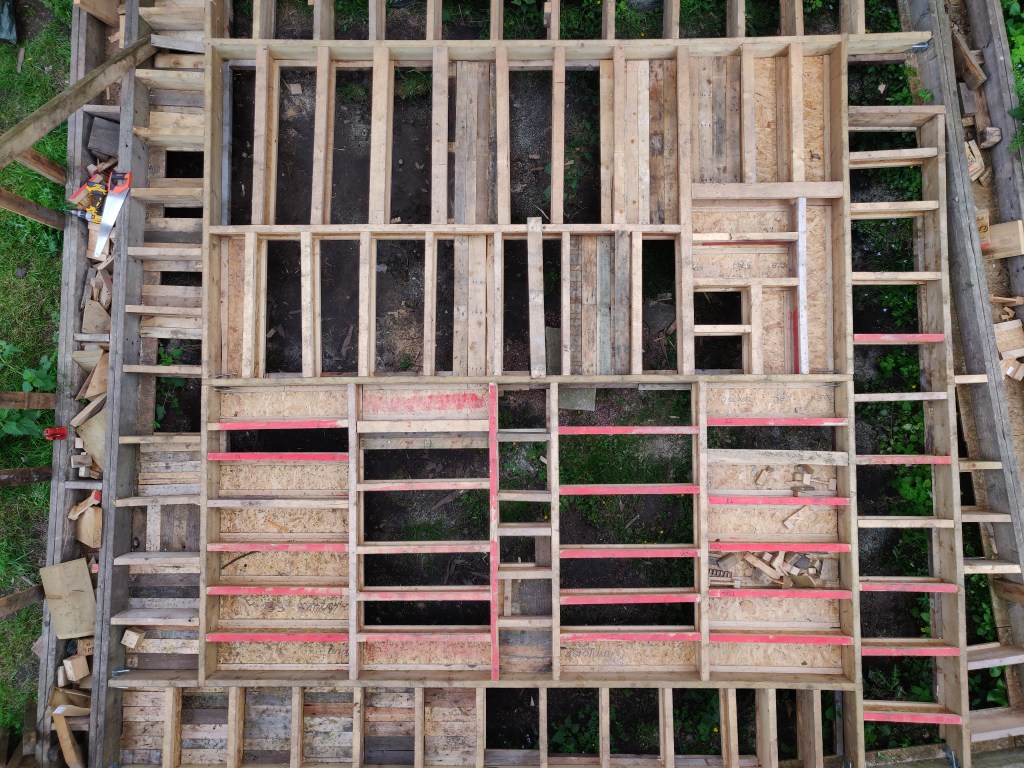
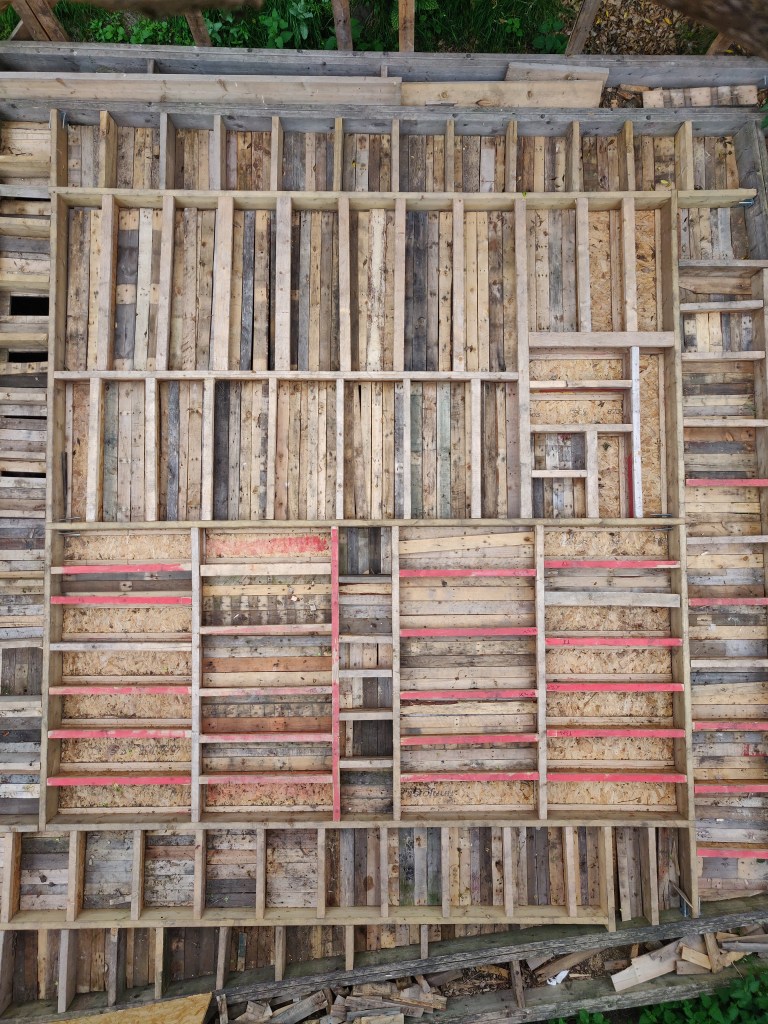
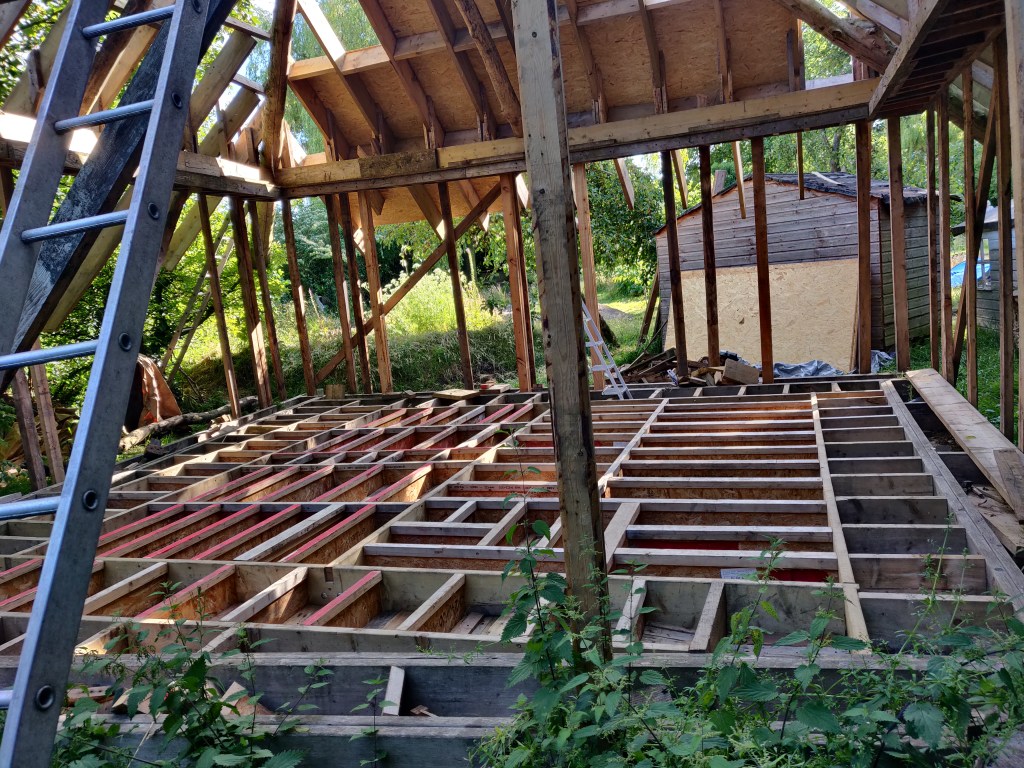
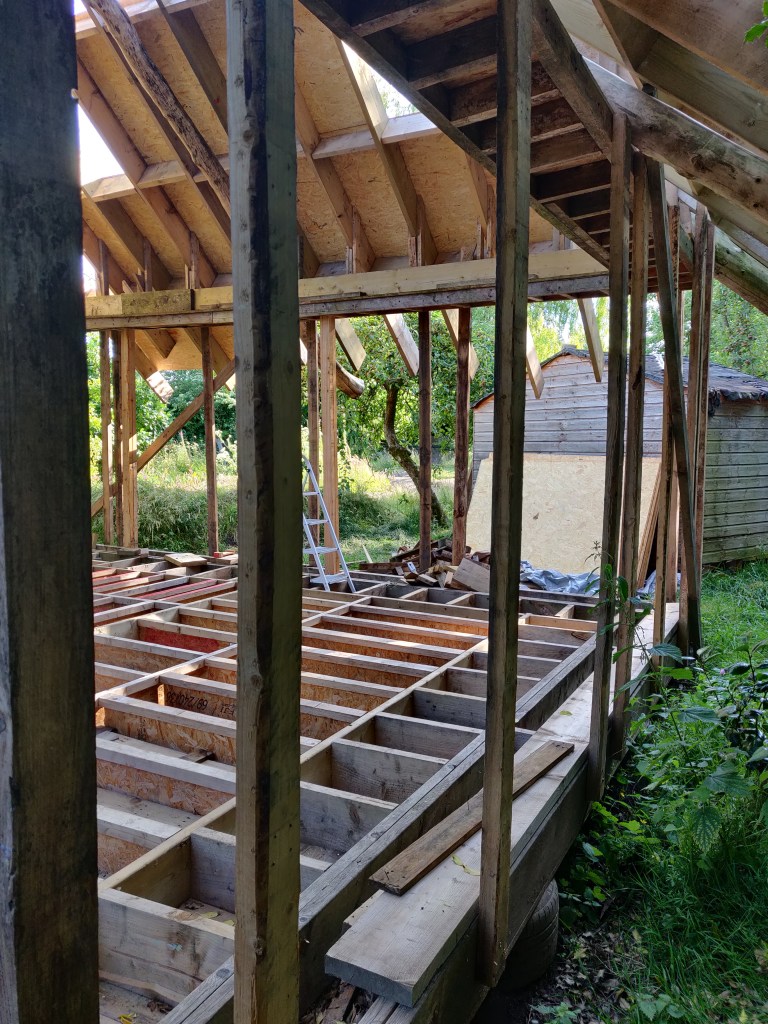
    The base plate and floor was boarded over with 18mm SmartPly OSB. The plans specified that the base plate was boarded, and the the floor done later, but the advantage to doing it this way is that you get a continuous run of boards so a much more airtight floor.

    Thanks to Andy for all the help with this. We did this on probably the hottest day of 2022.

  • Insulating The Floor

    July 18th, 2022

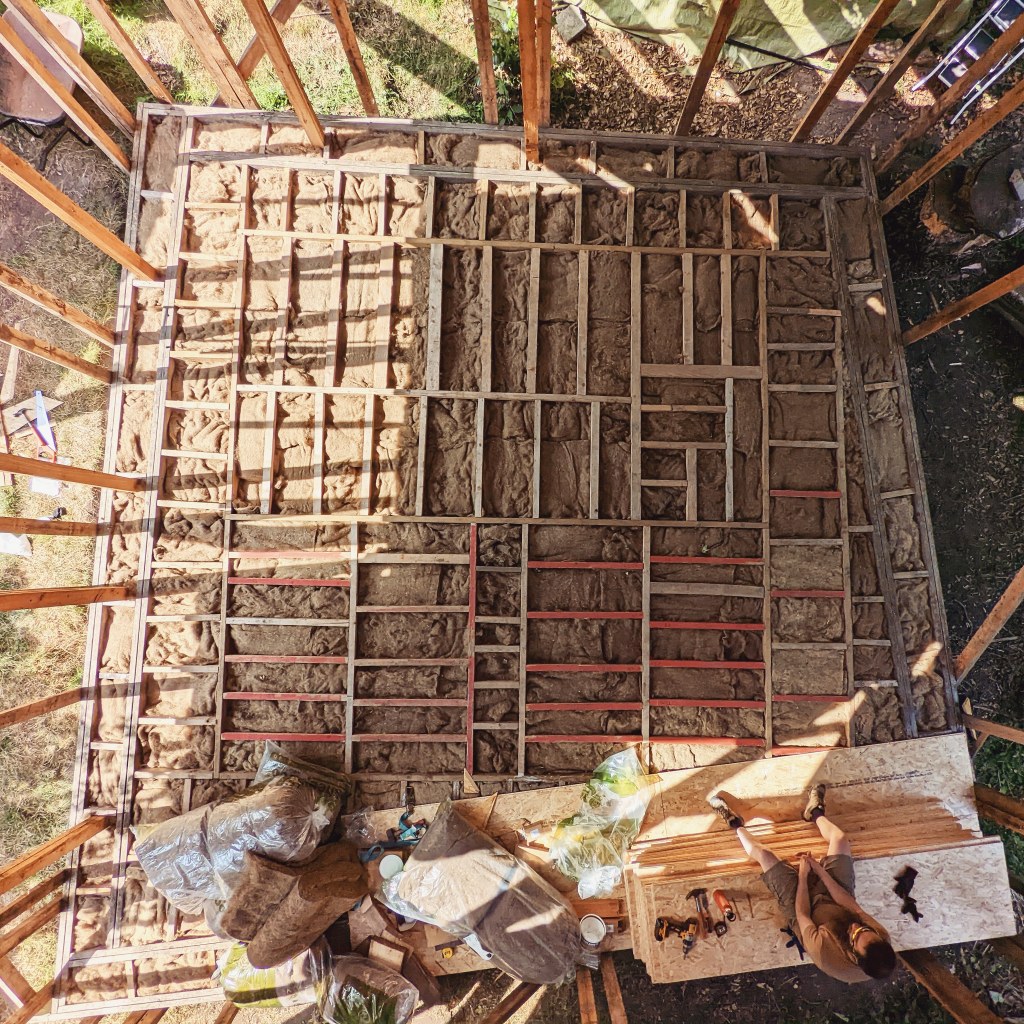
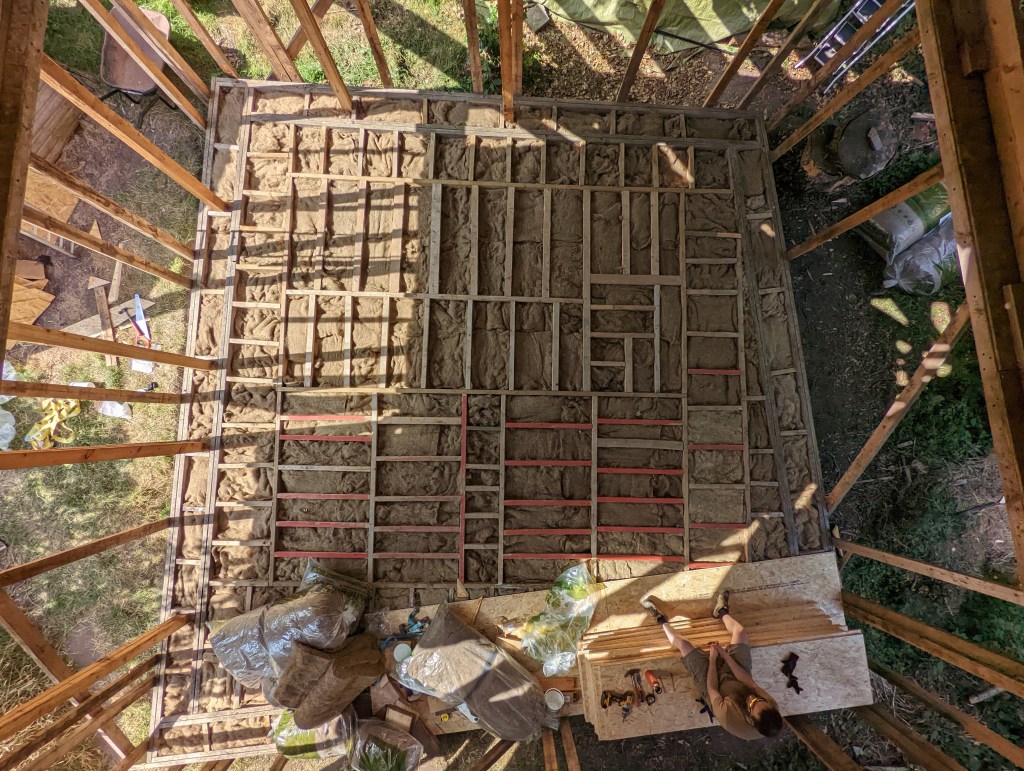
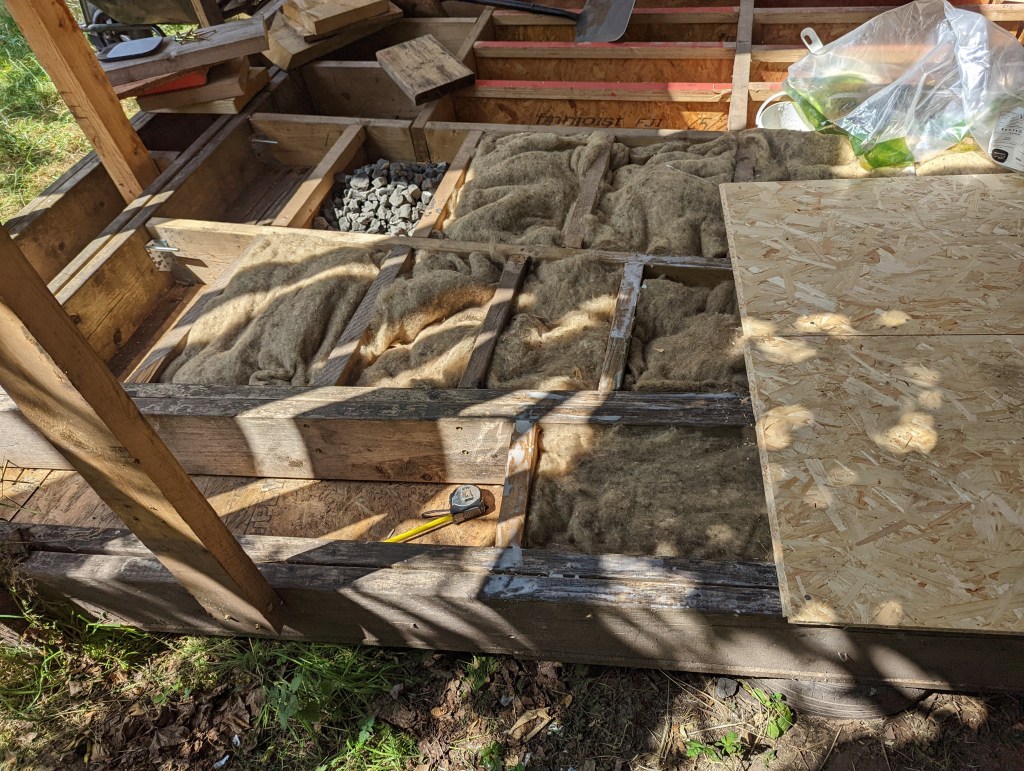
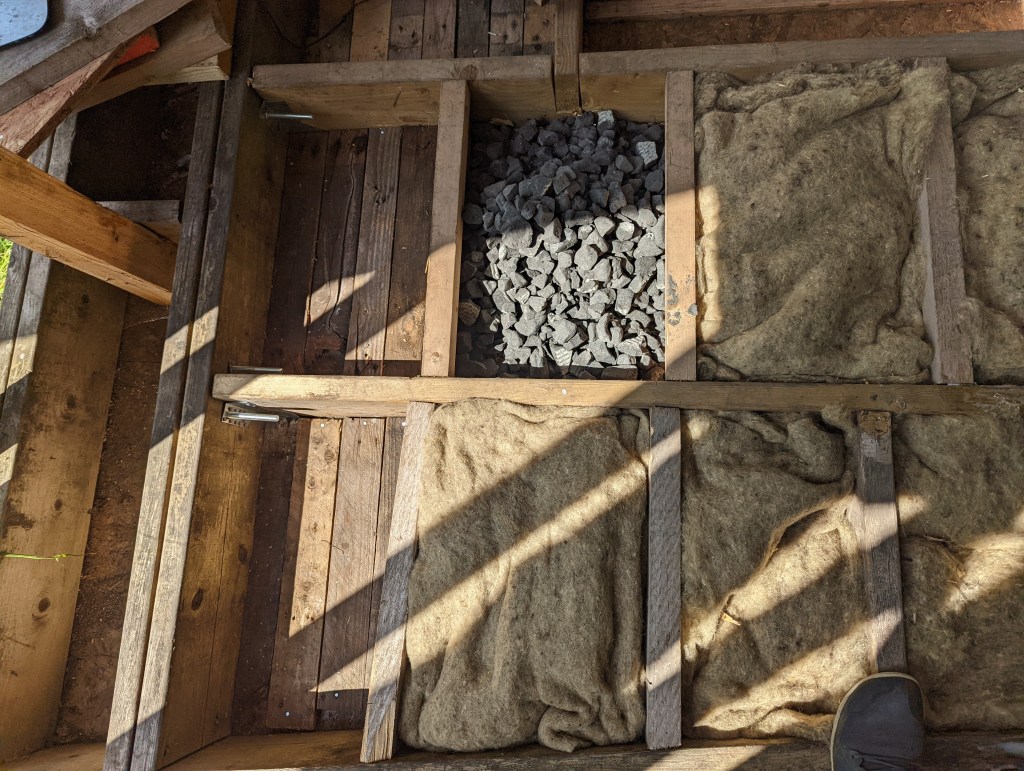
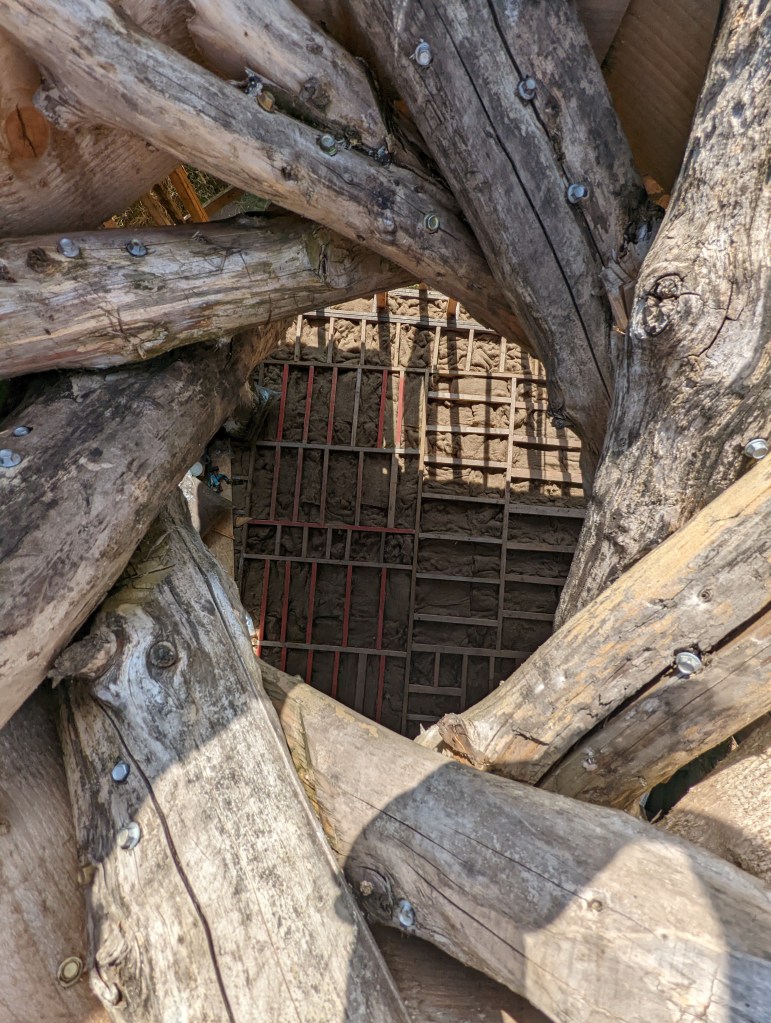
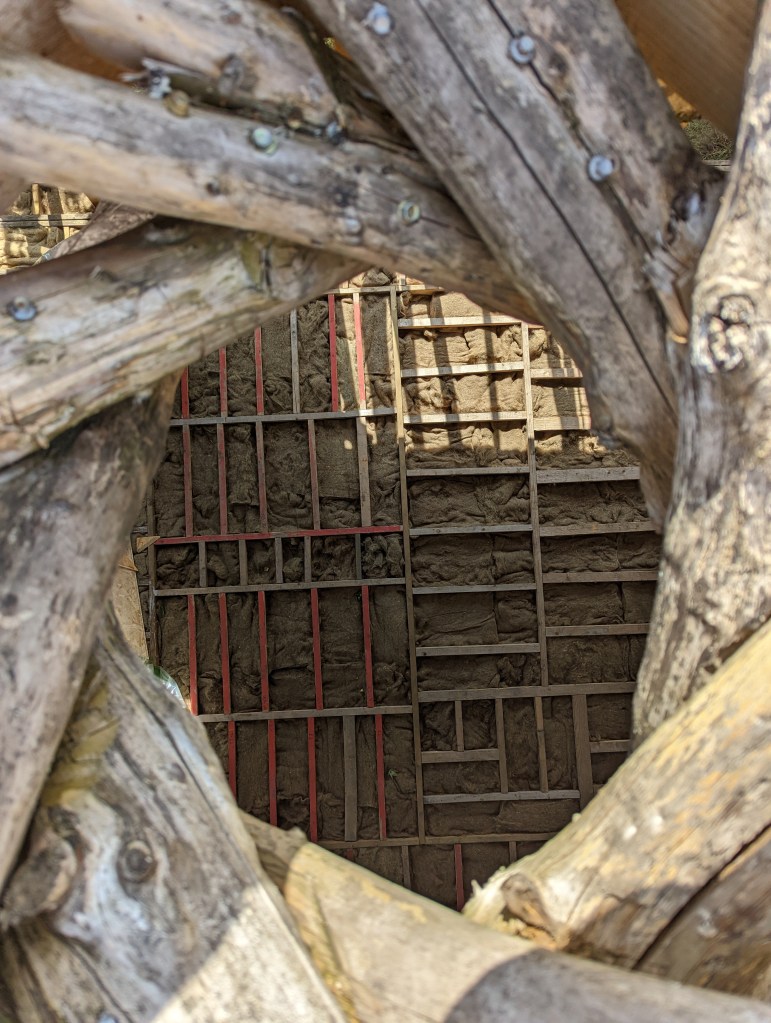
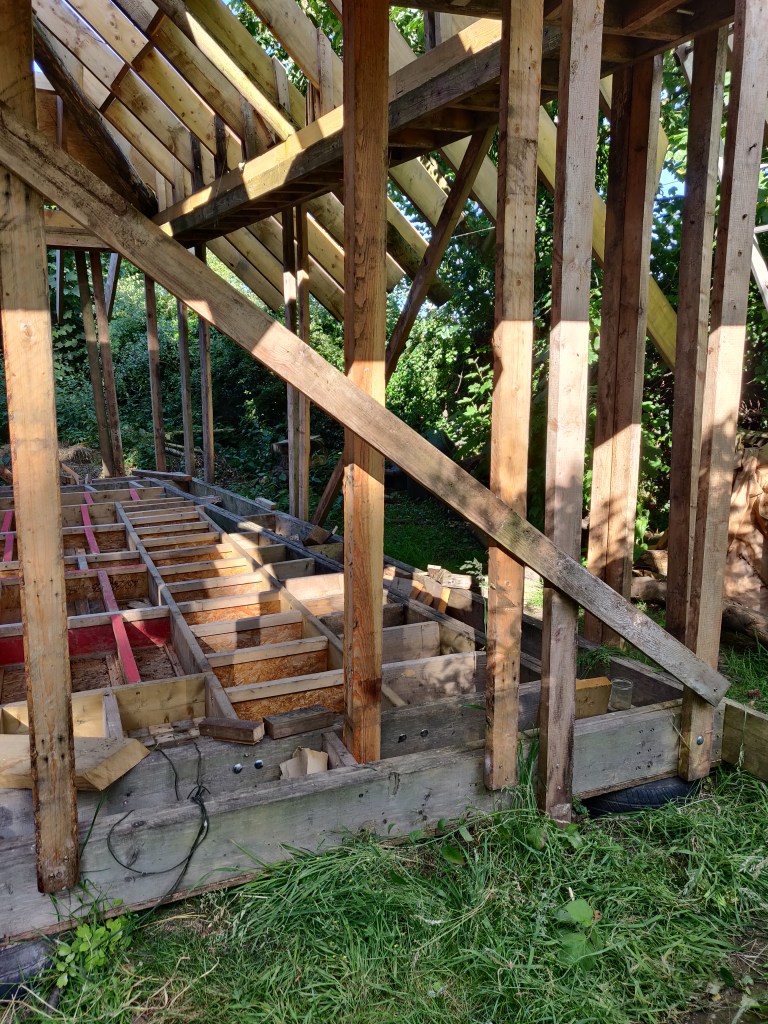
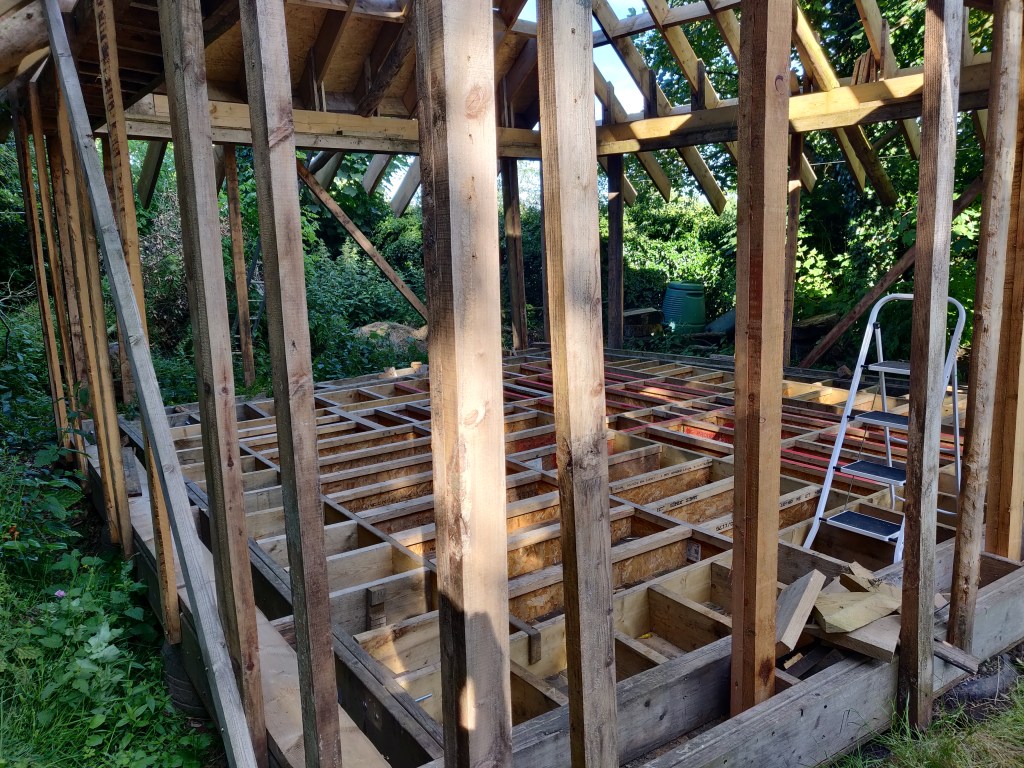
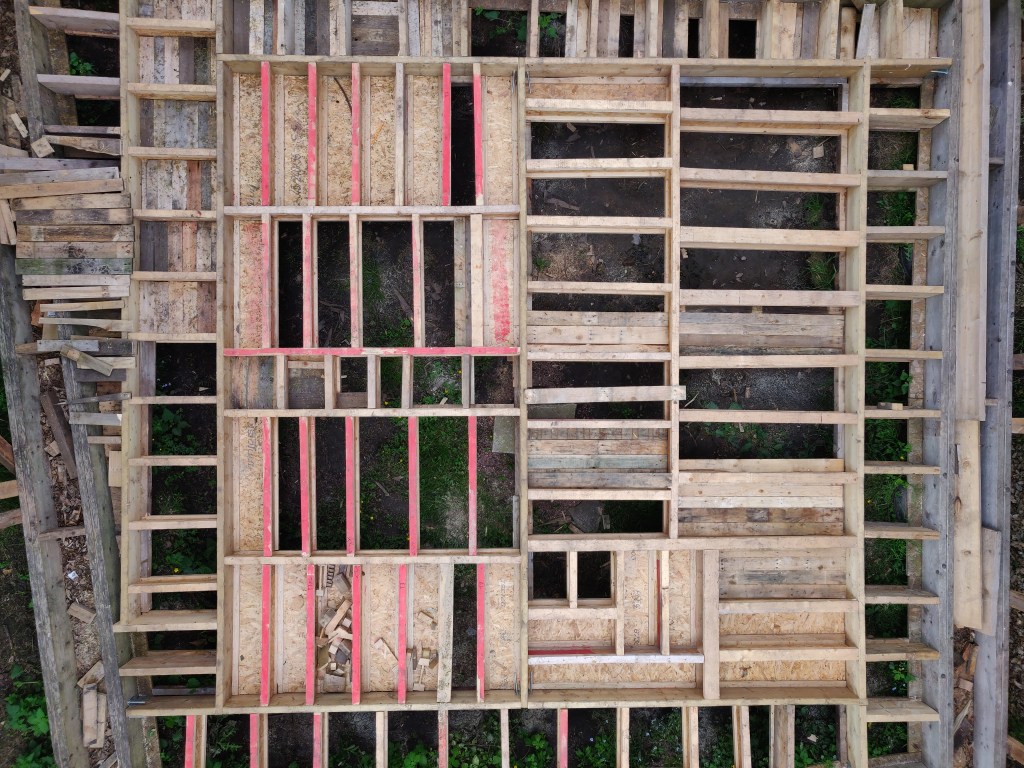
    The floor cavities were filled with FoamGlas chunks, and then a layer of sheep’s wool insulation.

  • Boarding The Roof

    July 8th, 2022

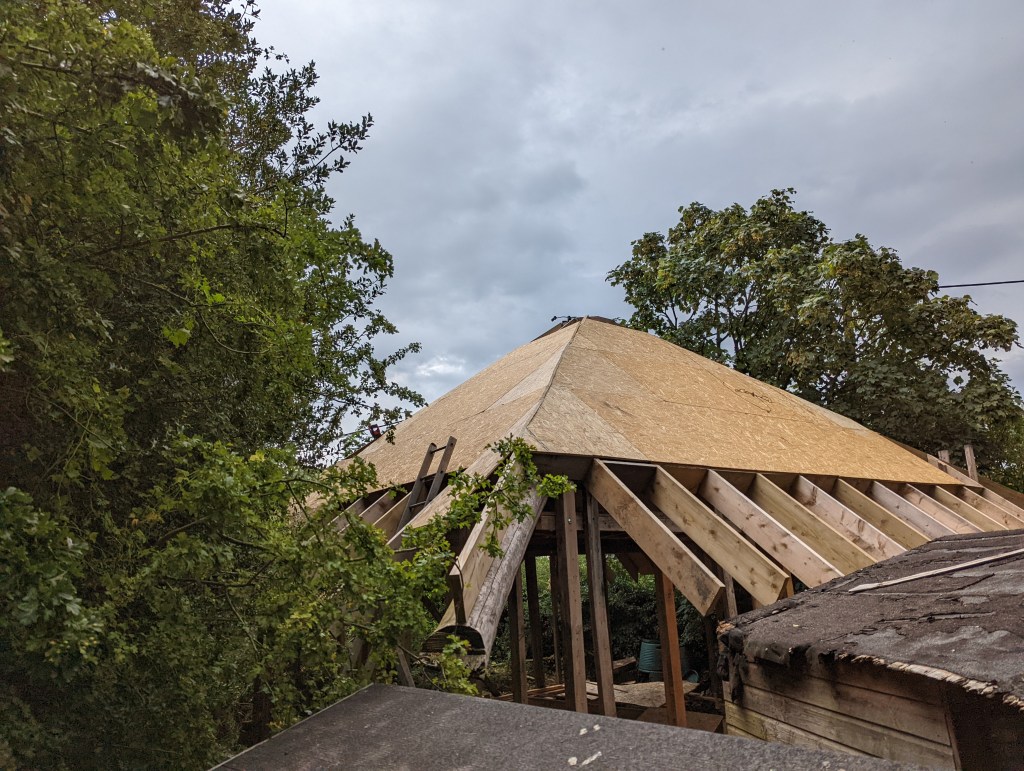
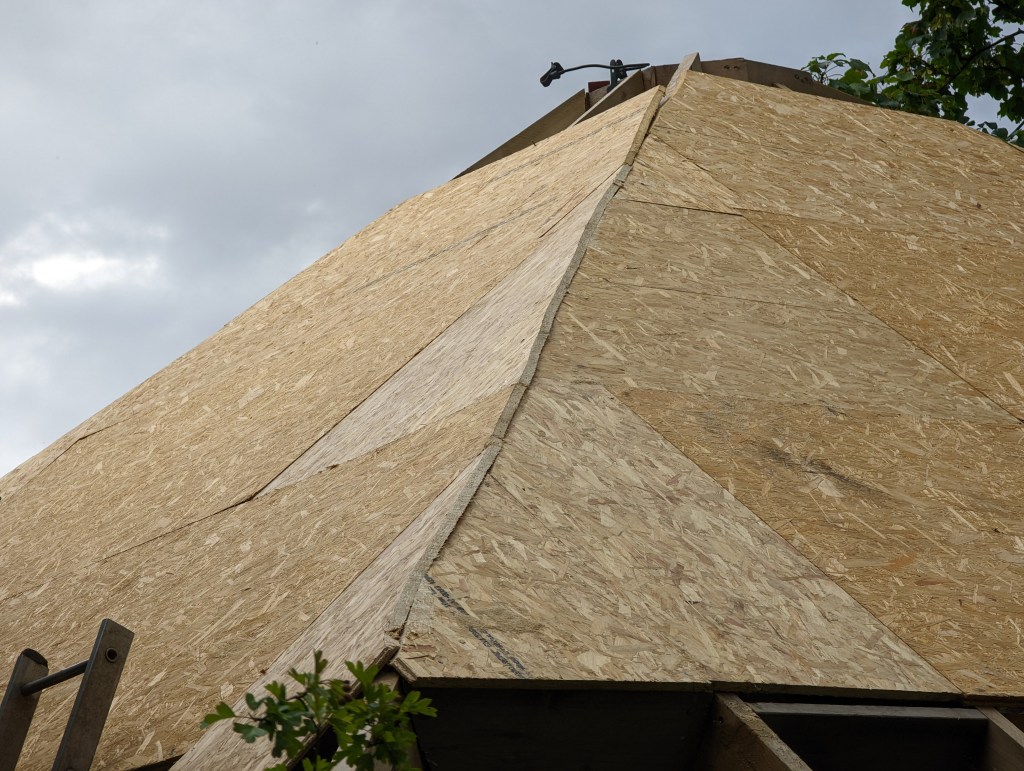
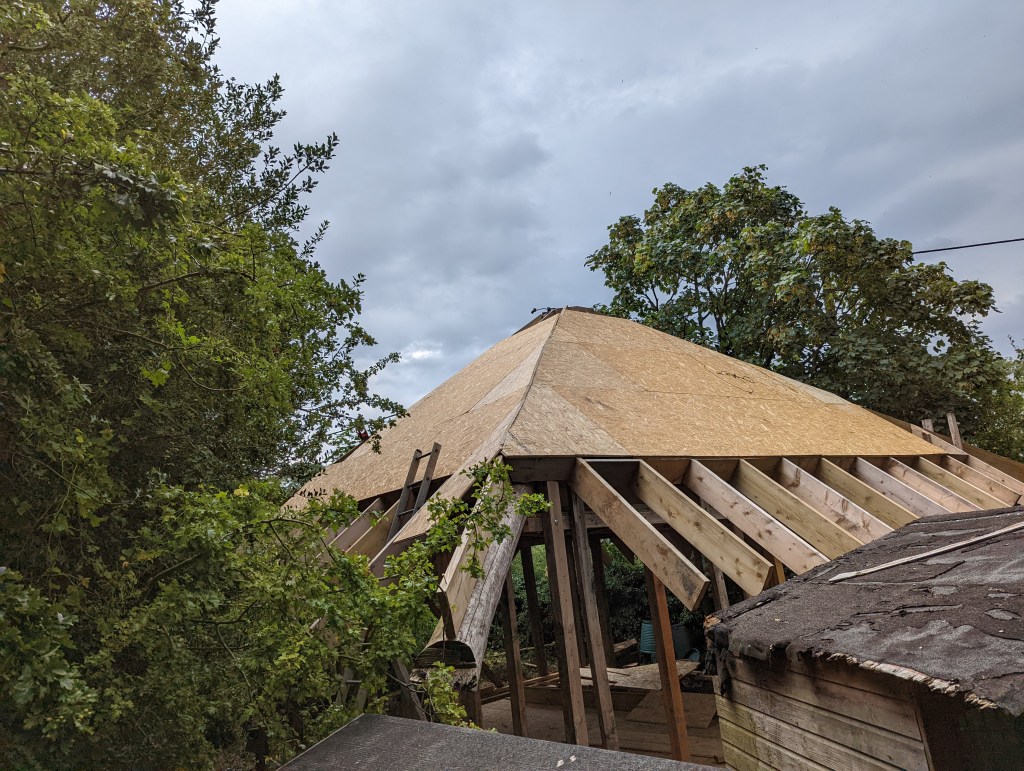
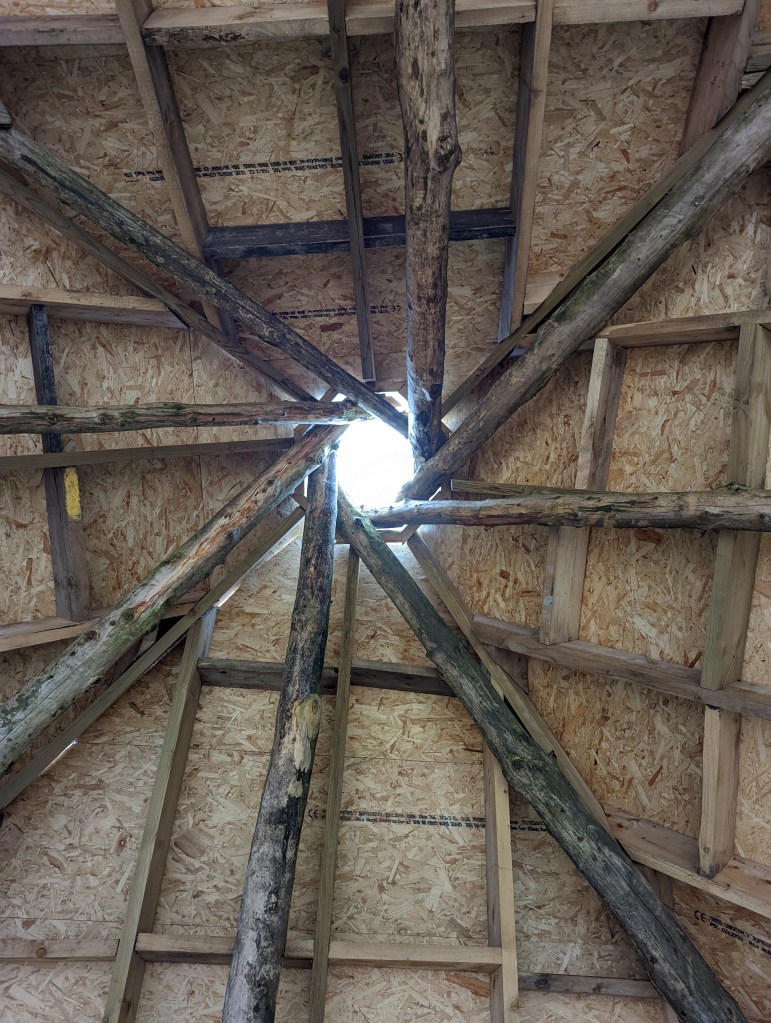
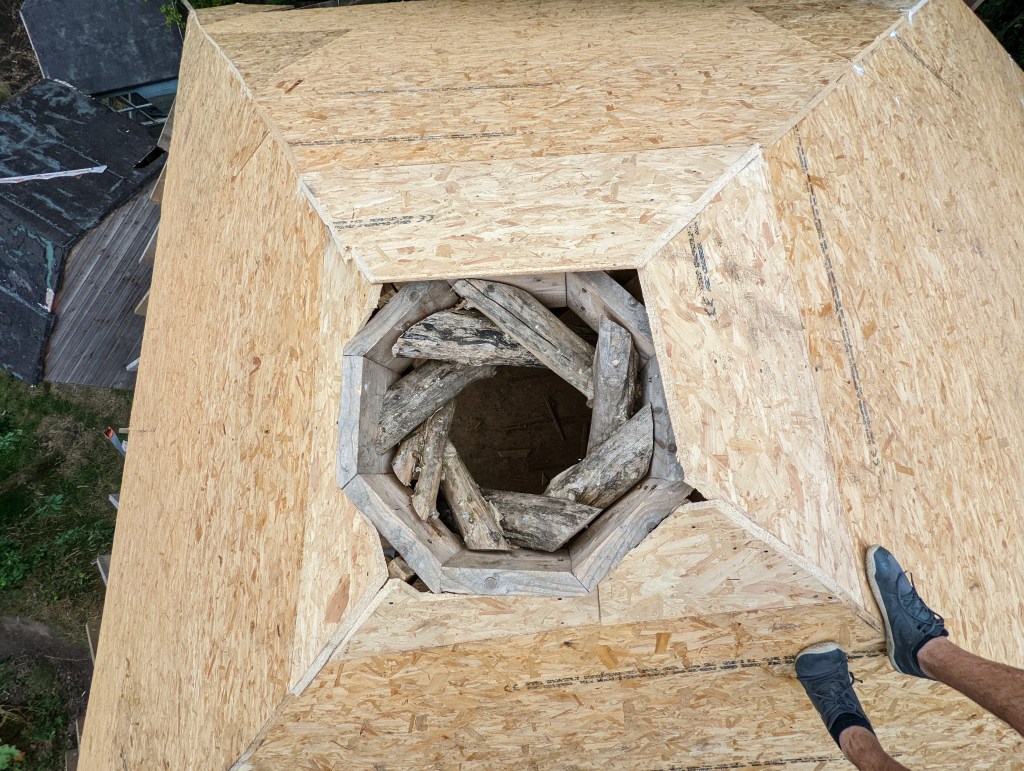
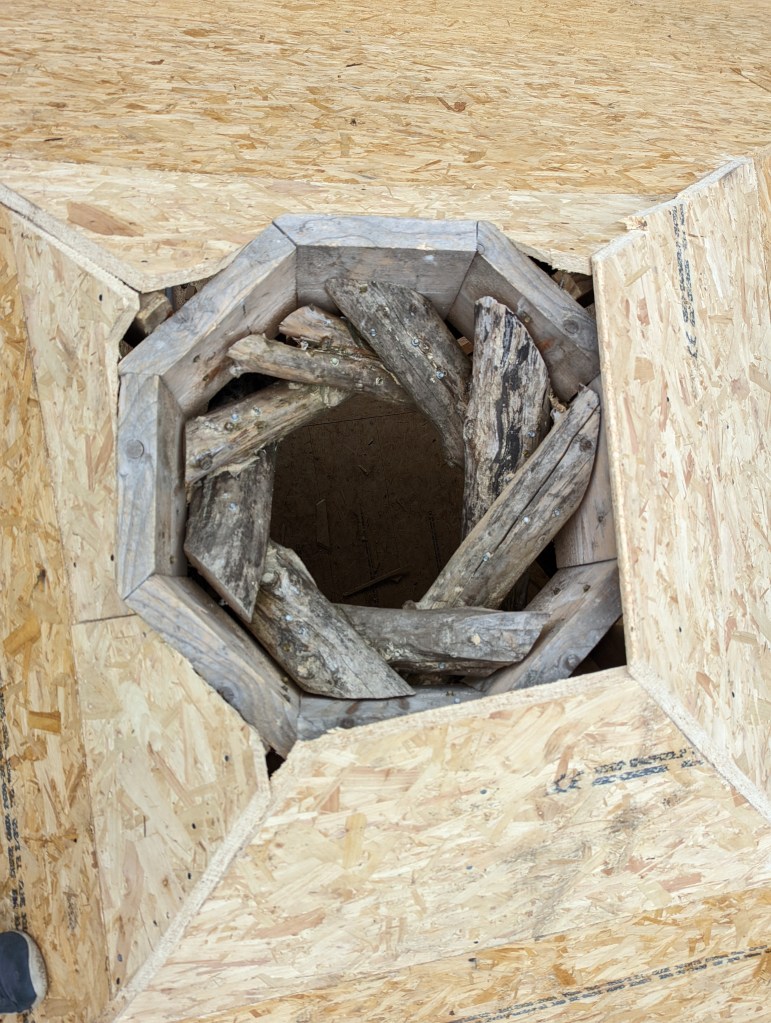
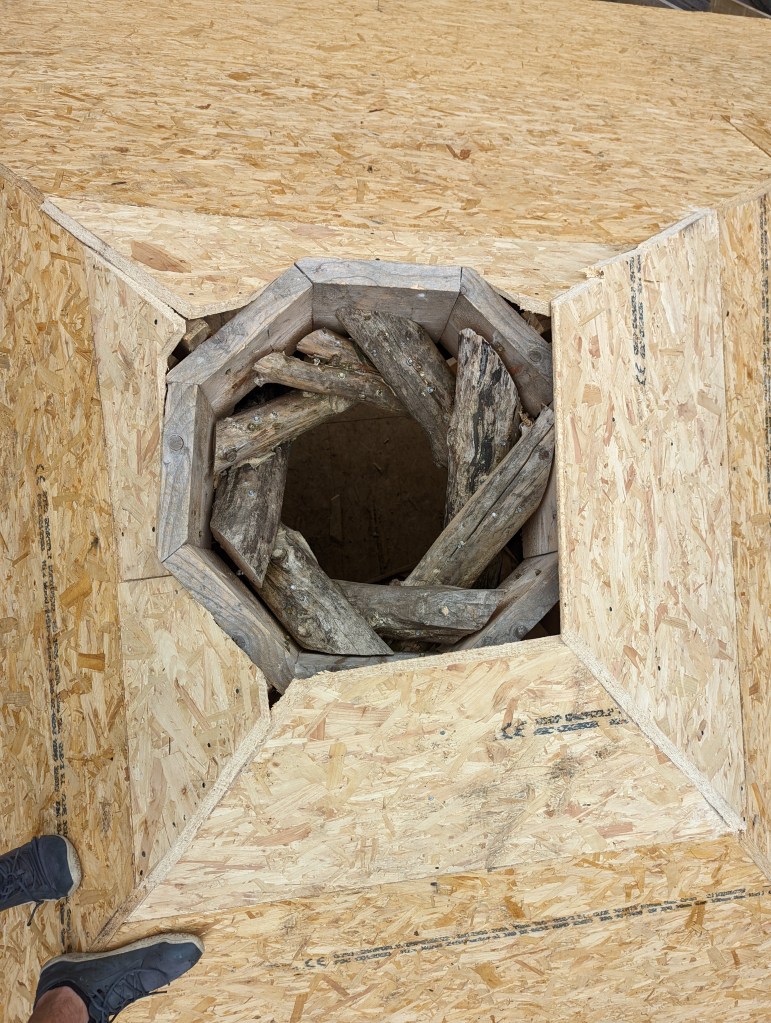
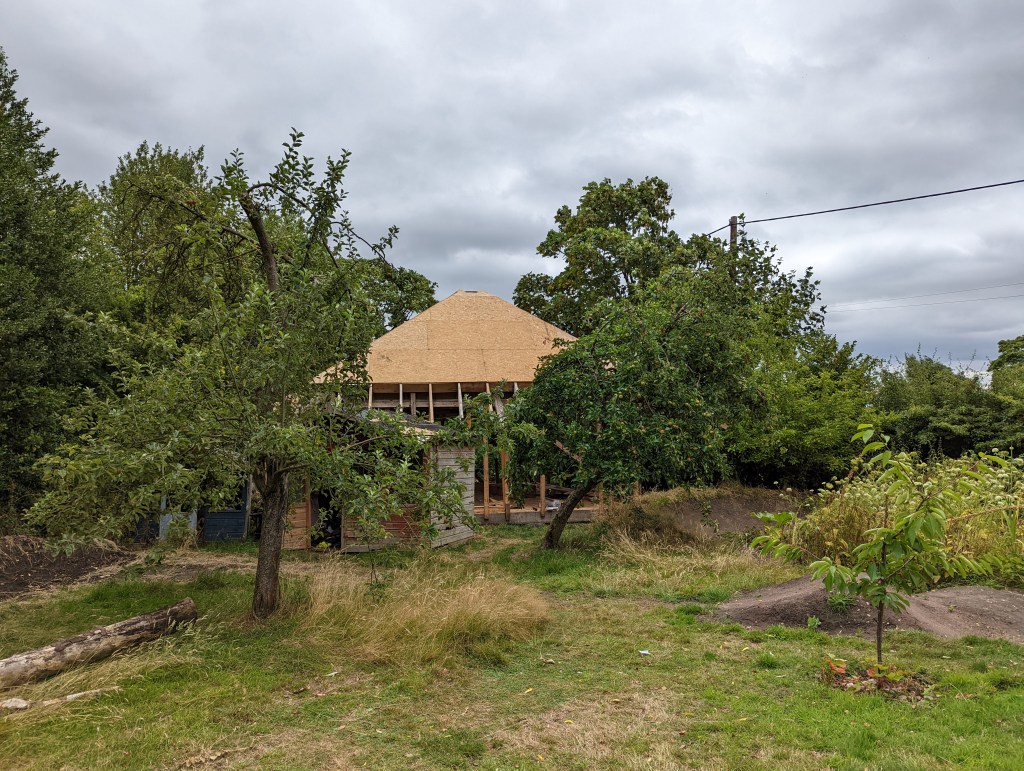
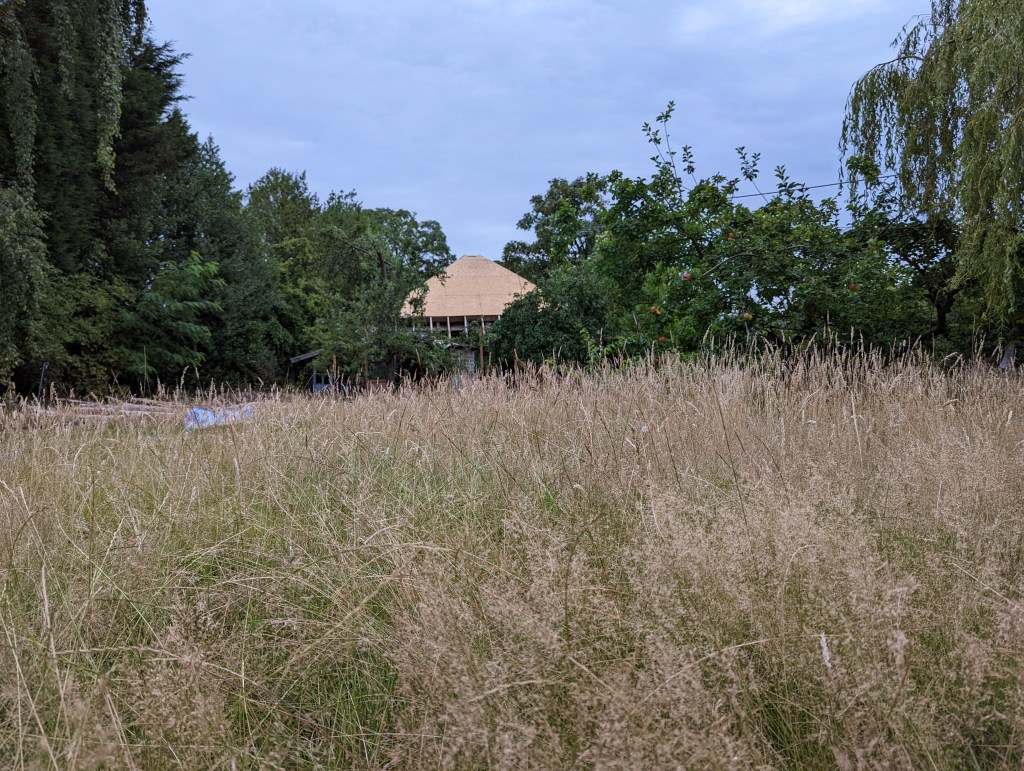
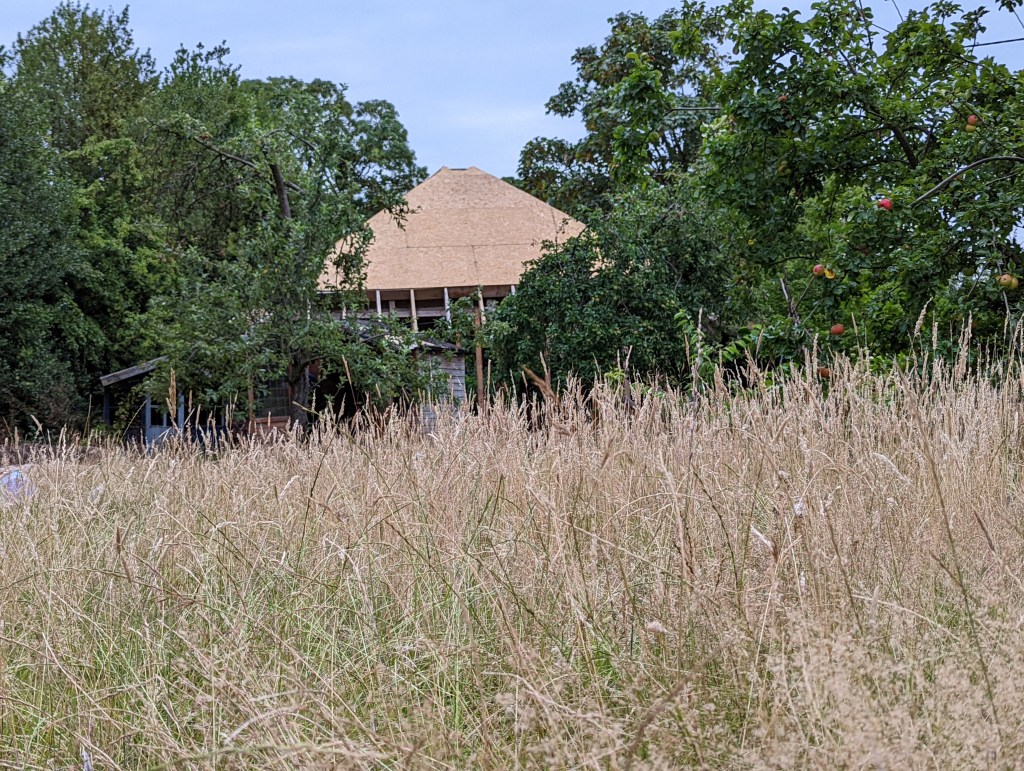
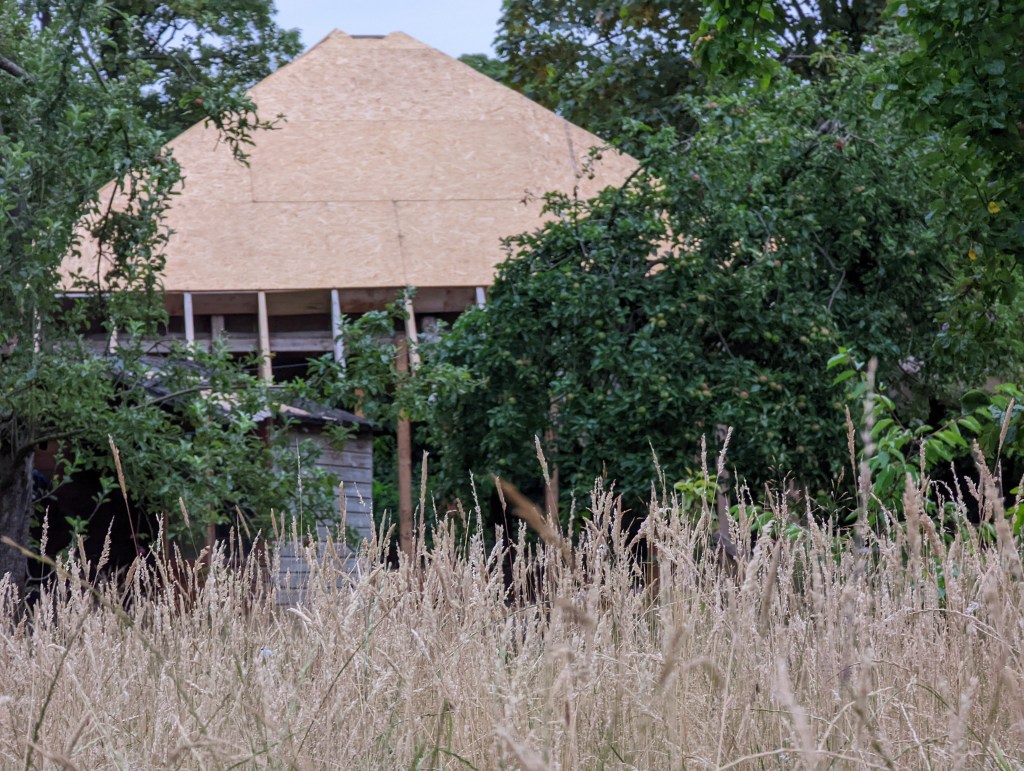
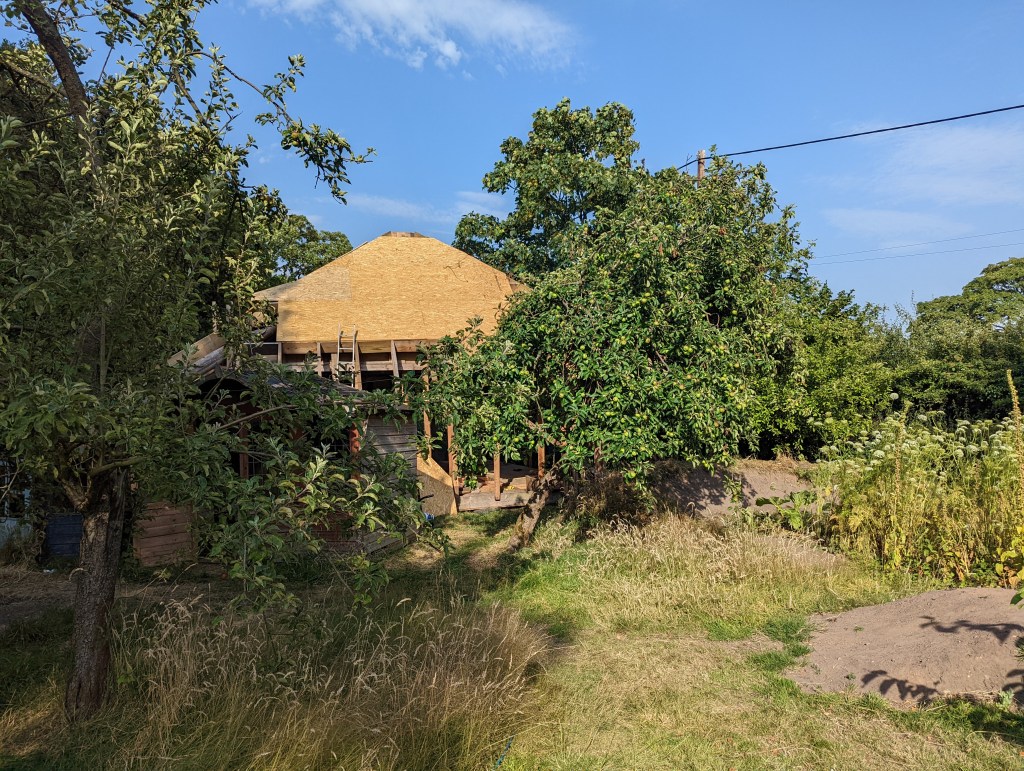
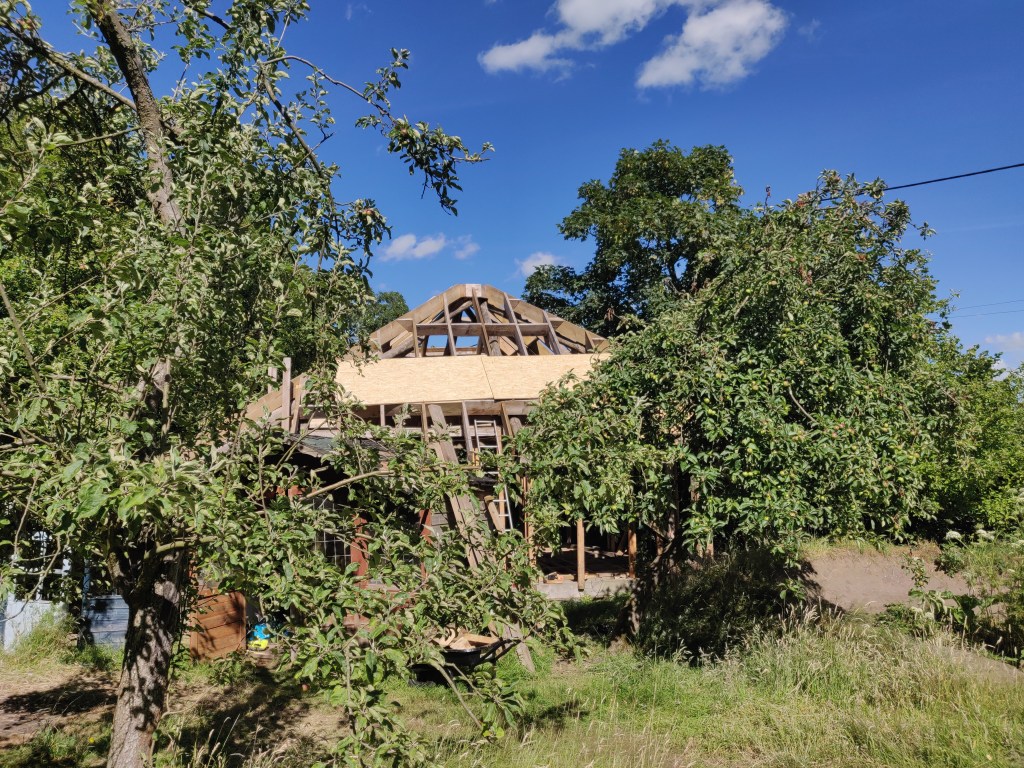
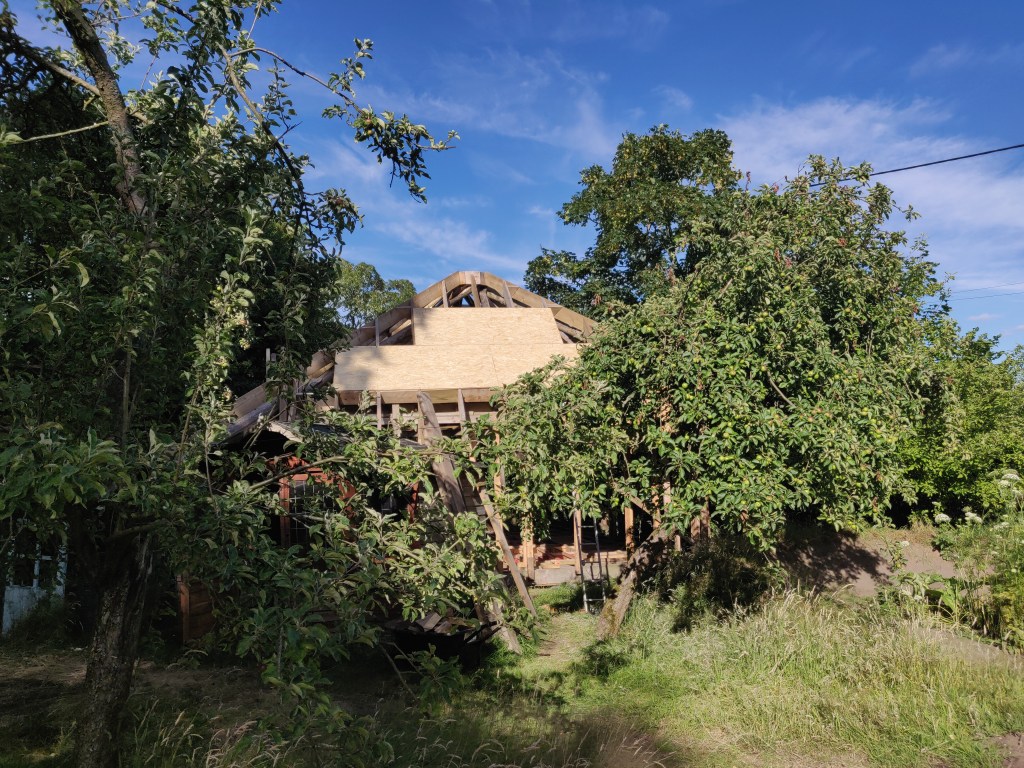
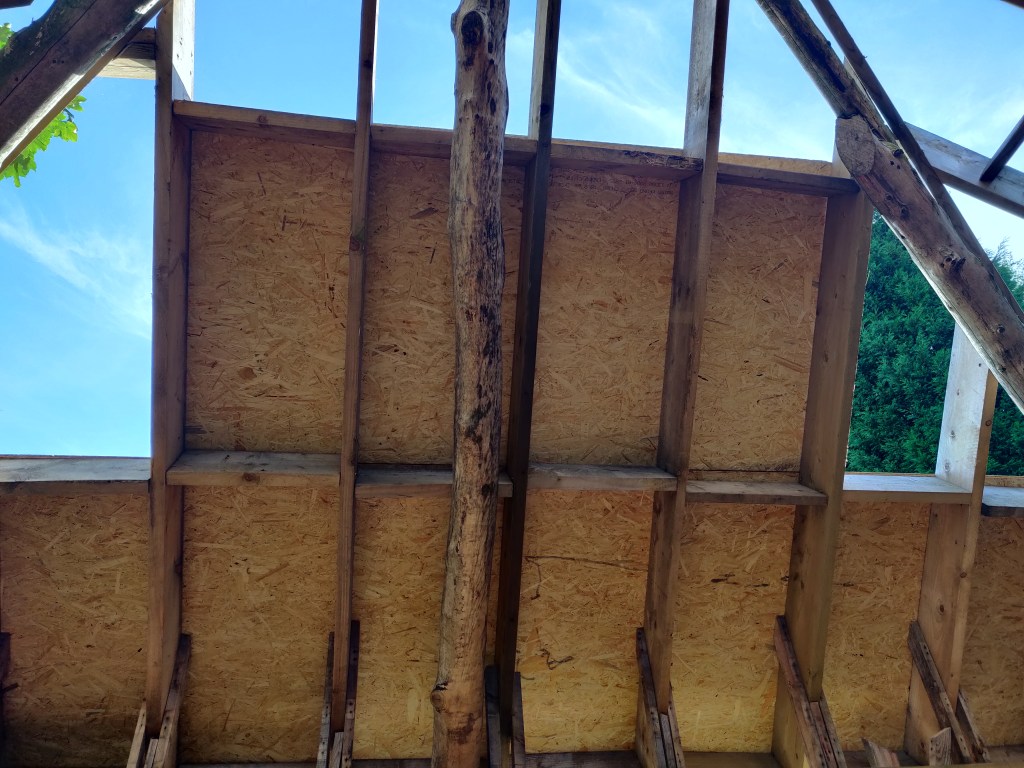
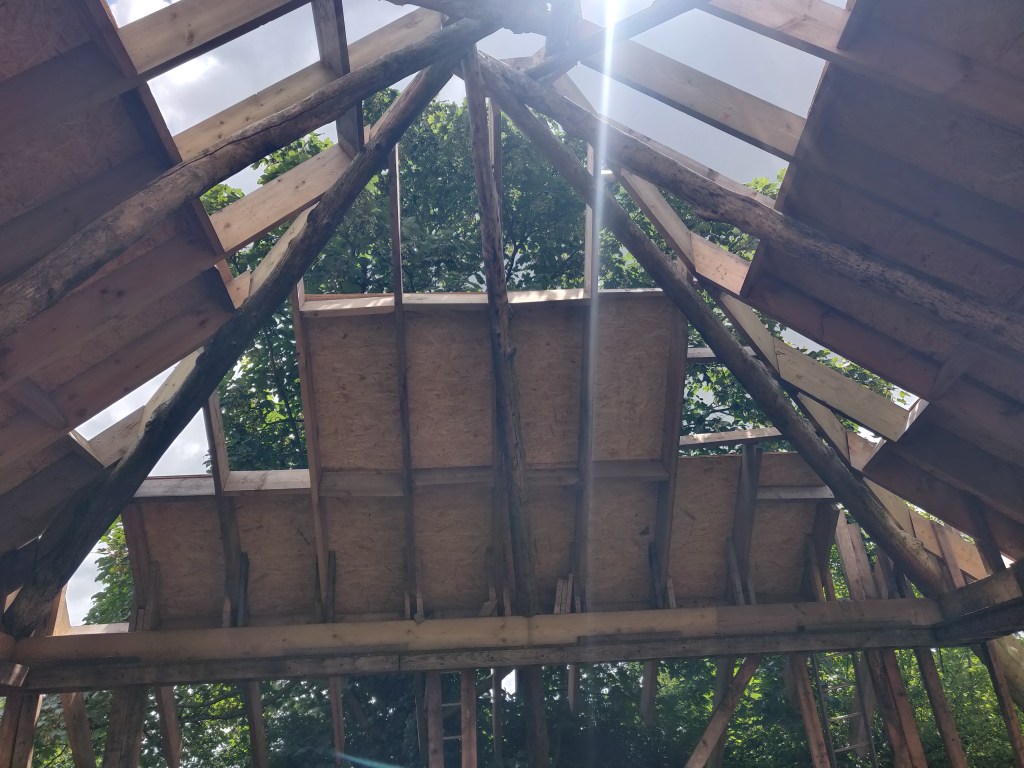
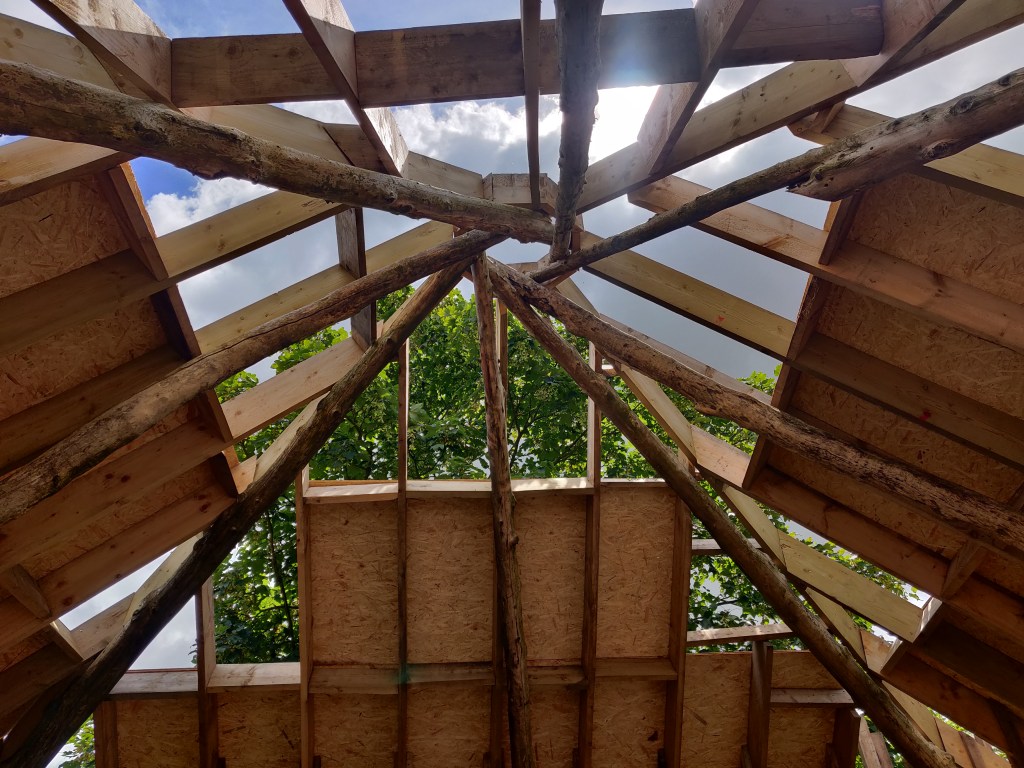
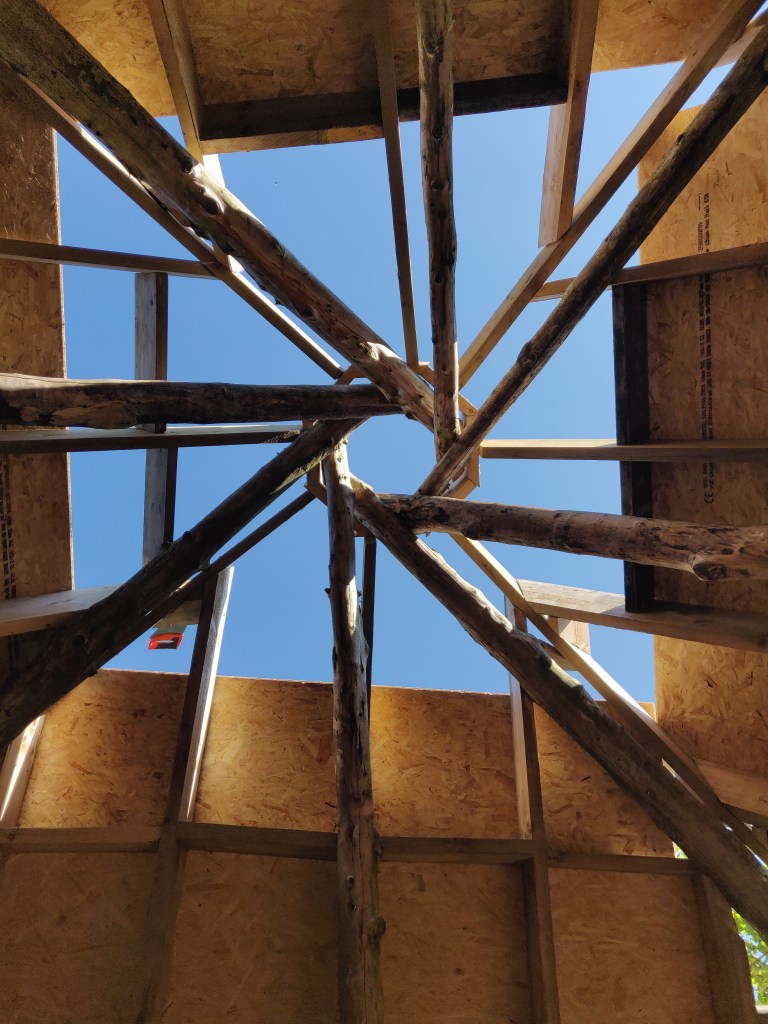
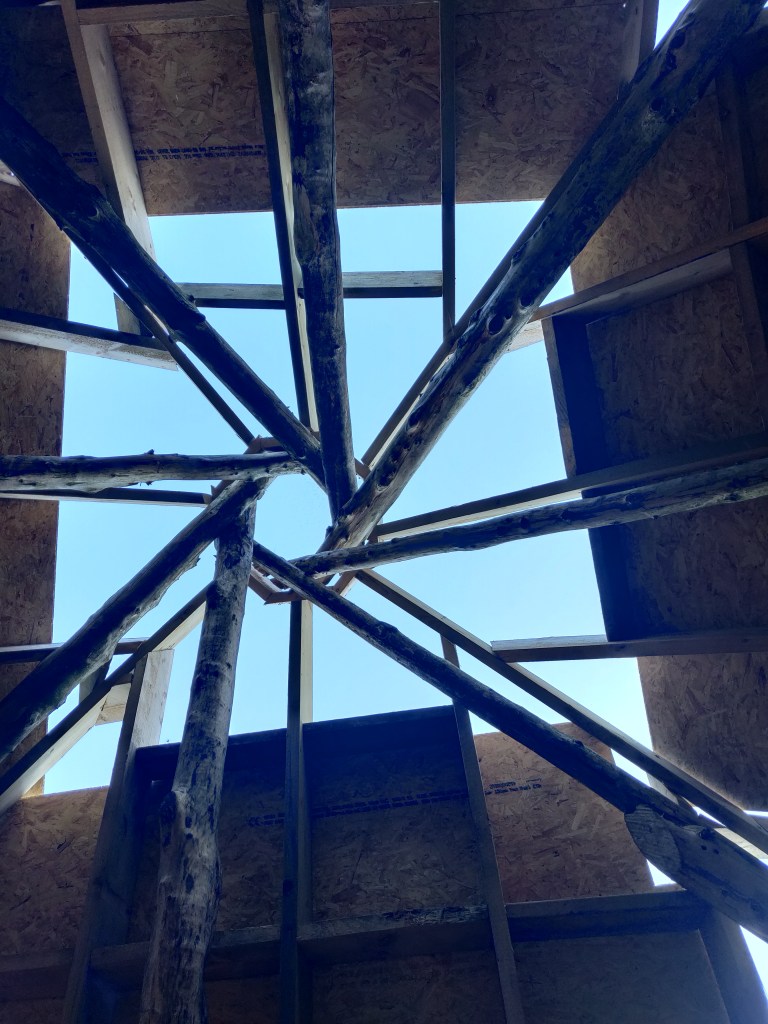
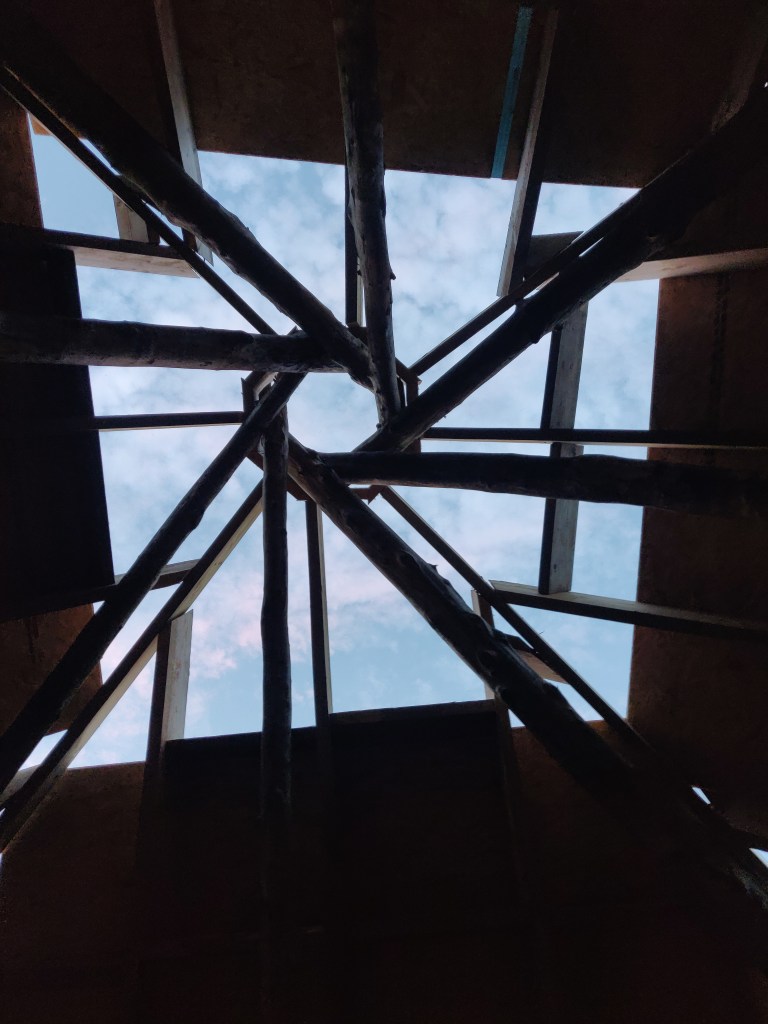
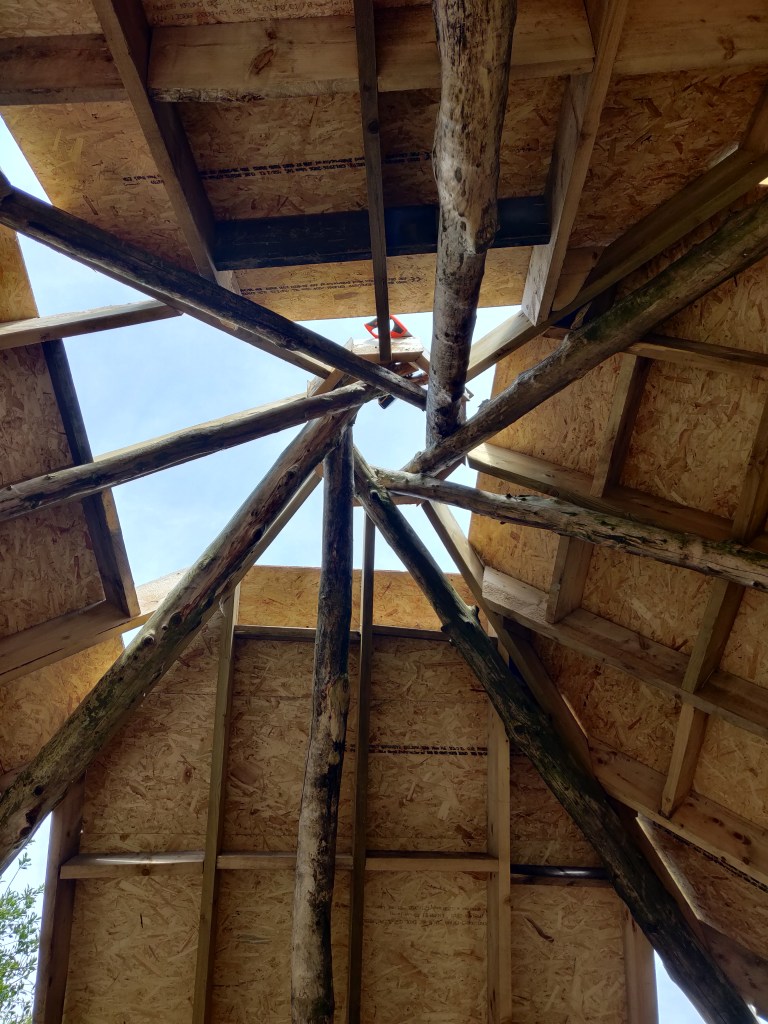
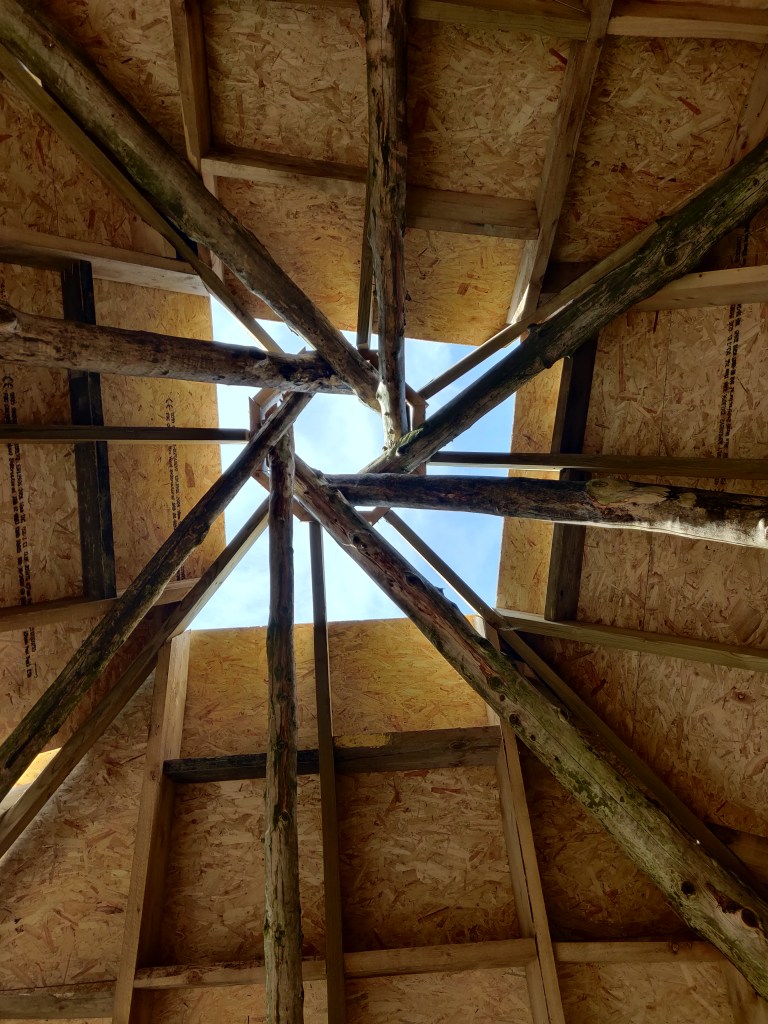
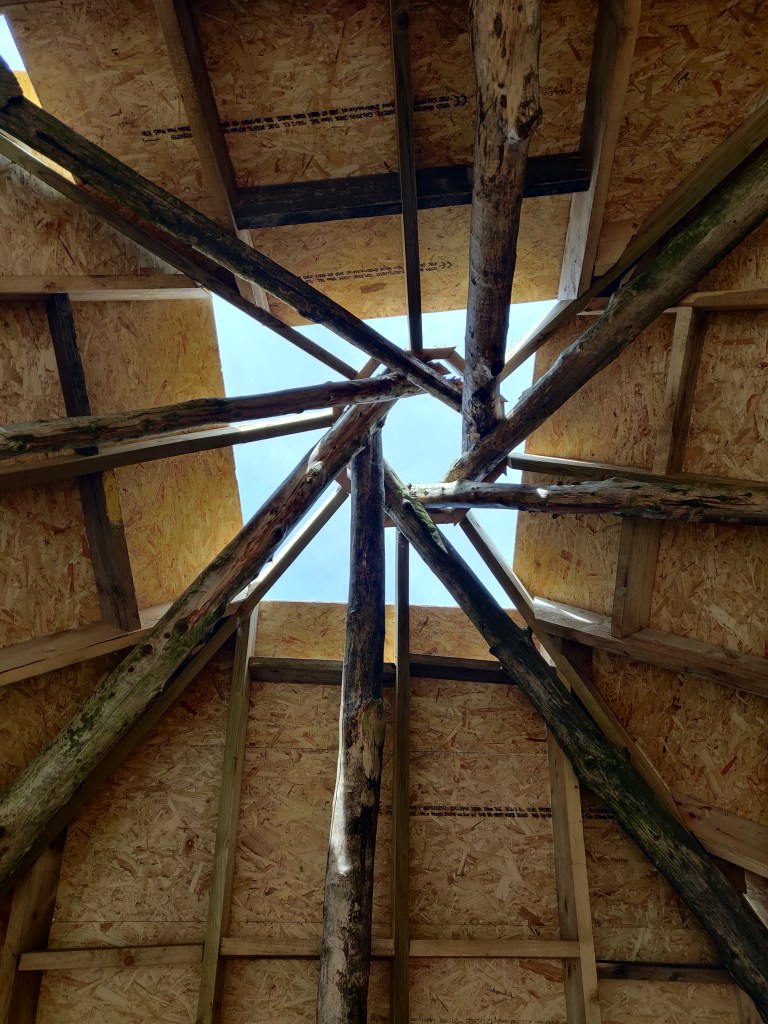
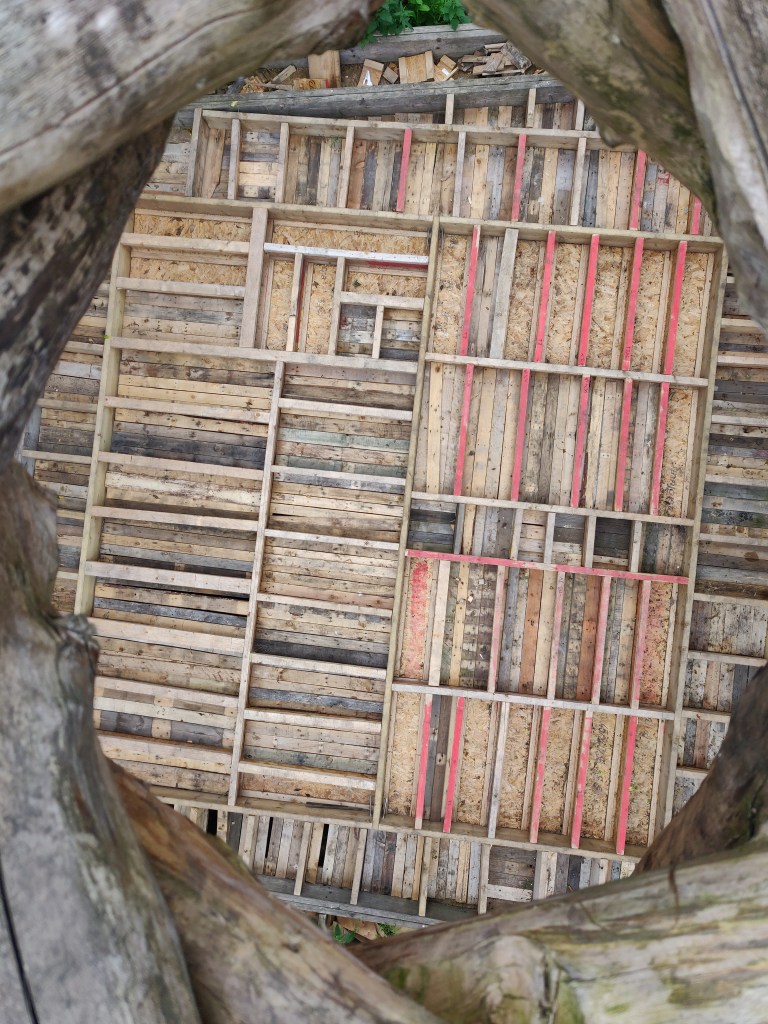
    The next step was to cover the roof with OSB. This will serve several functions. It keeps the rain off the building, so I can store the straw inside without it getting wet. It also adds racking strength to the roof. It also will enclose the sheep’s wool insulation making it more effective. It also gave us shelter from the sun while we were doing the floor.
  • July 2022 Update

    July 7th, 2022
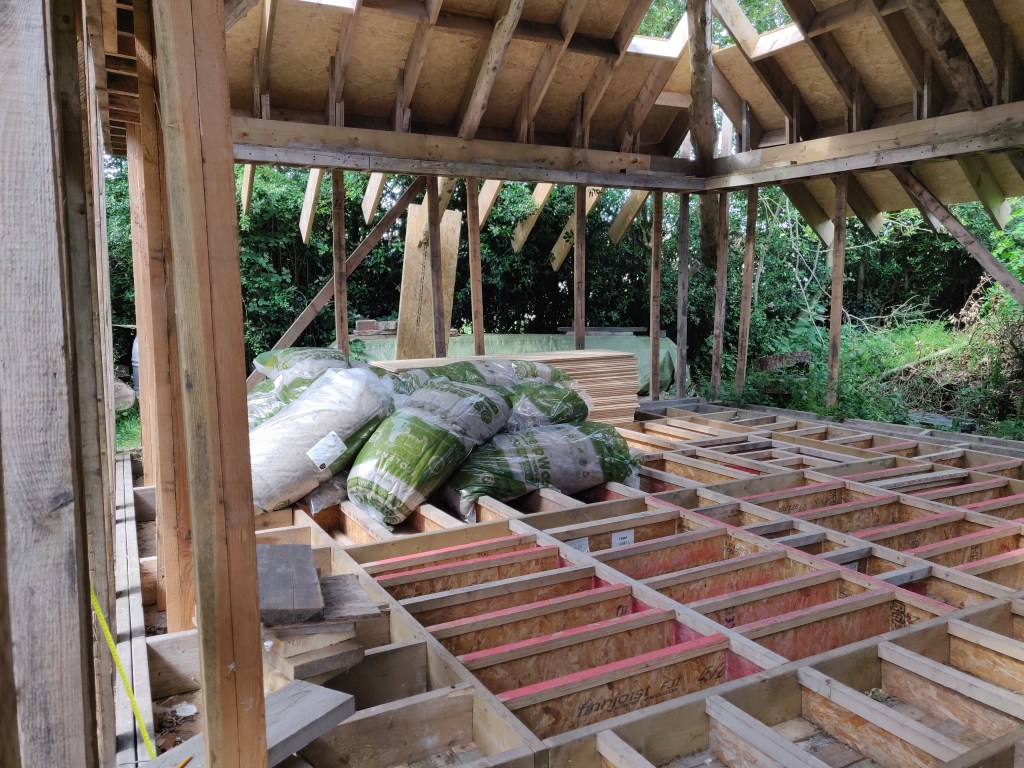
  • Adding Floor Joists

    June 23rd, 2022

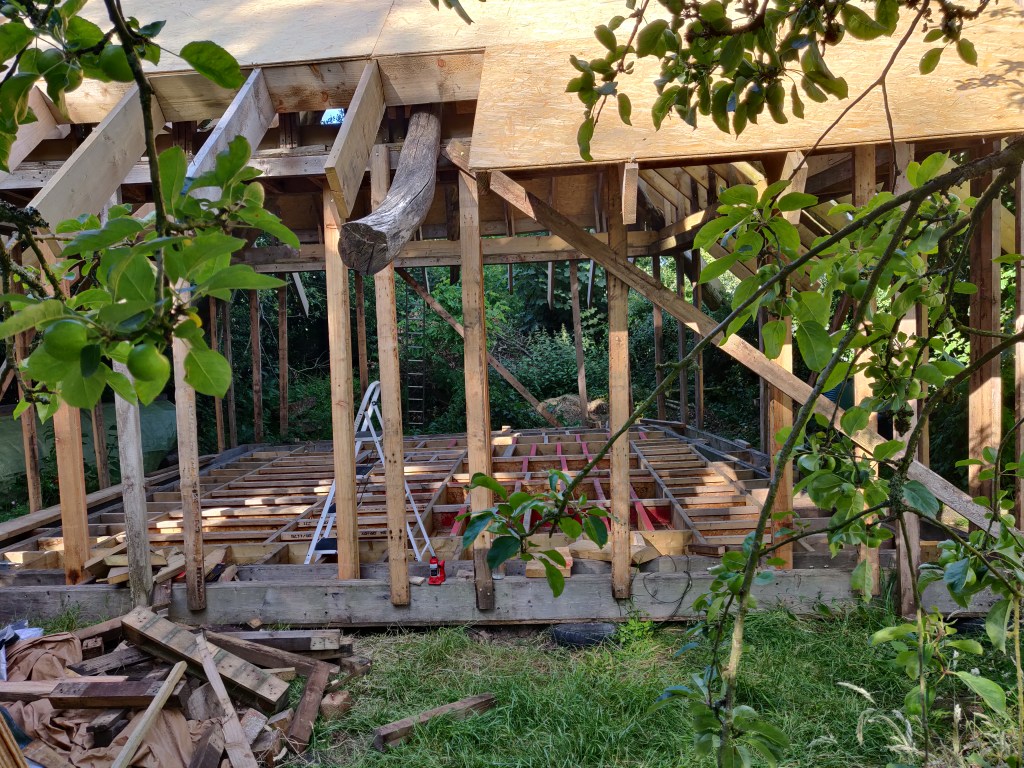
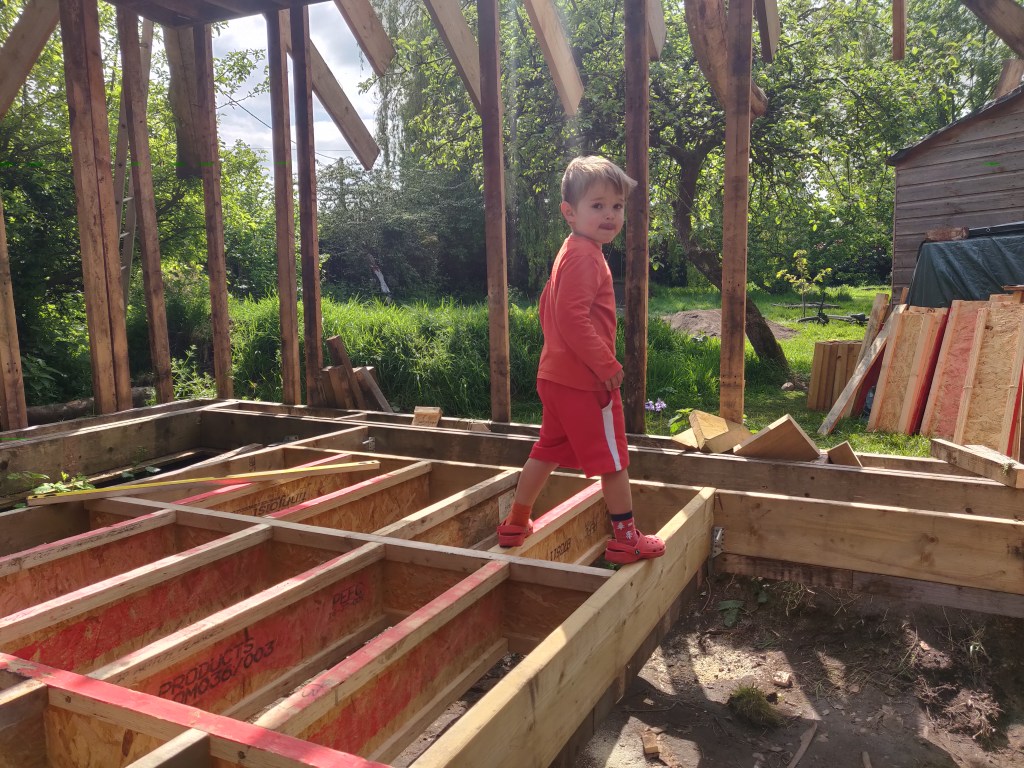
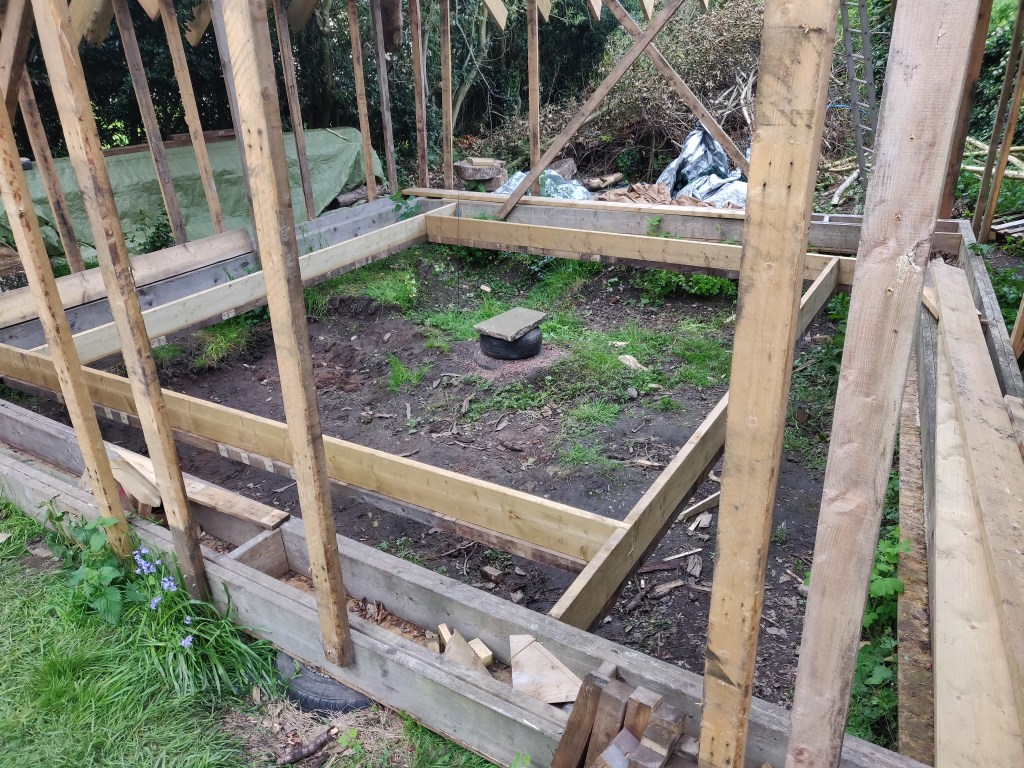
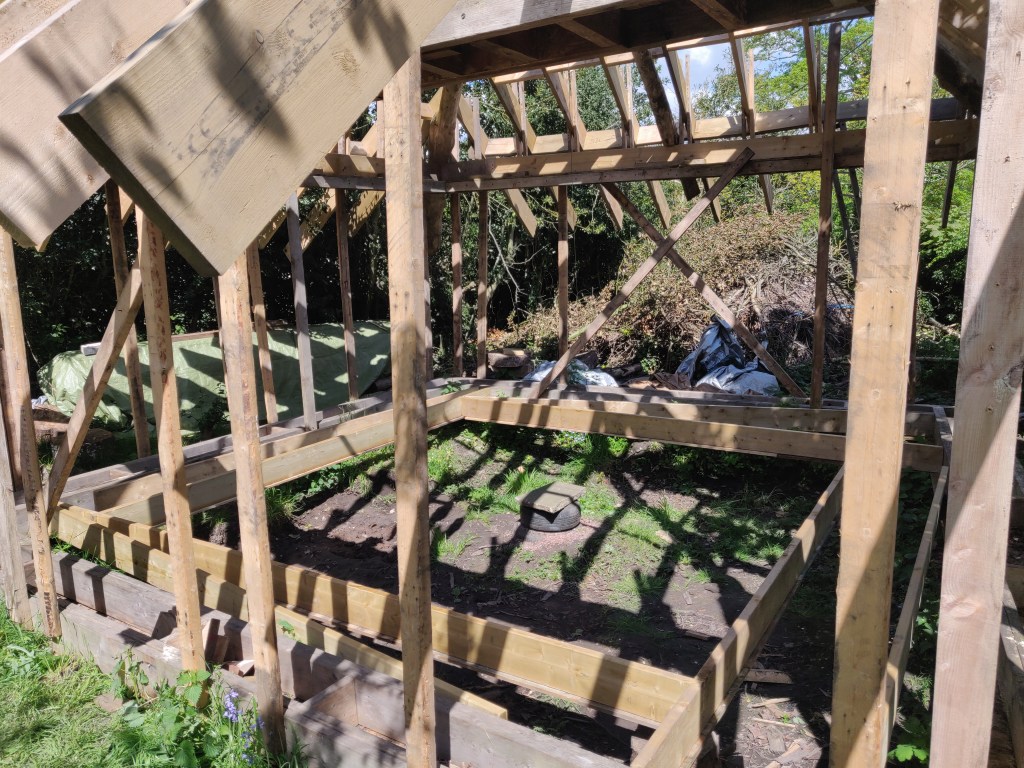
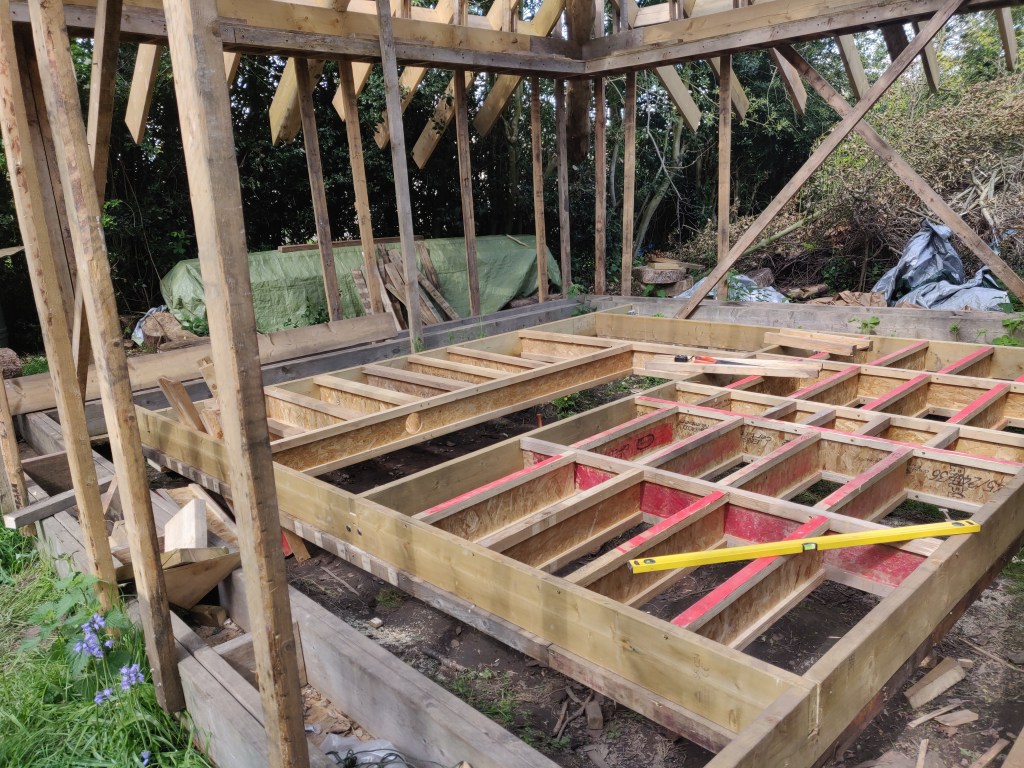
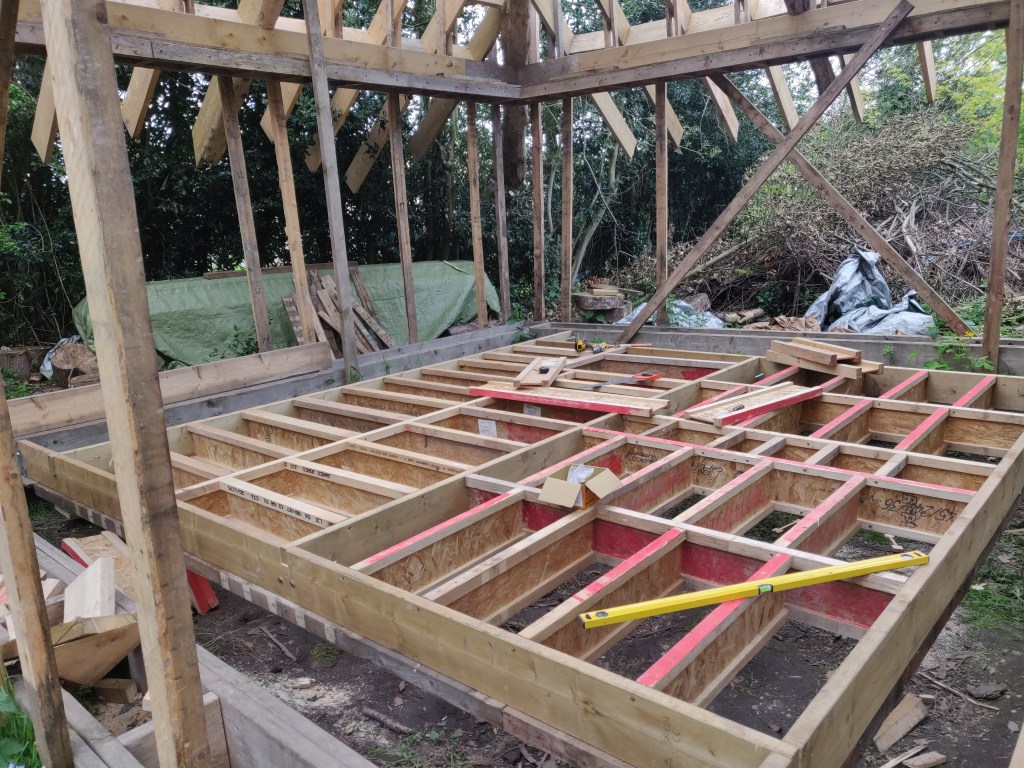
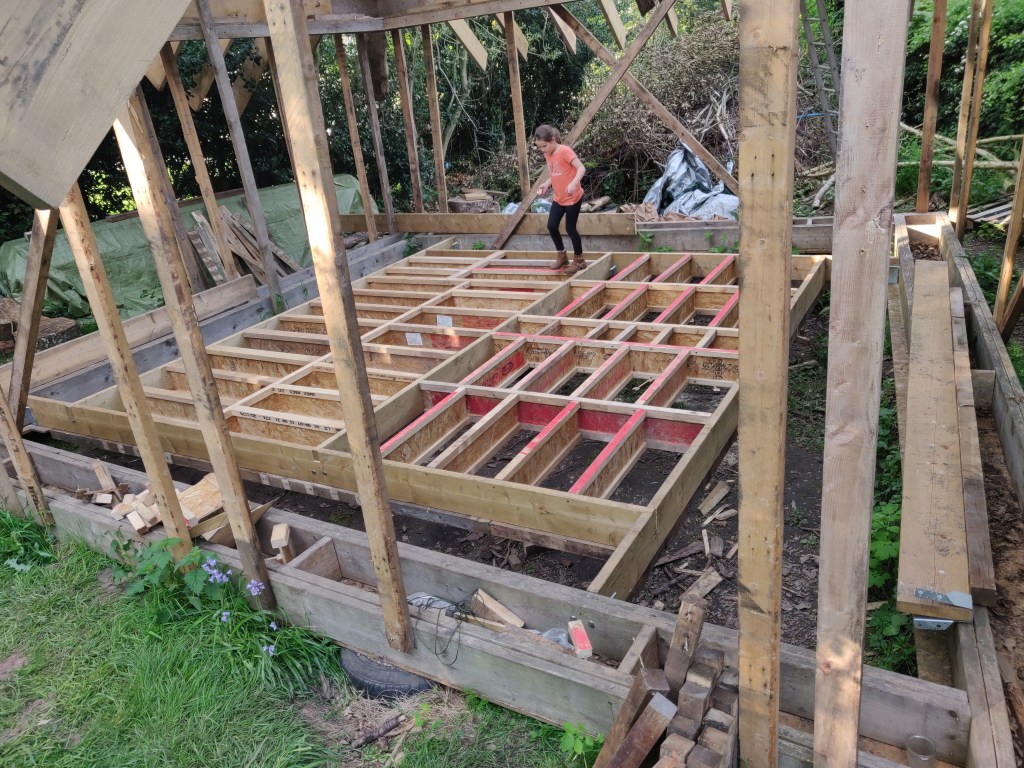
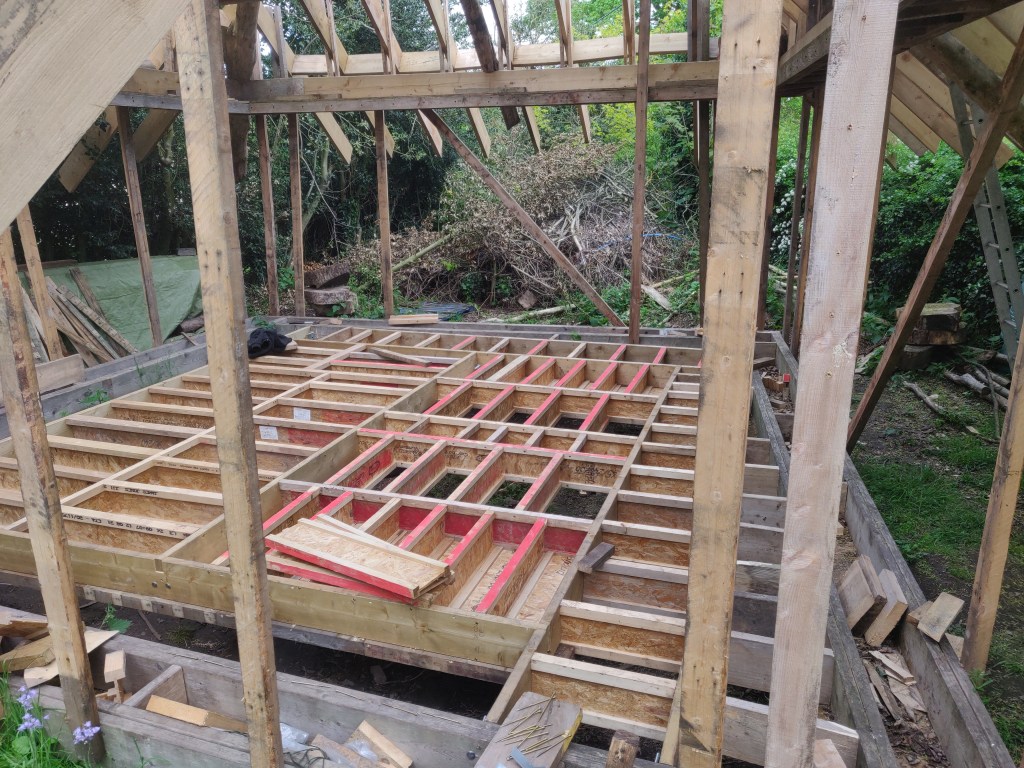
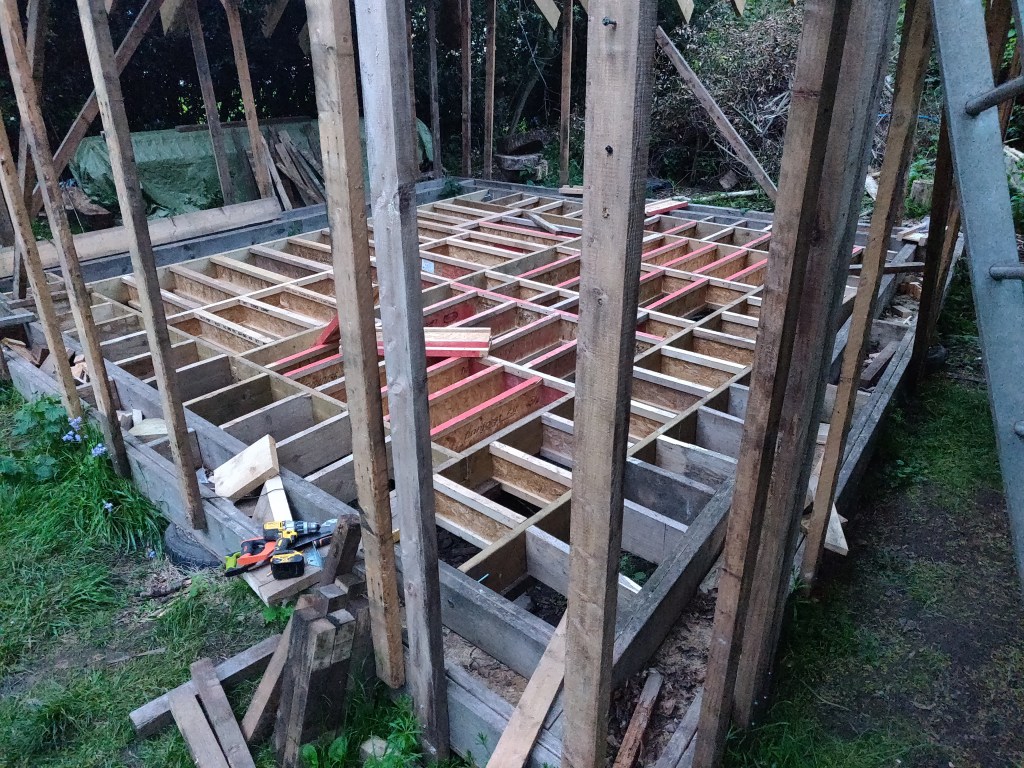
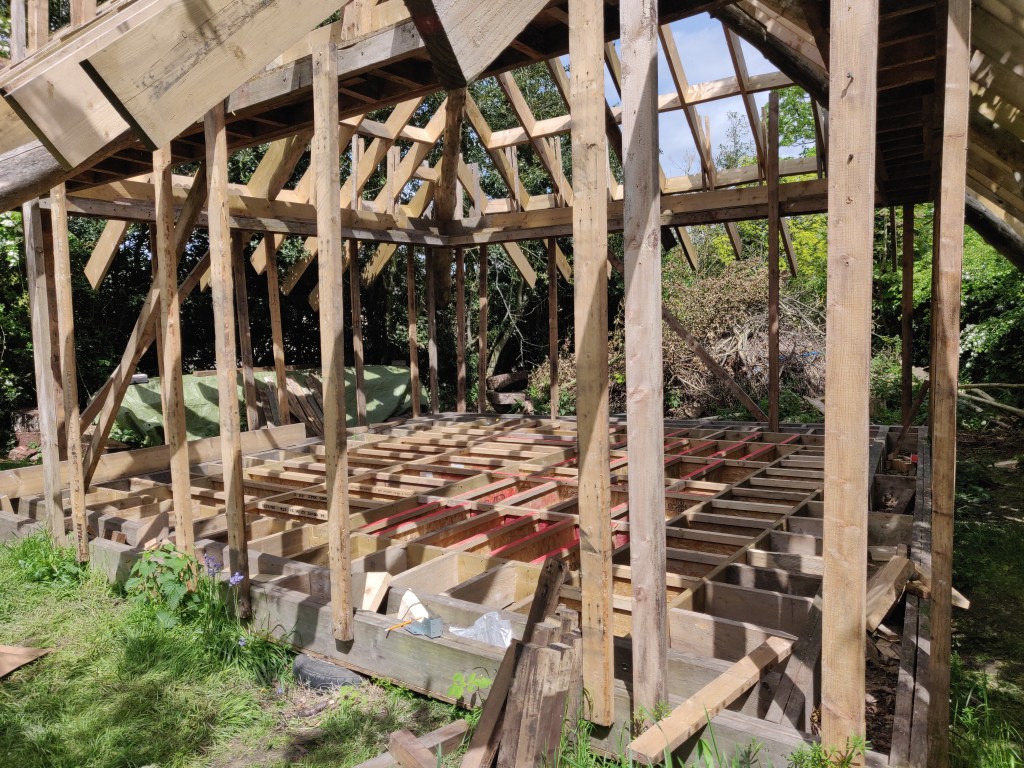
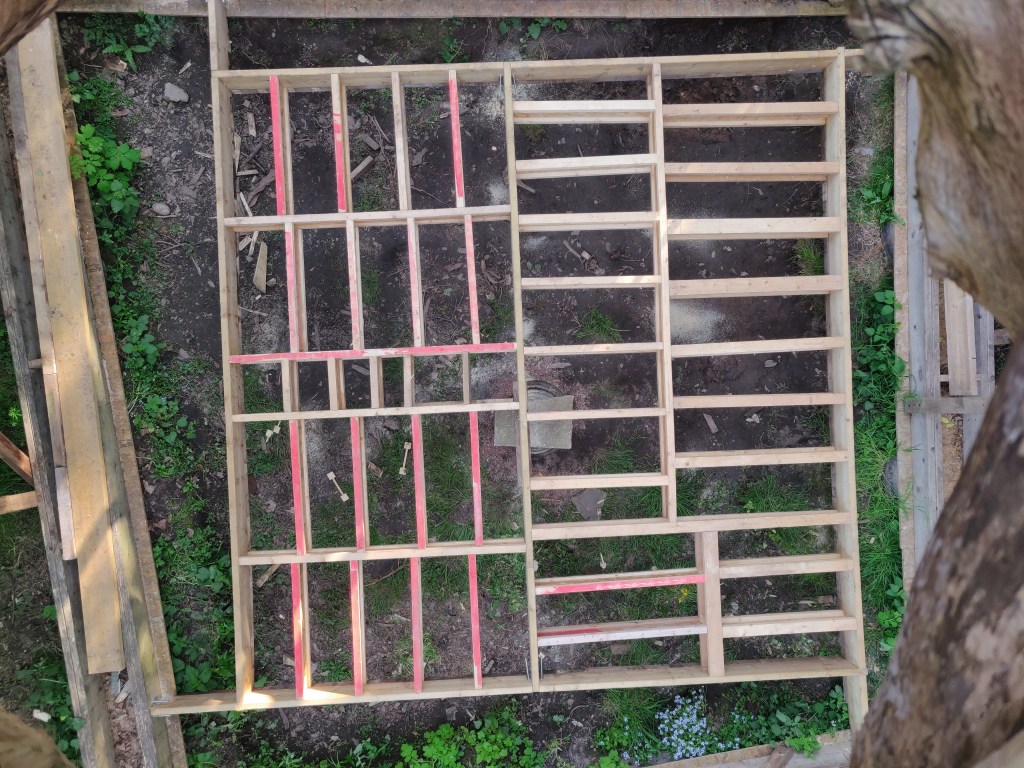
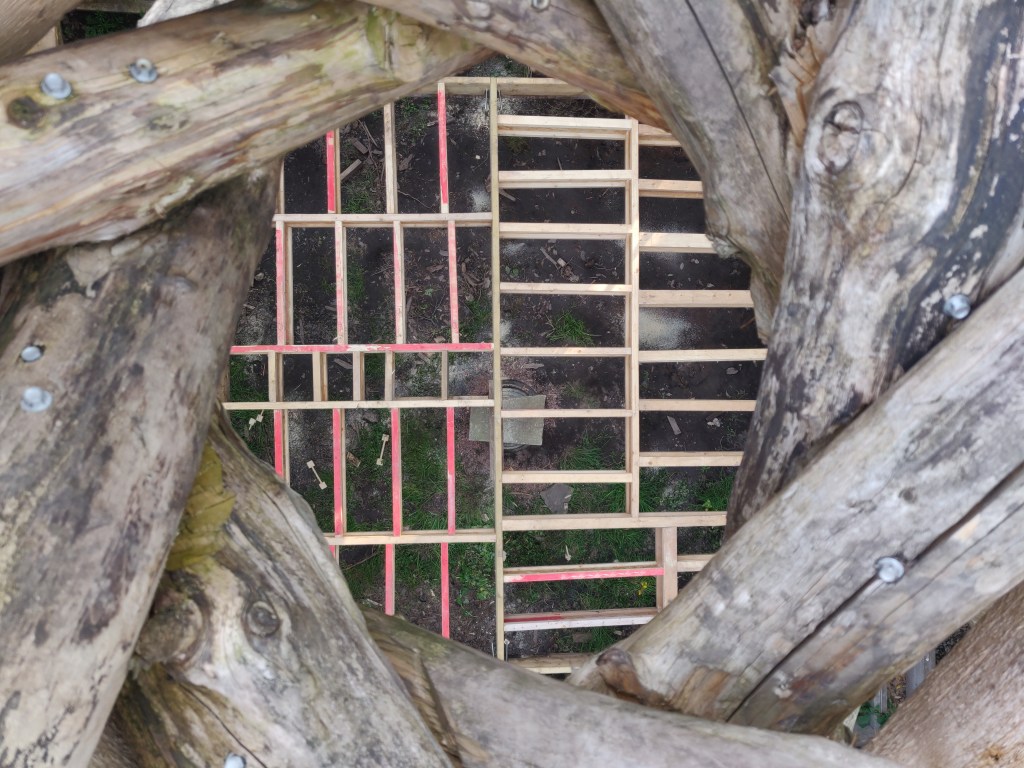
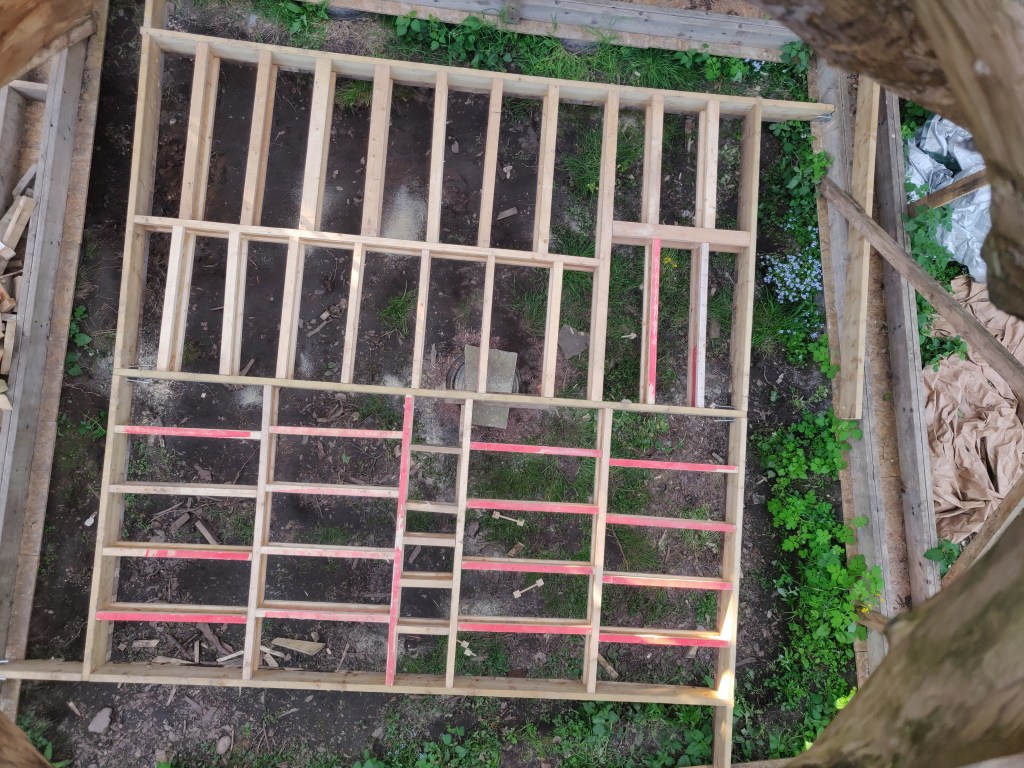
    The floor is also reciprocal but in a different way. Still, every joist rests on his fellow.

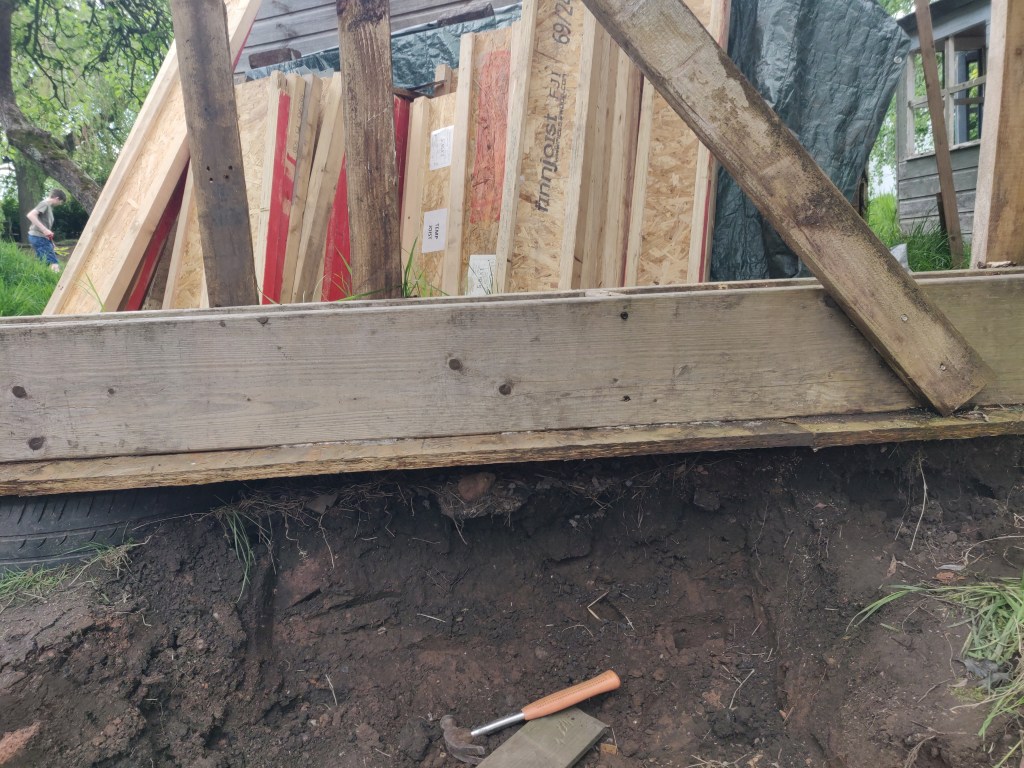
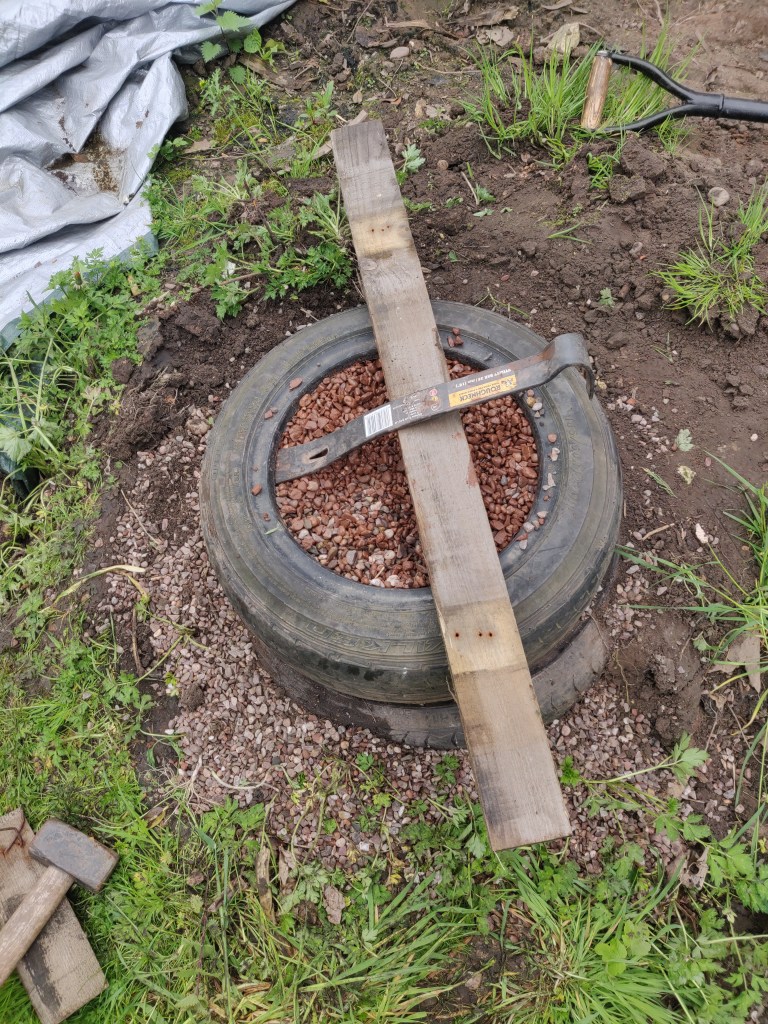
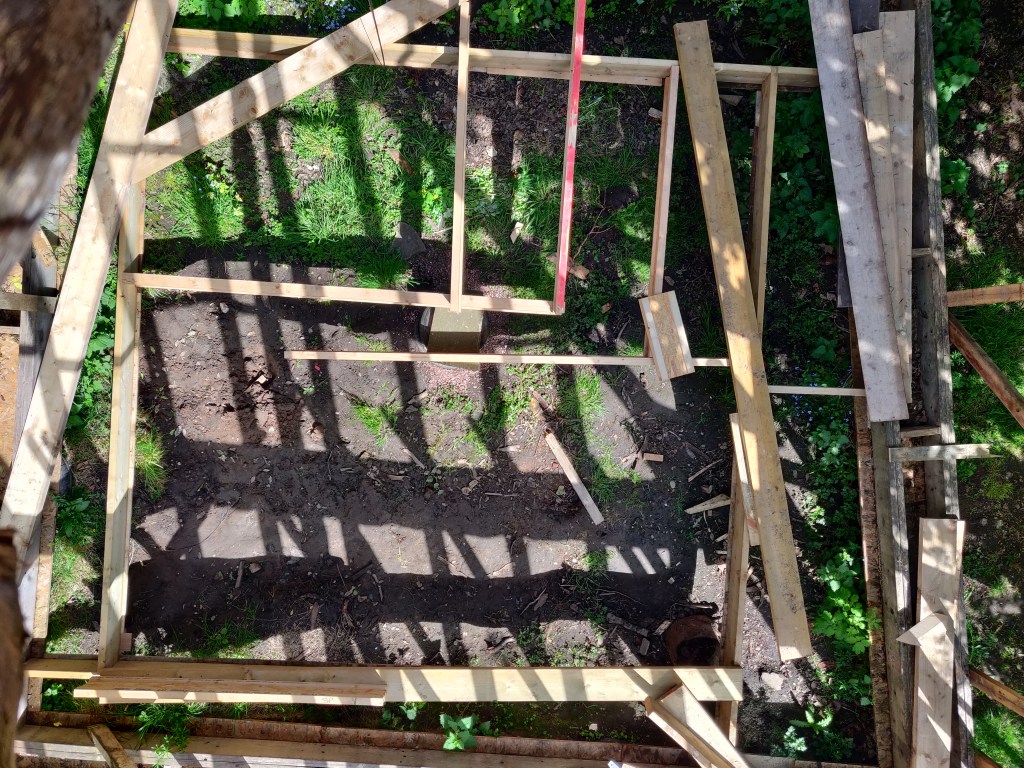
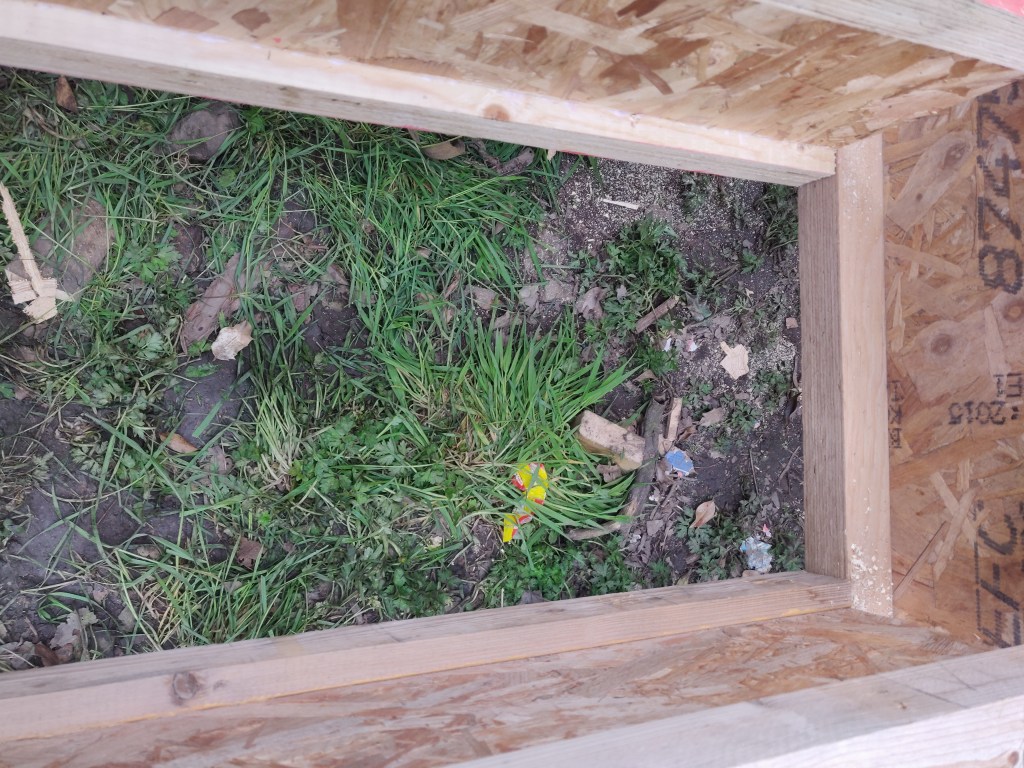
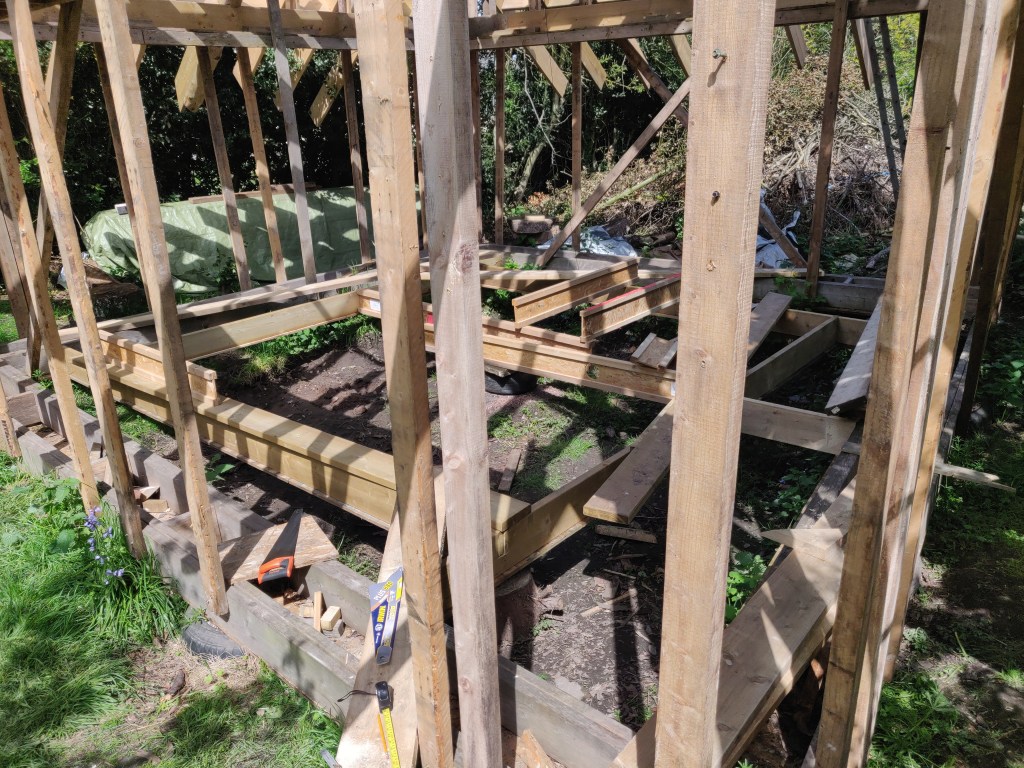
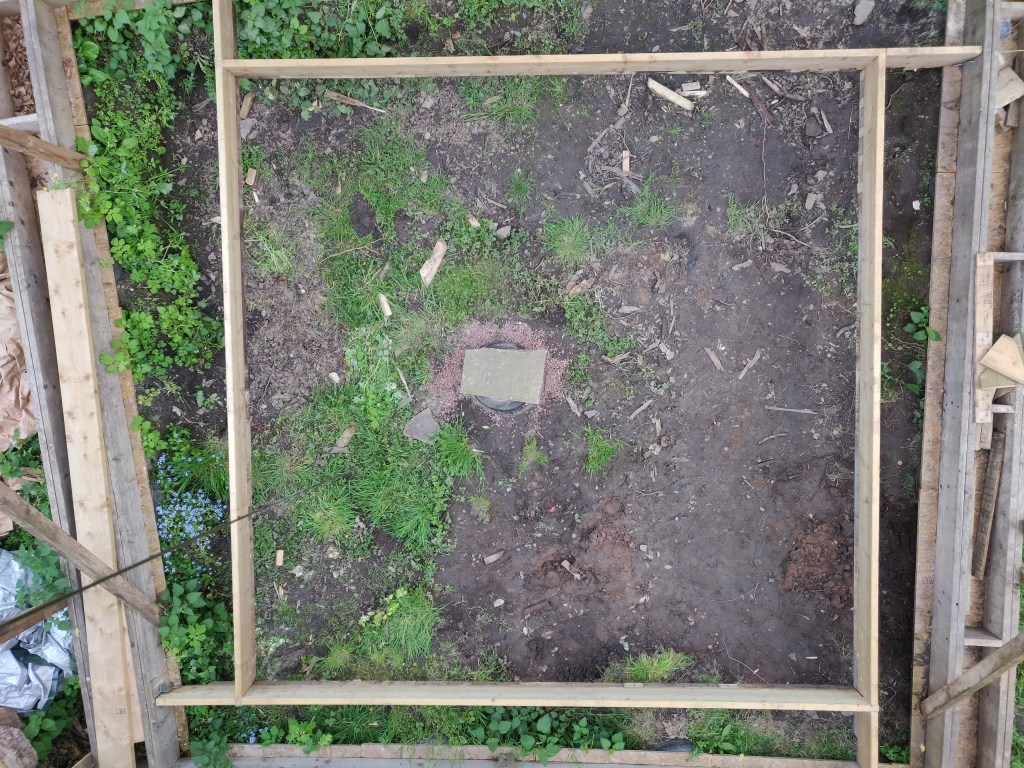
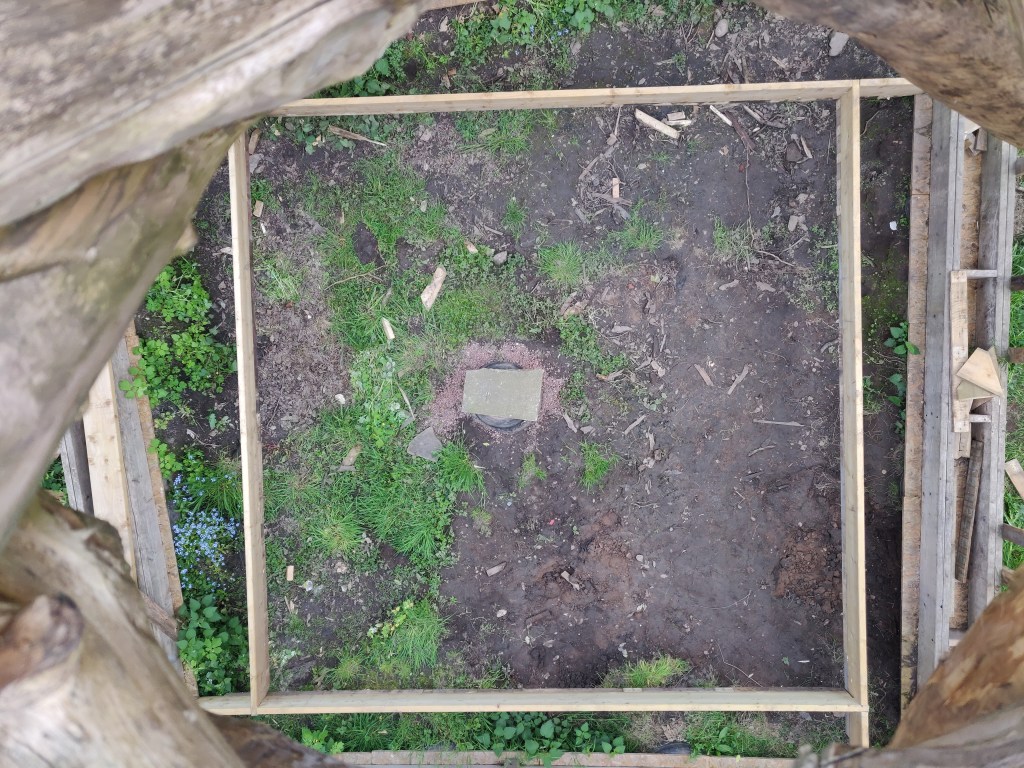
    First there was a bit of prep work to do. I had to fix one of the floor boards that had come away, and also add a central tyre to support the middle of the floor. Technically the central support wasn’t needed as the floor would be supported only from the base plate on the edge tyres, but an extra support never hurt anyone:

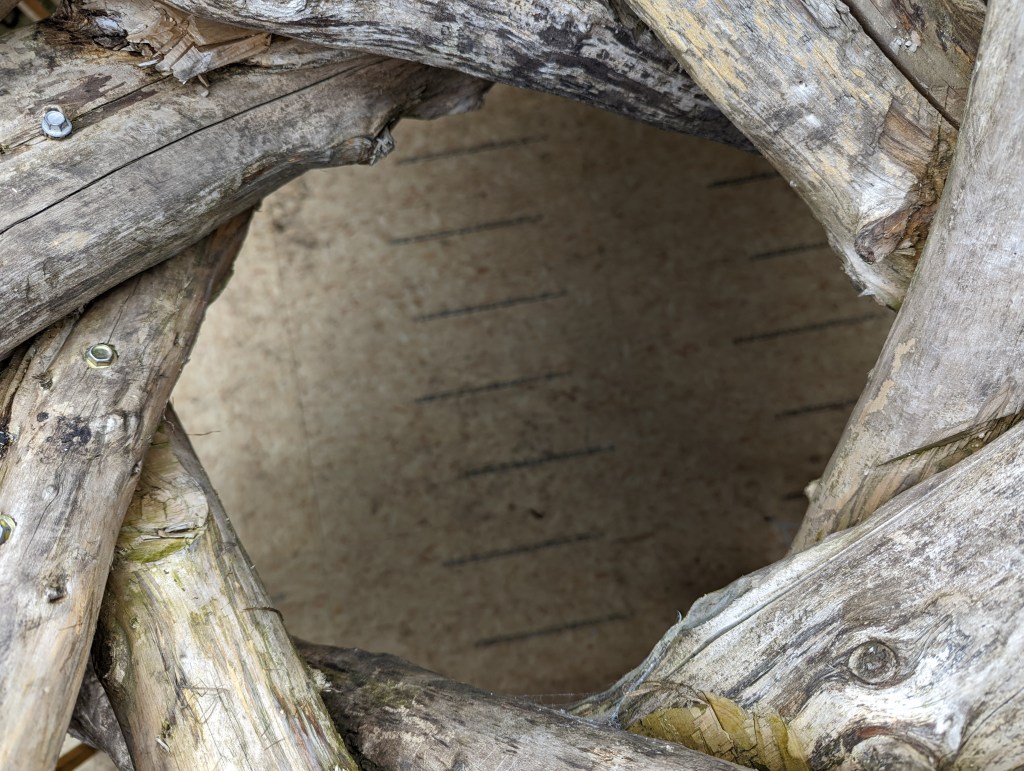
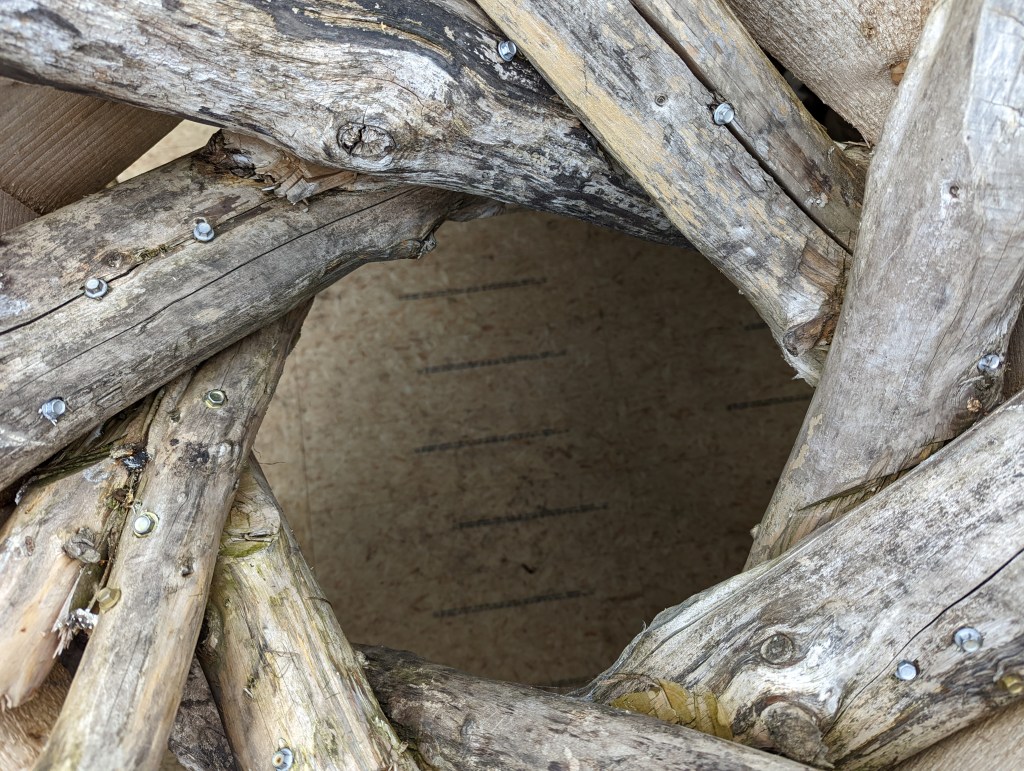
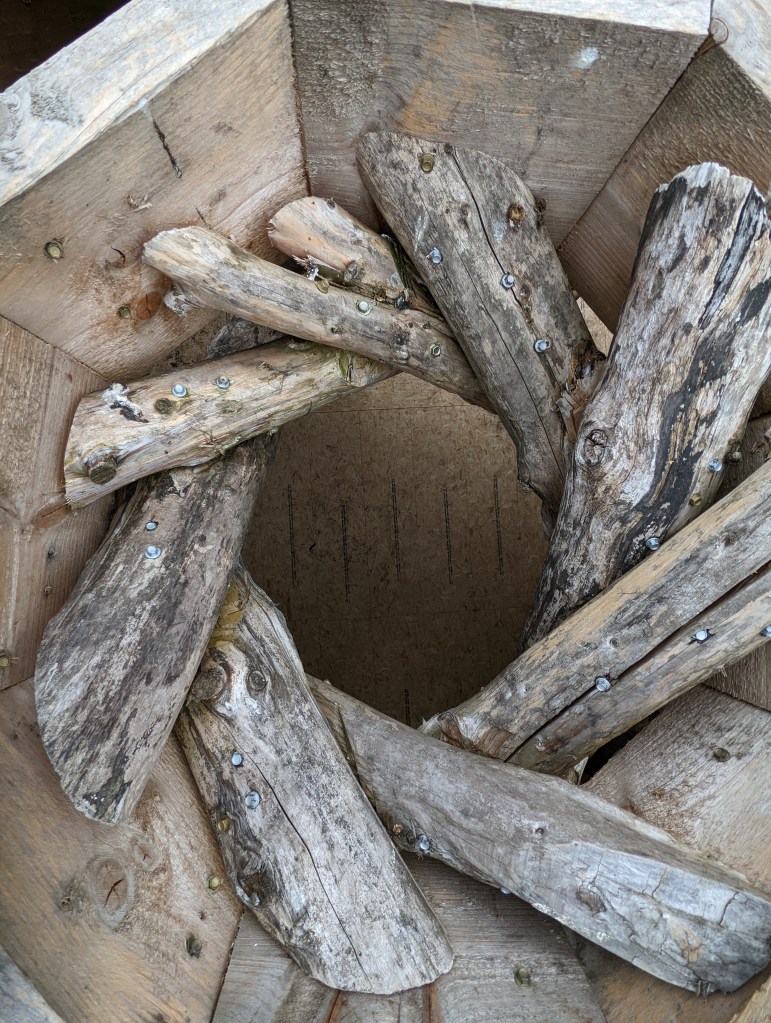
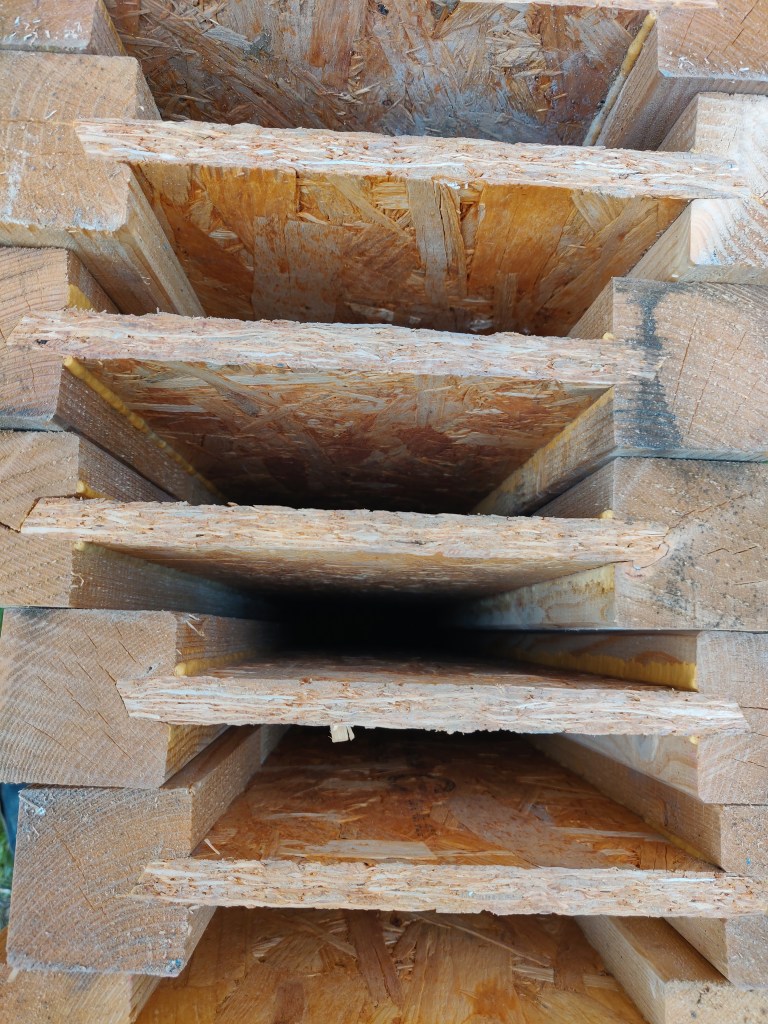
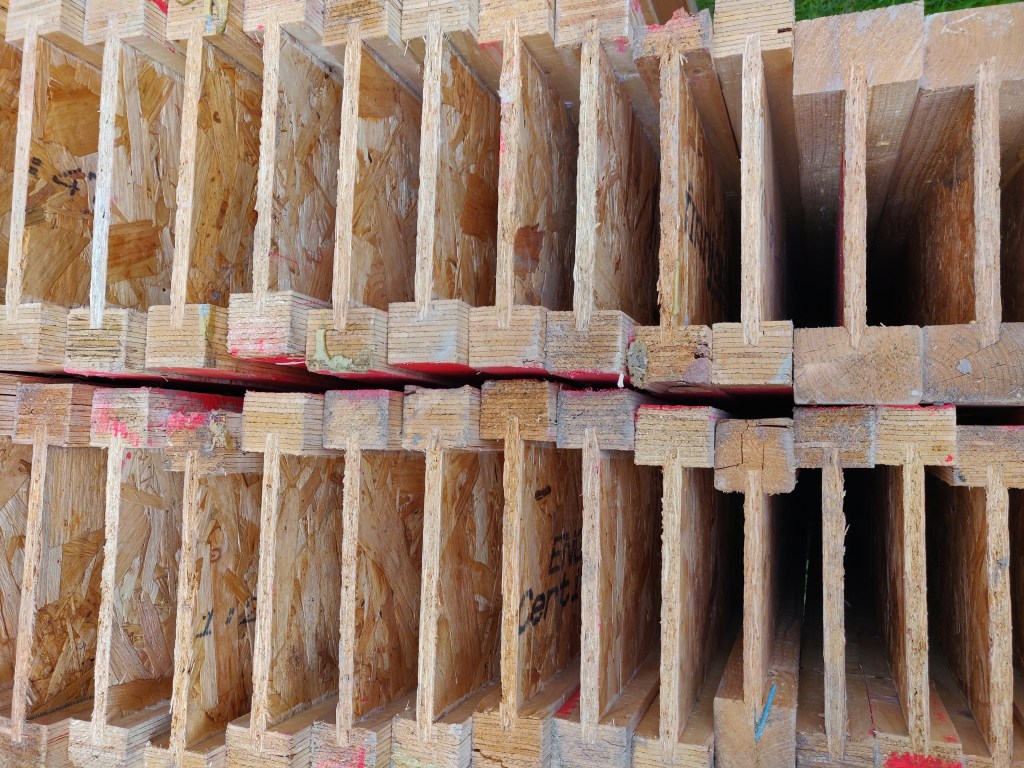
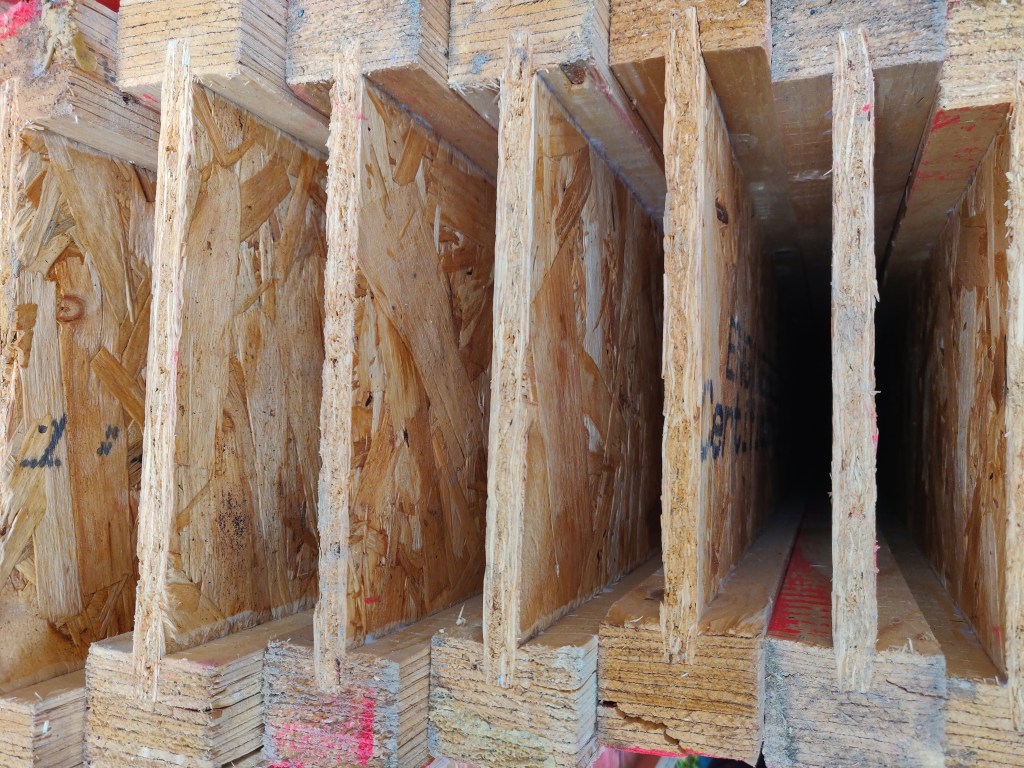
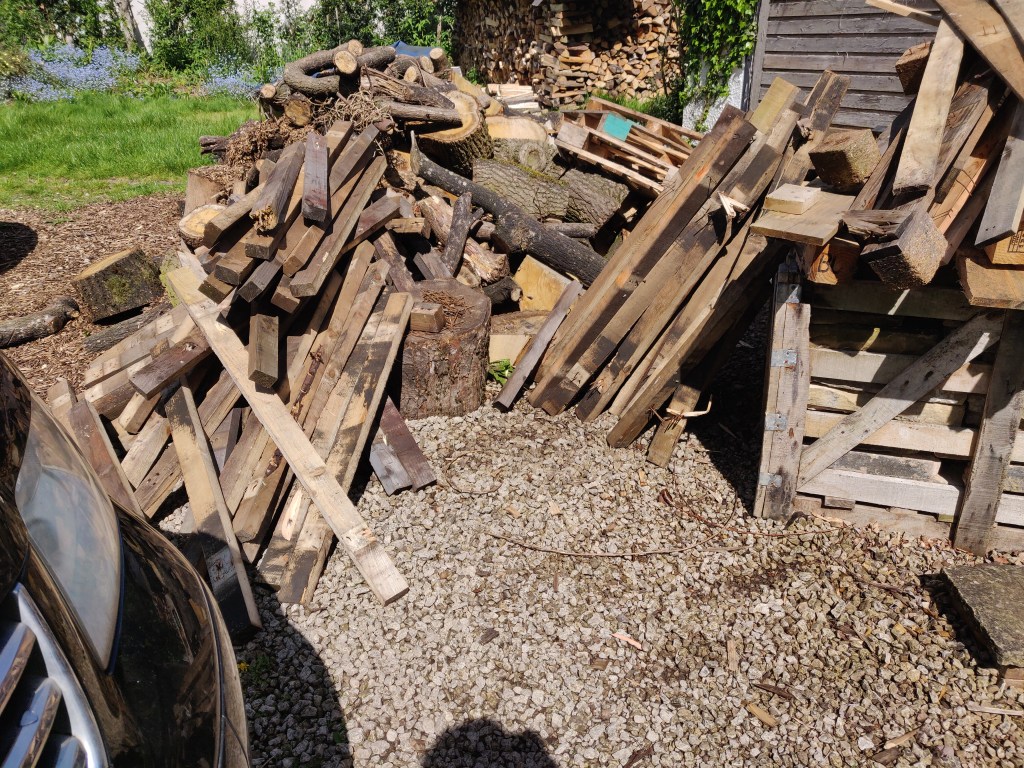
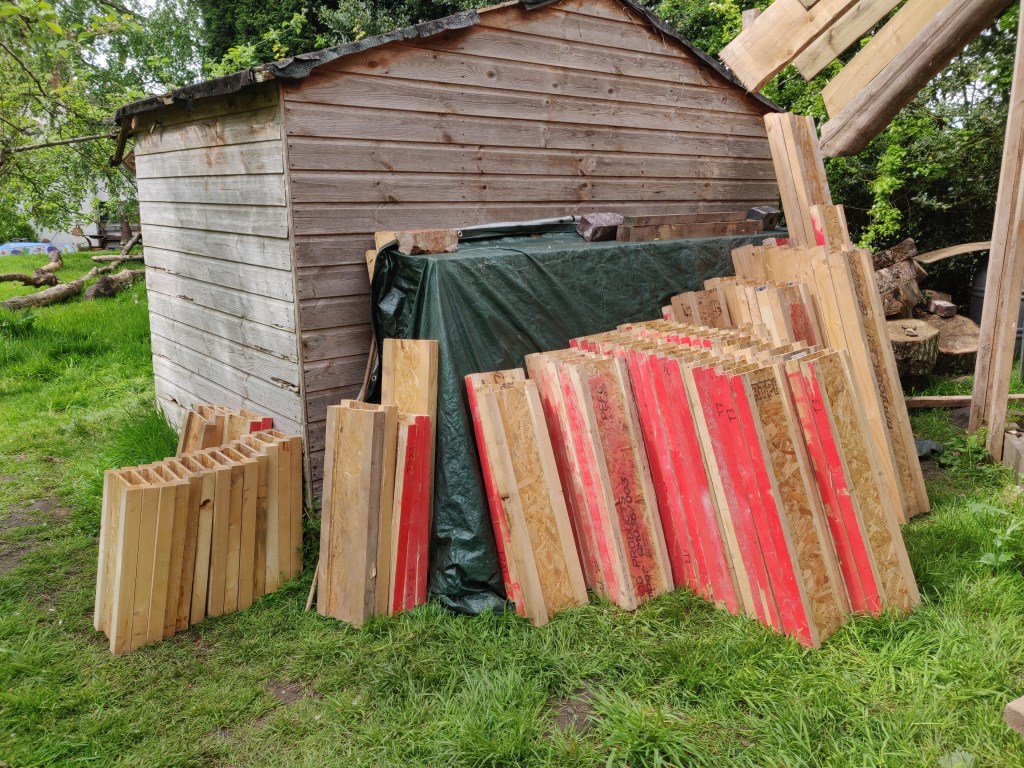
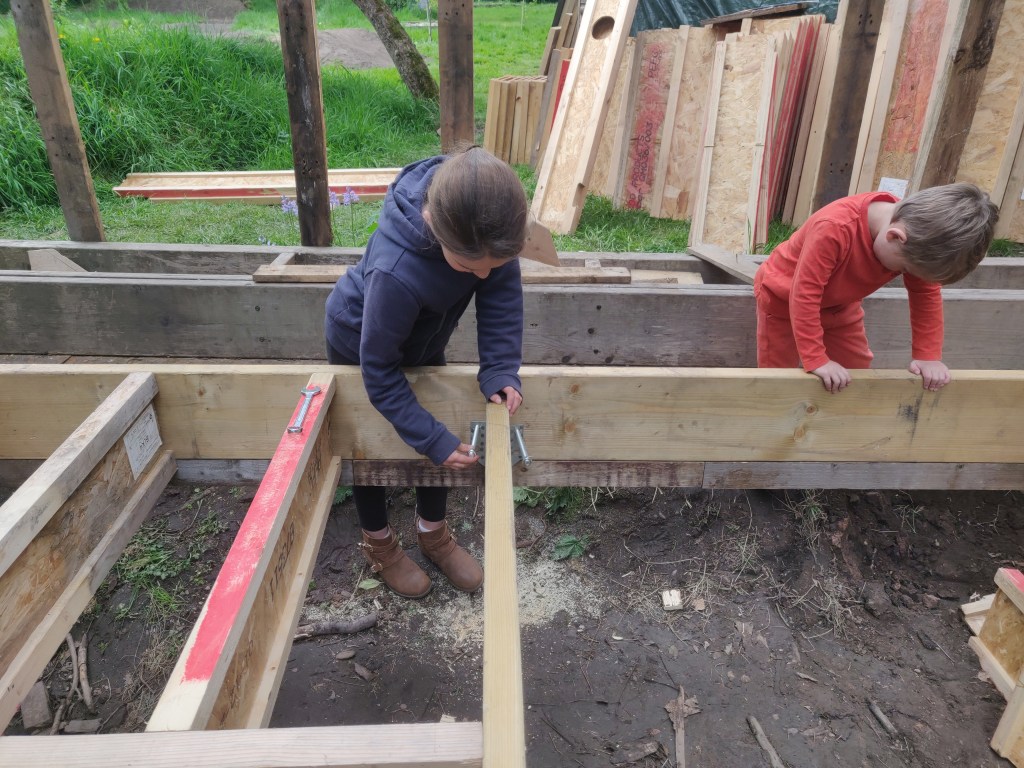
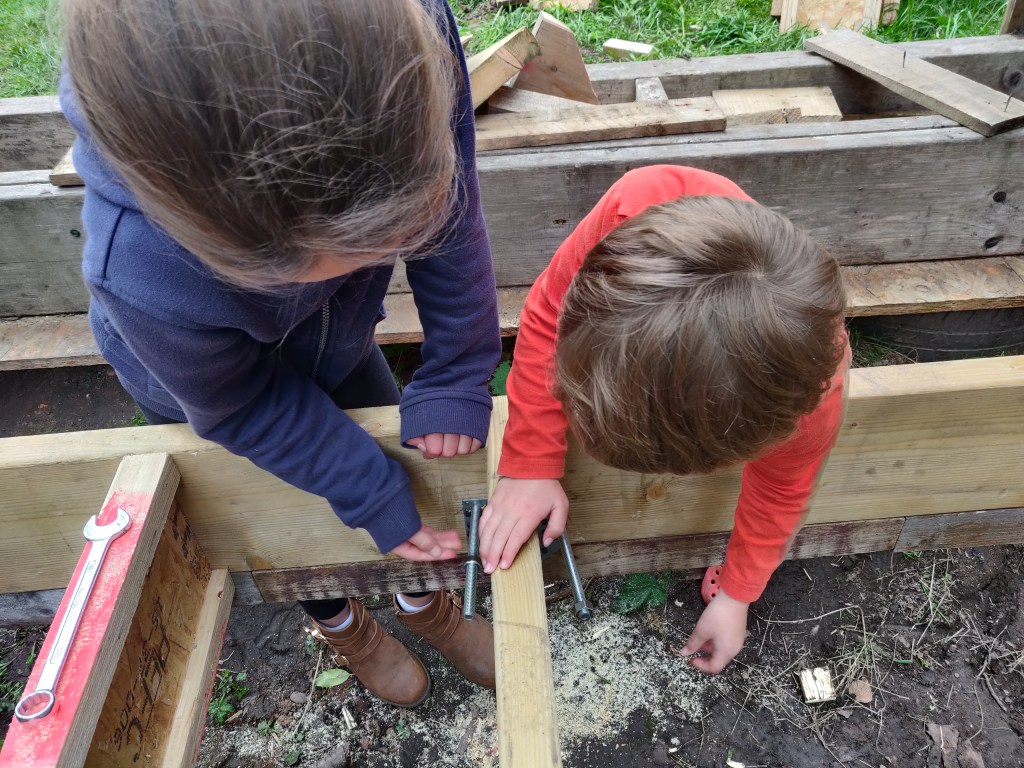
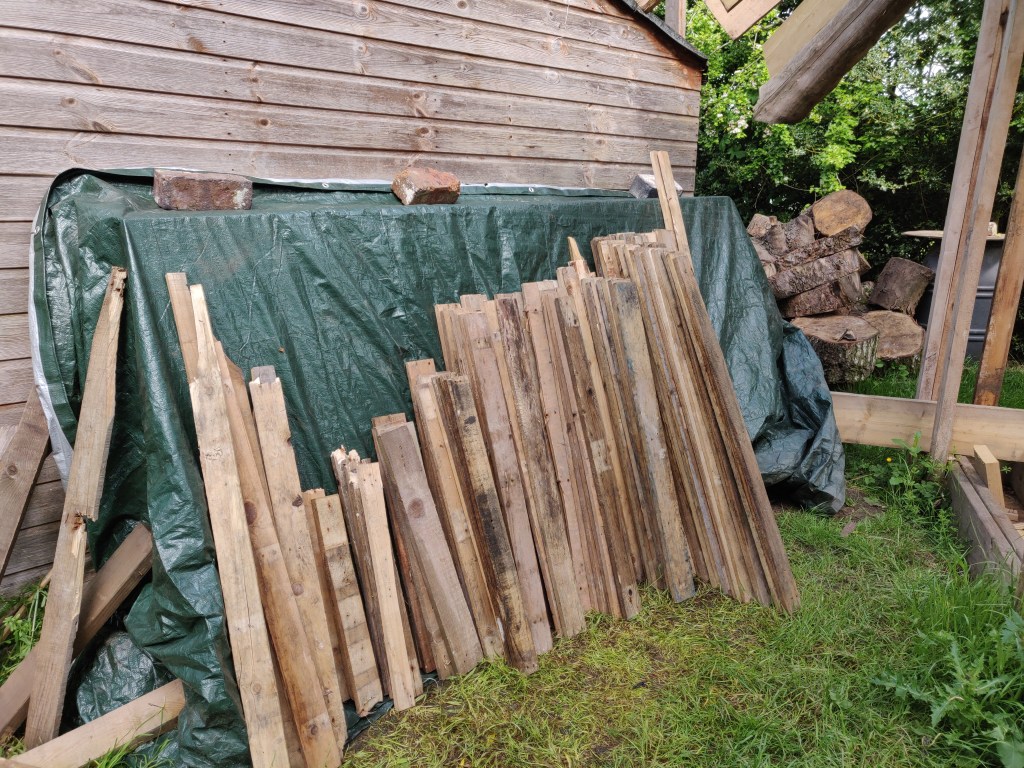
    I was very fortunate to get a lot of I beams very cheap online. I filled the gaps between them using broken up pallets.

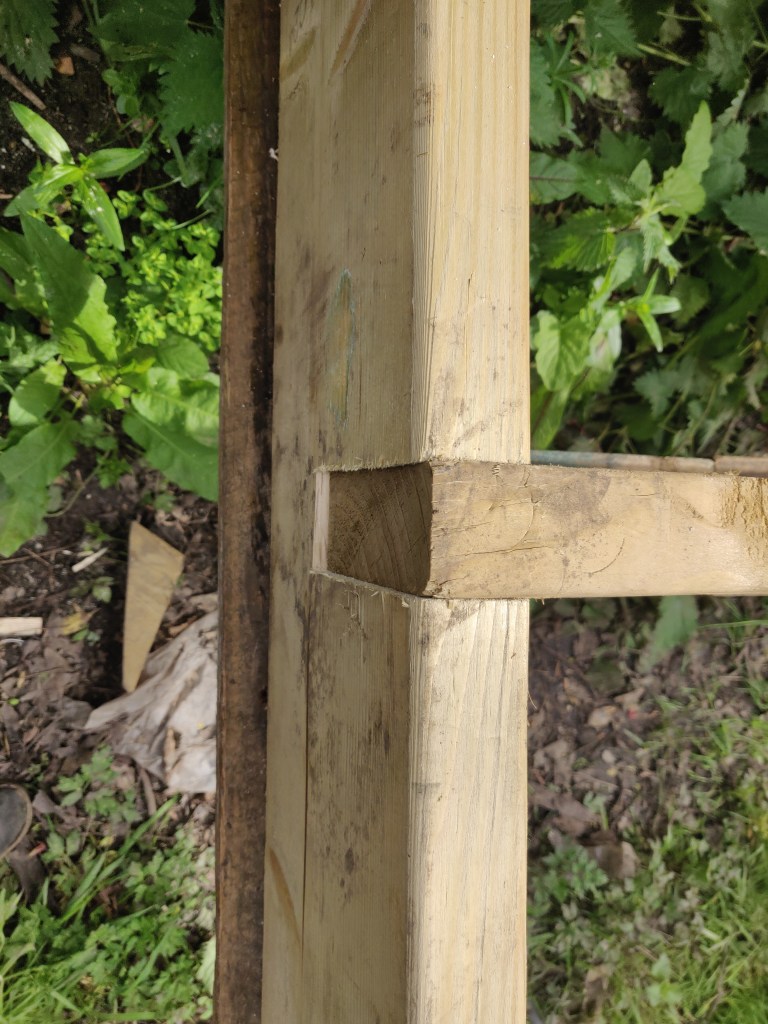
    Some joints

    Side view

    Top view

  • June 2022 Update

    June 7th, 2022
  • May 2022 Update

    May 7th, 2022
  • The Jack Rafters

    April 25th, 2022

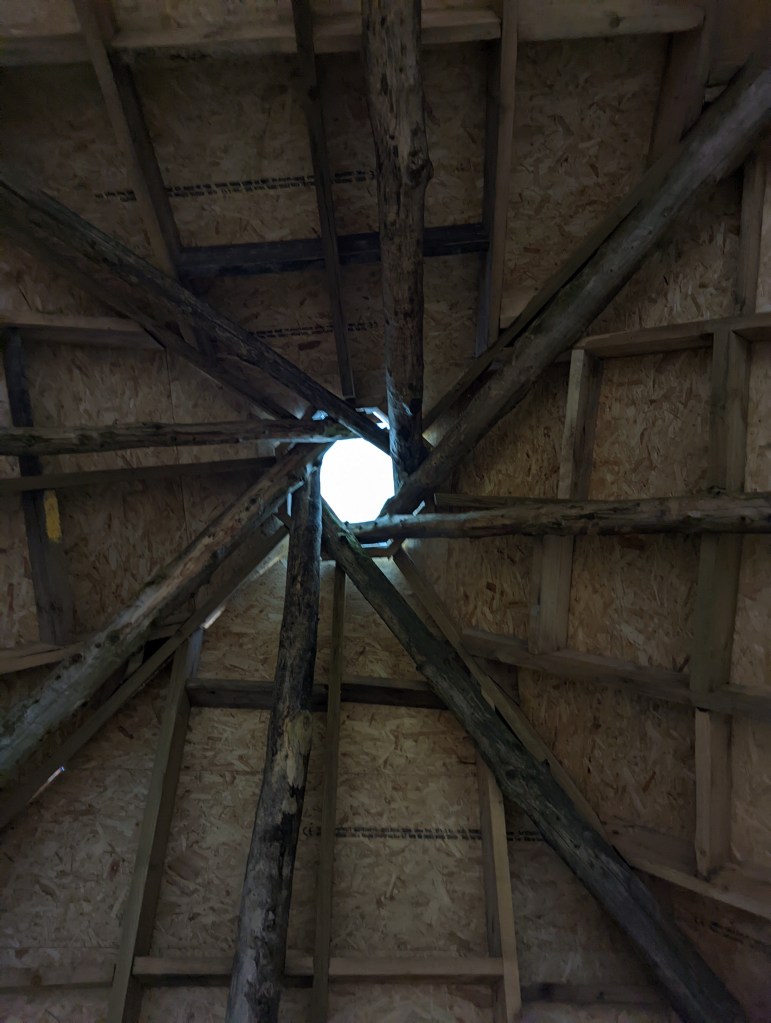
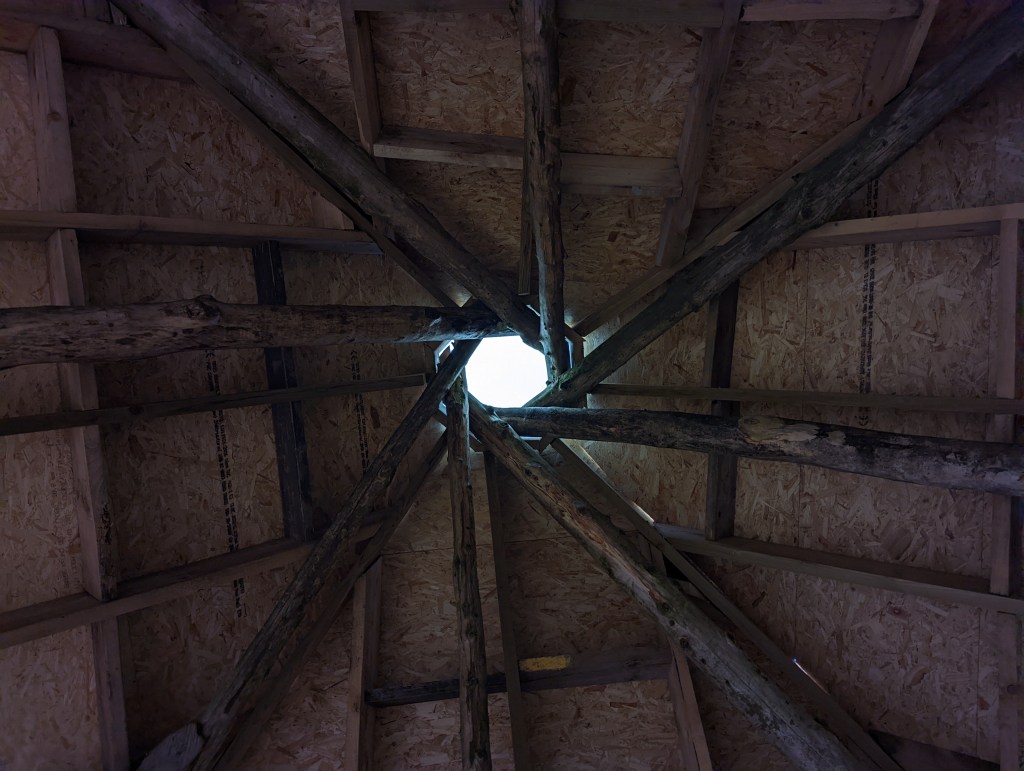
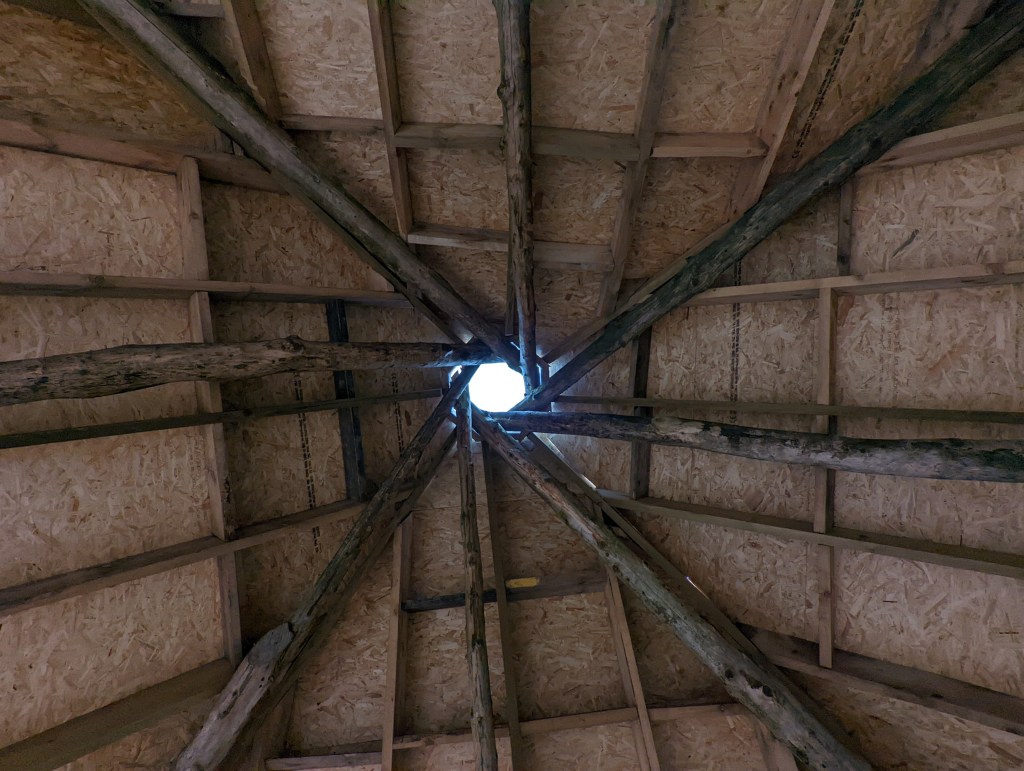
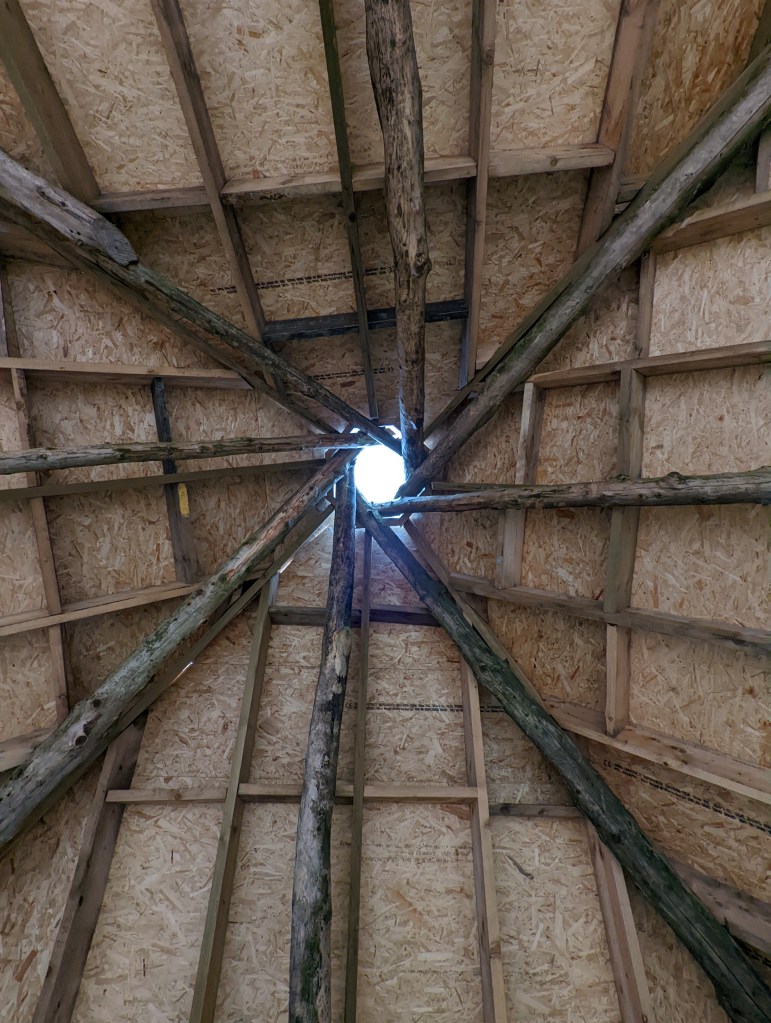
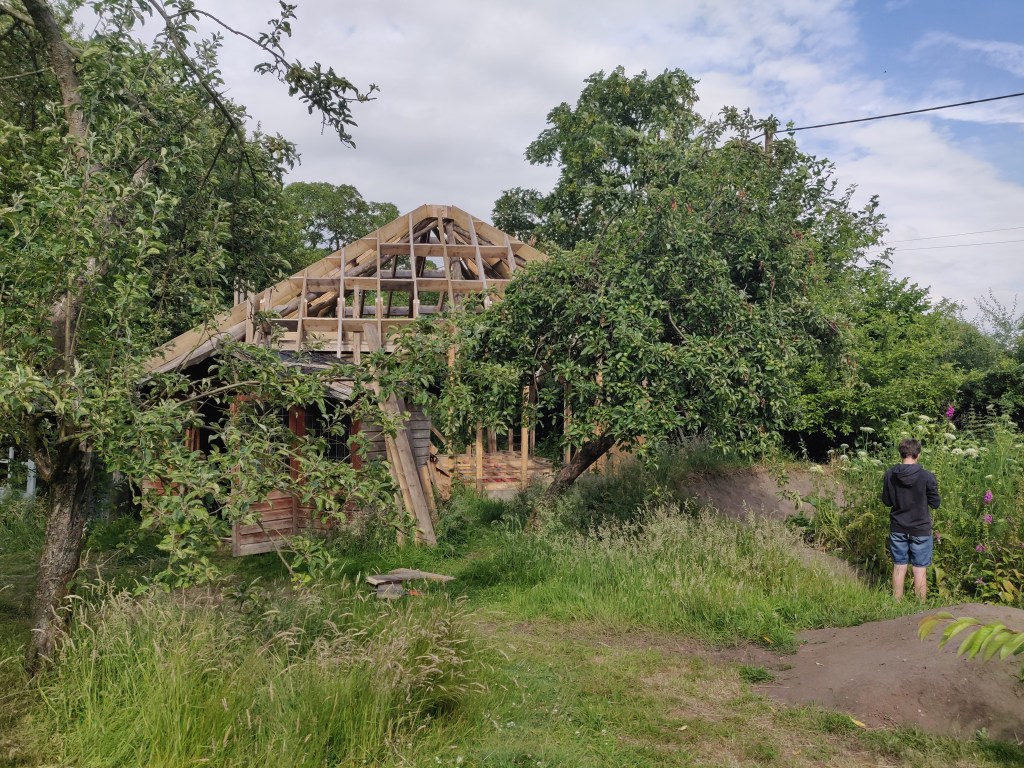
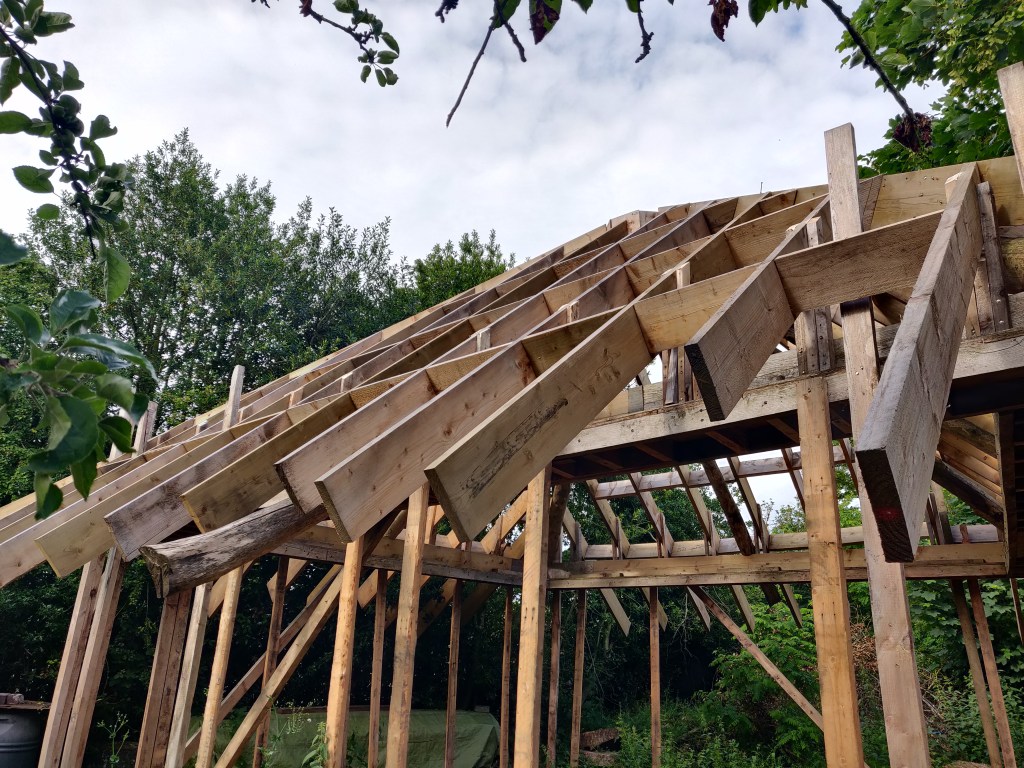
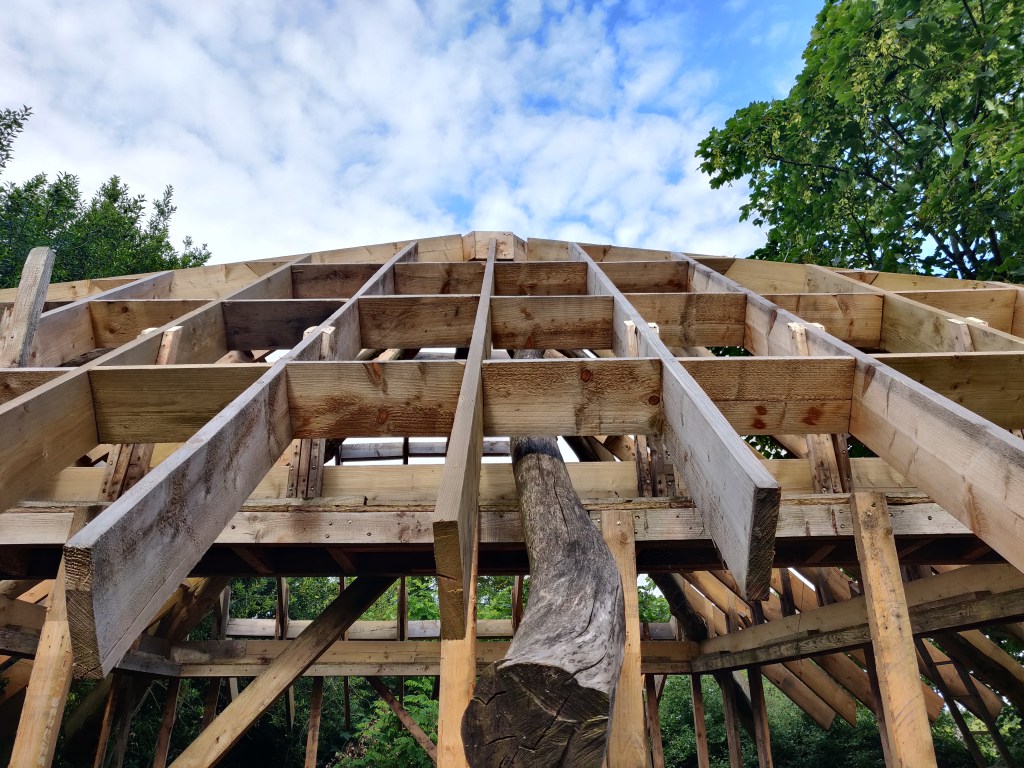
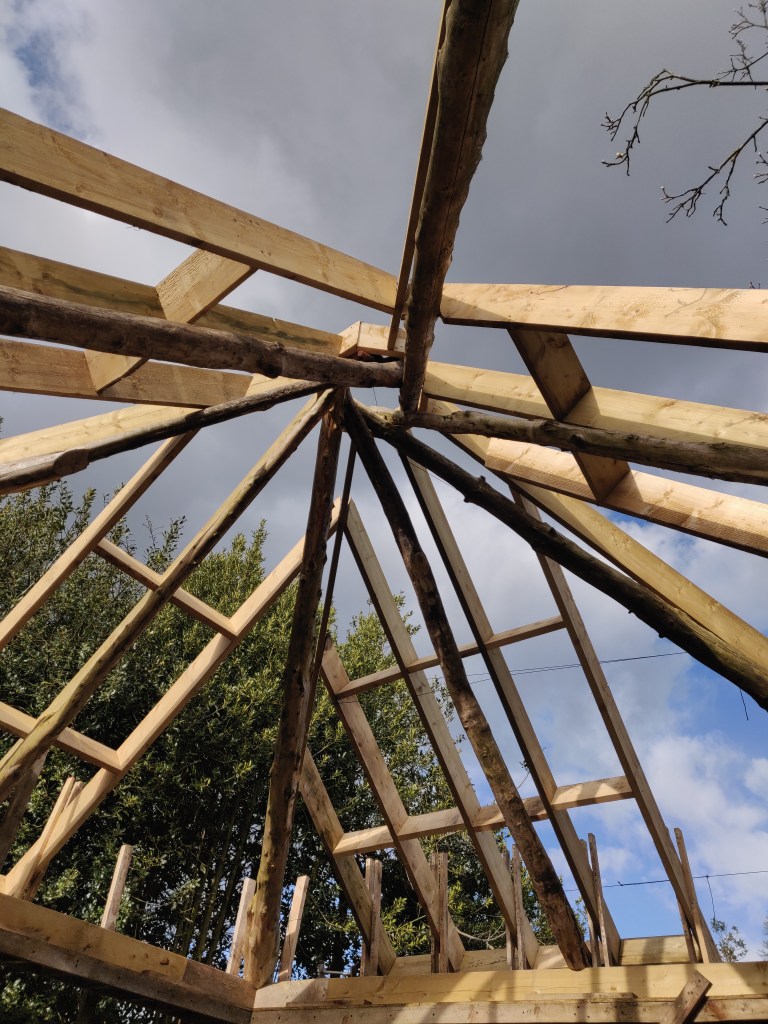
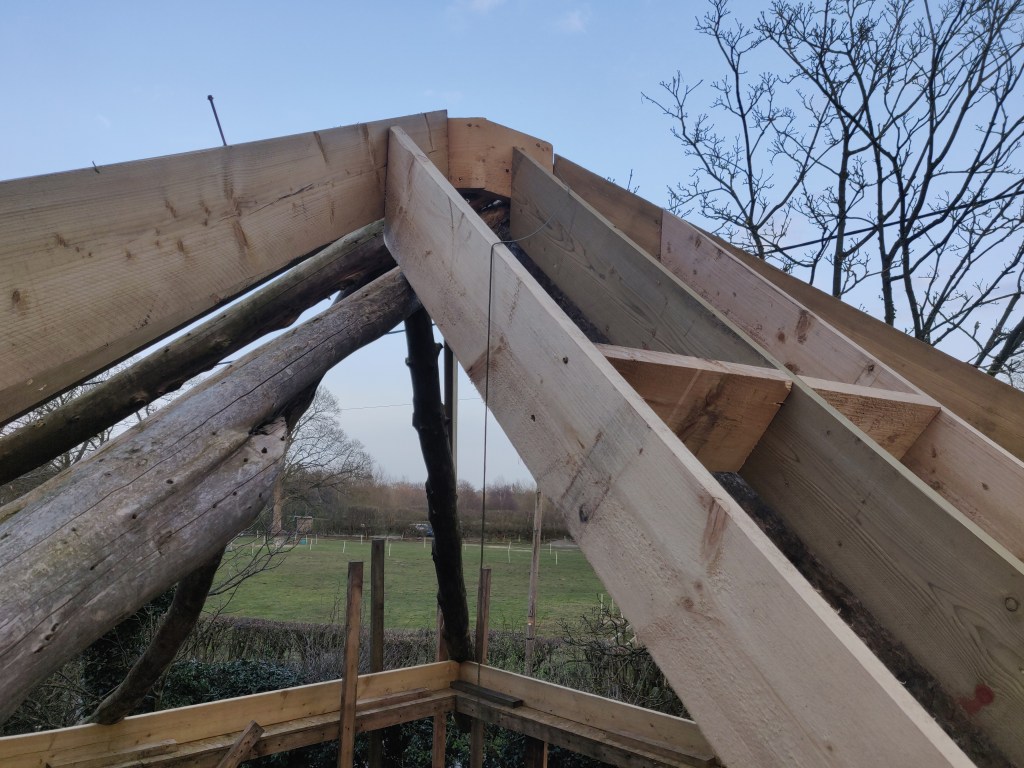
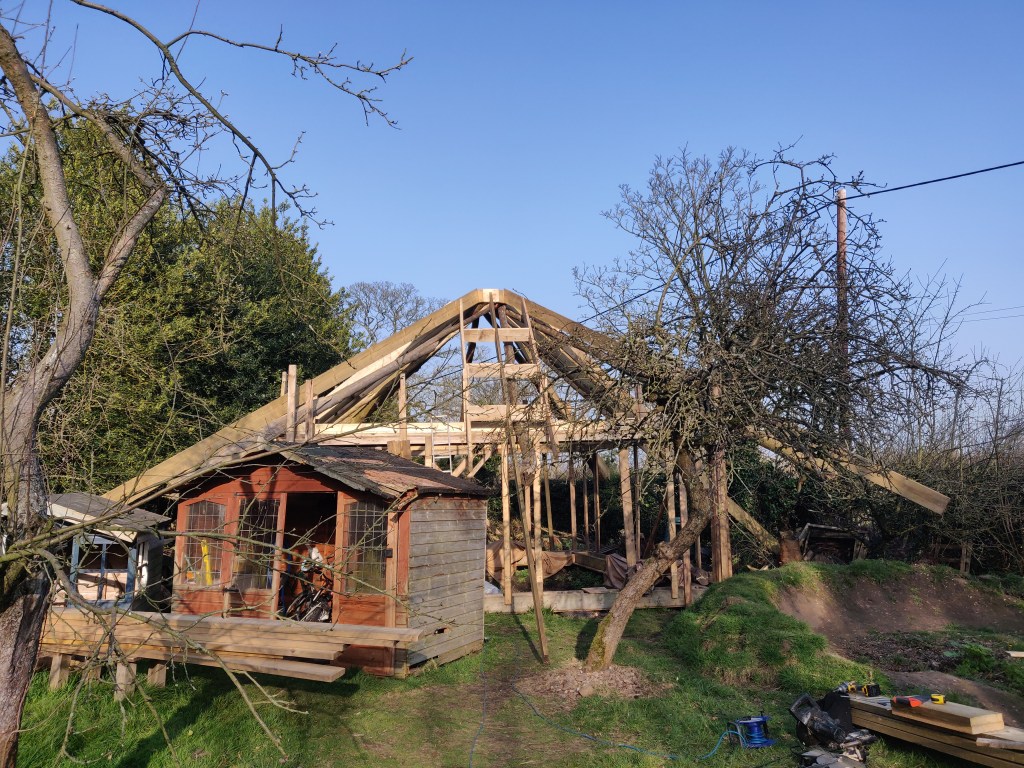
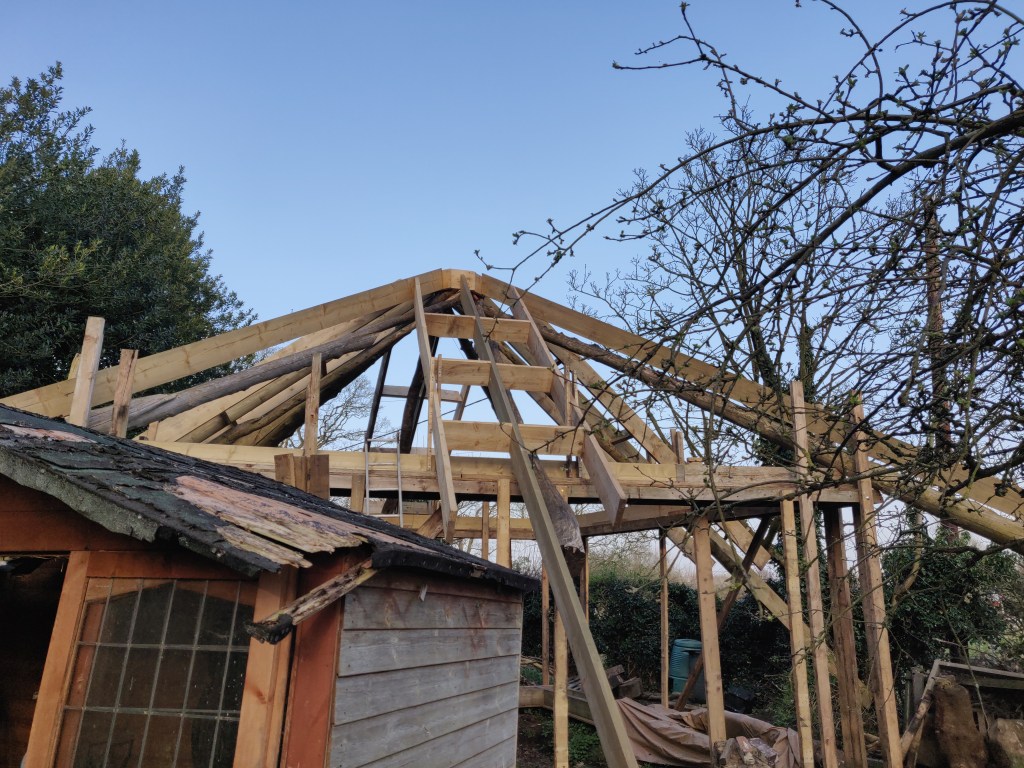
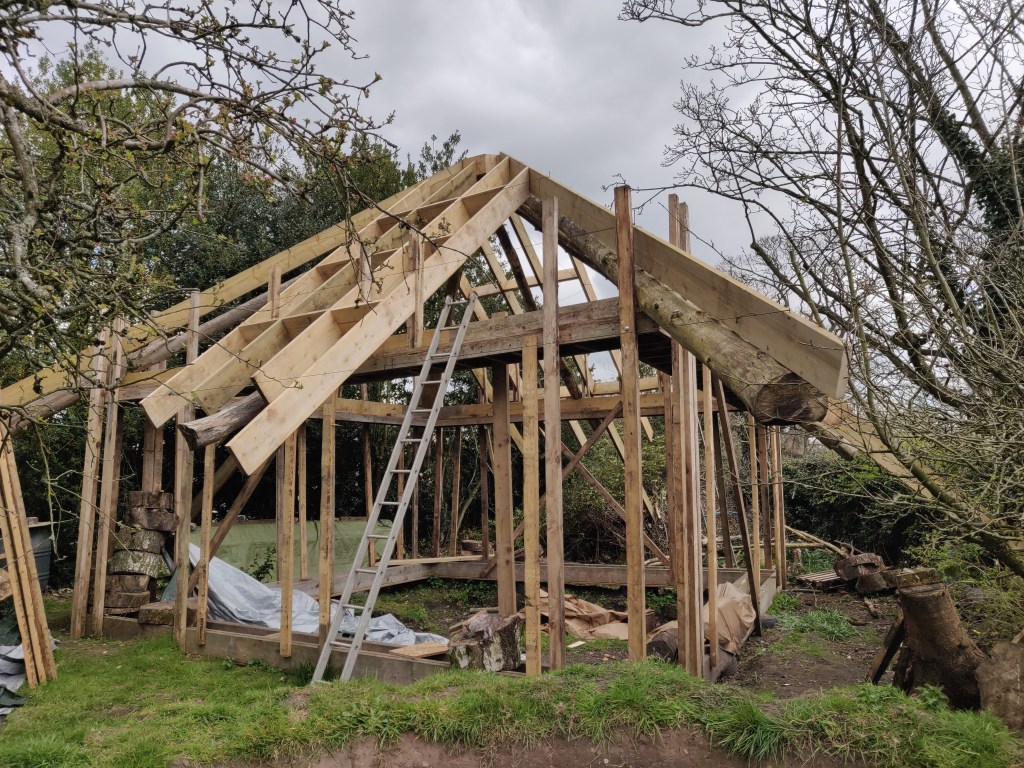
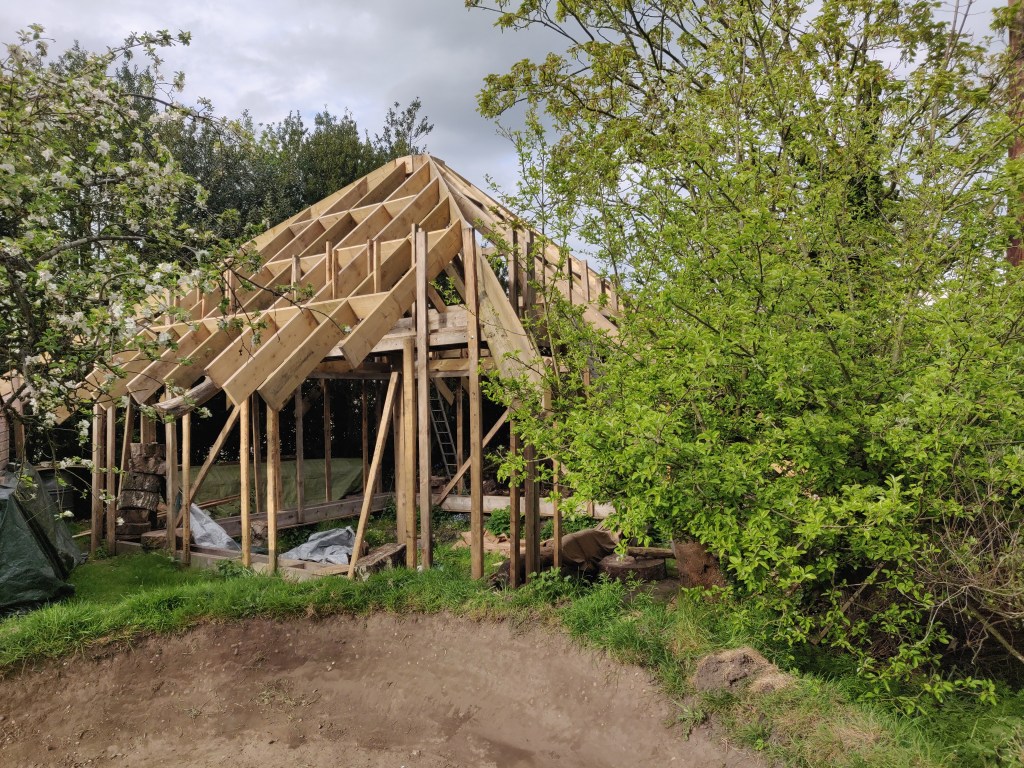
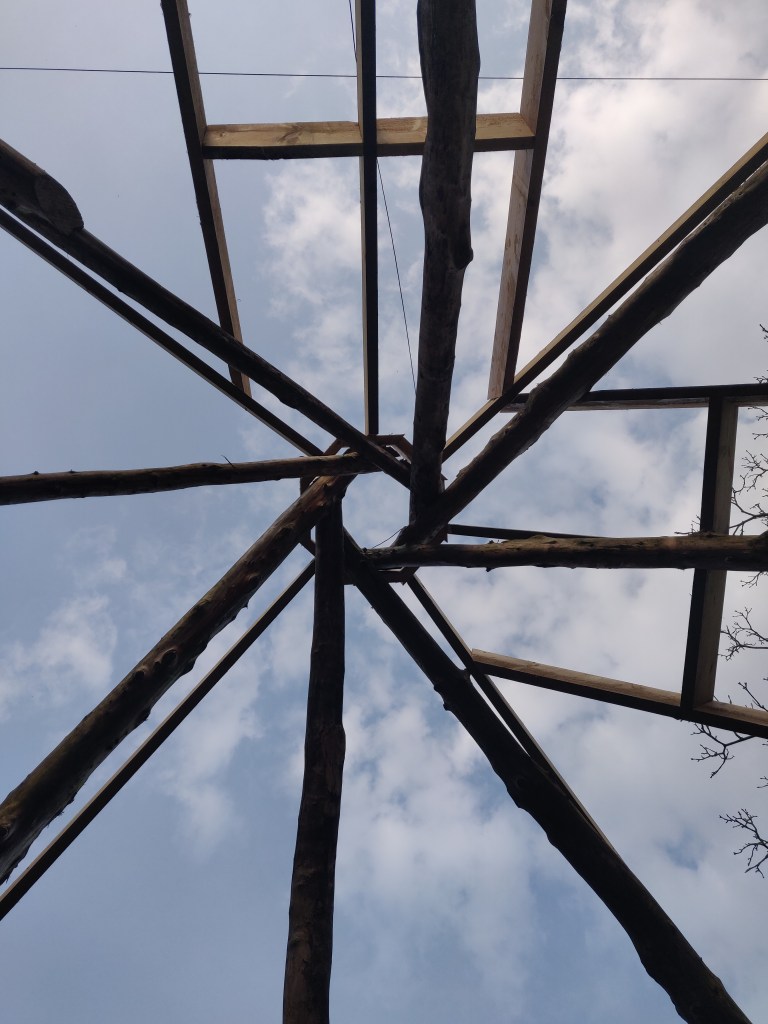
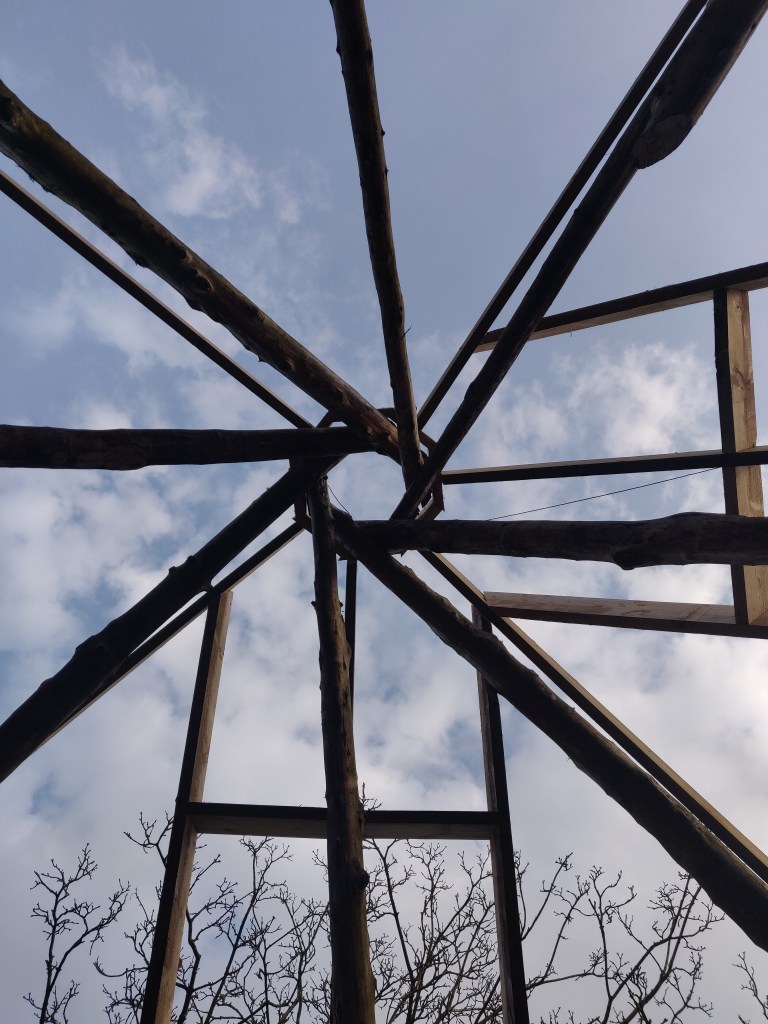
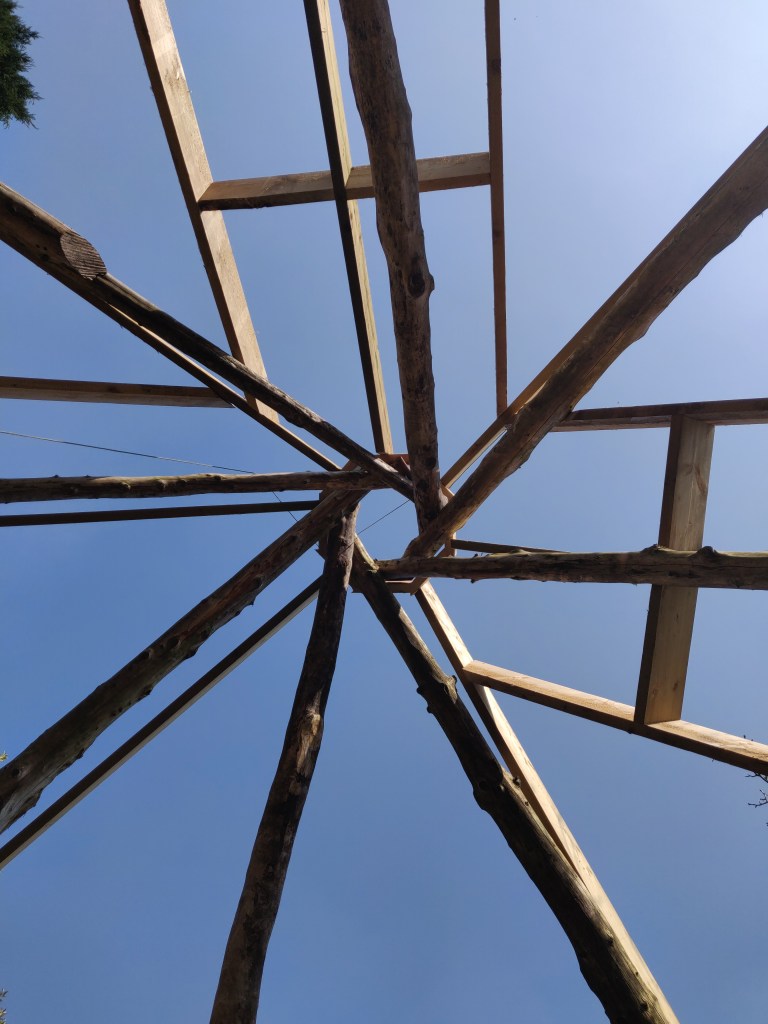
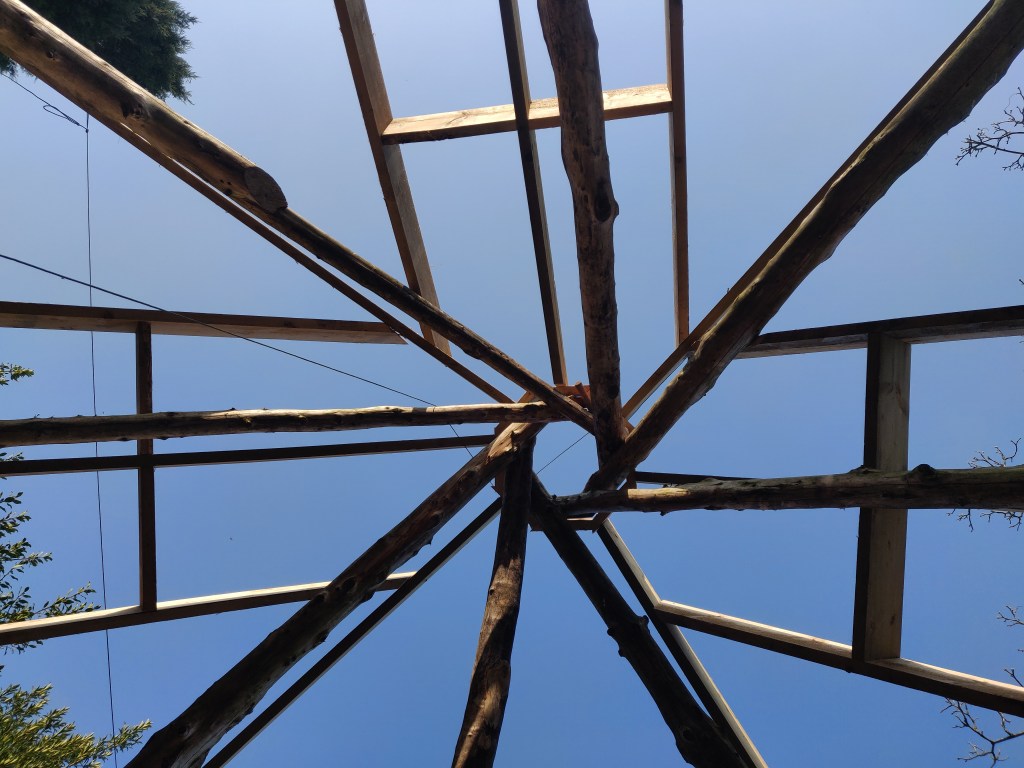
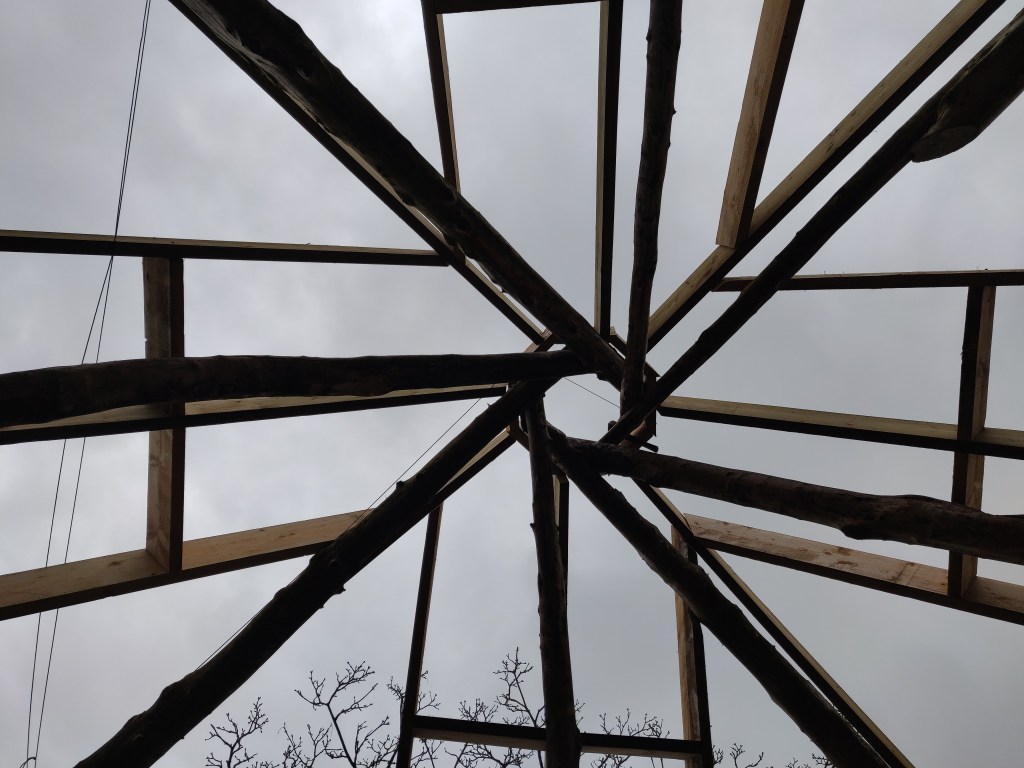
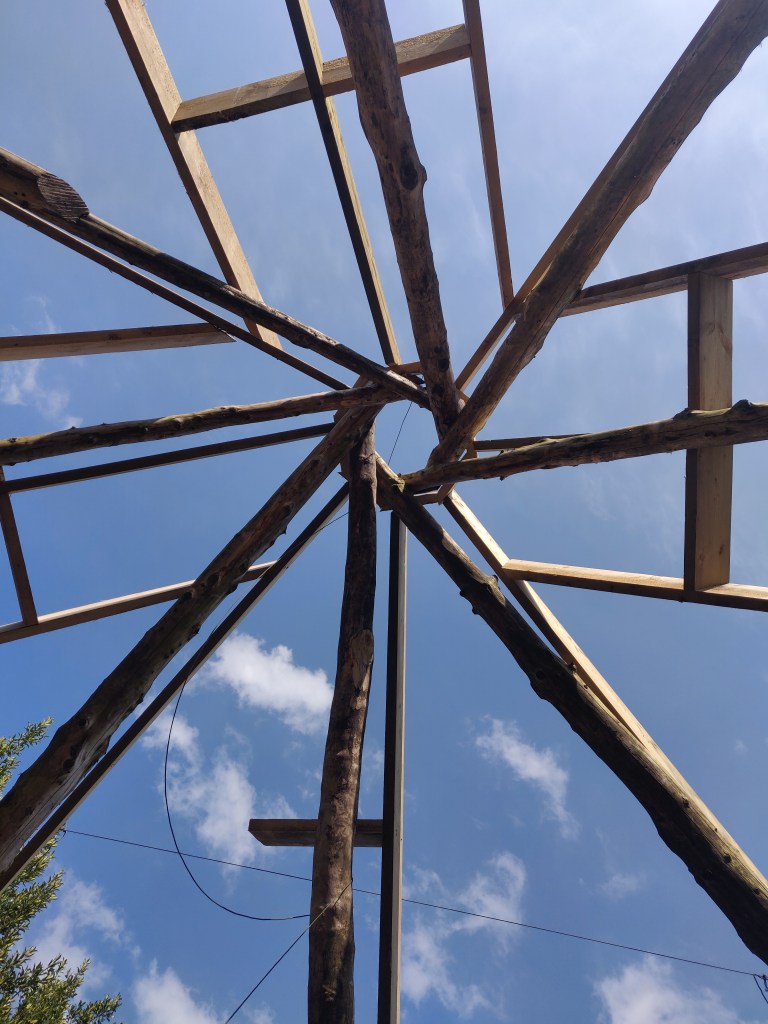
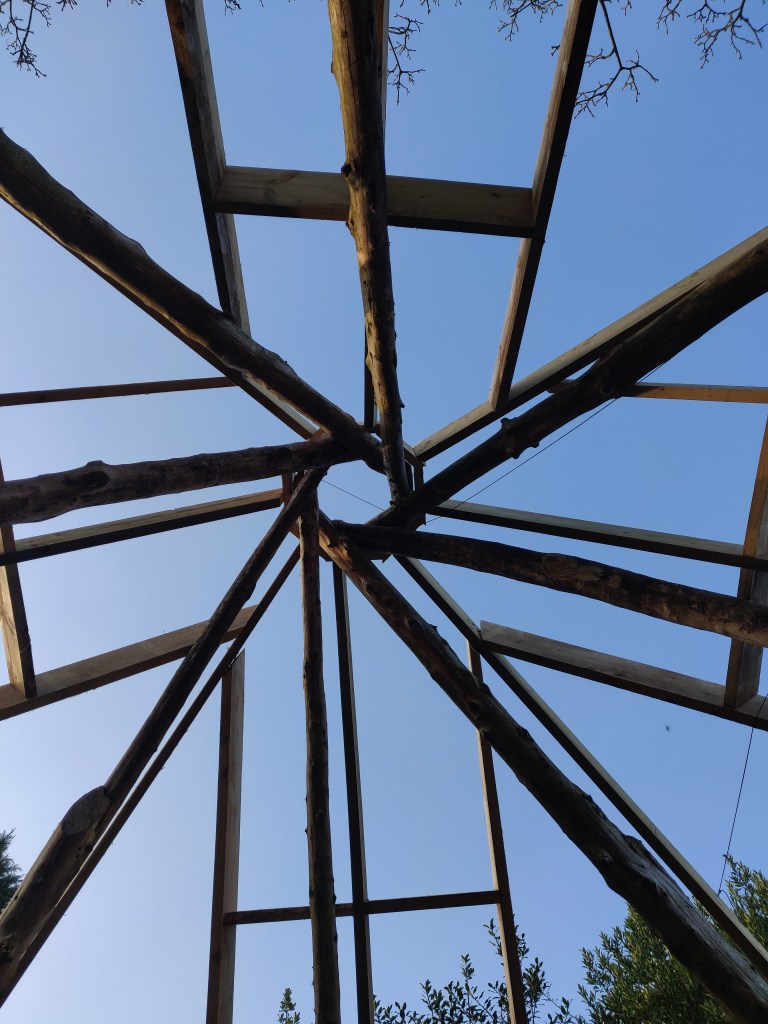
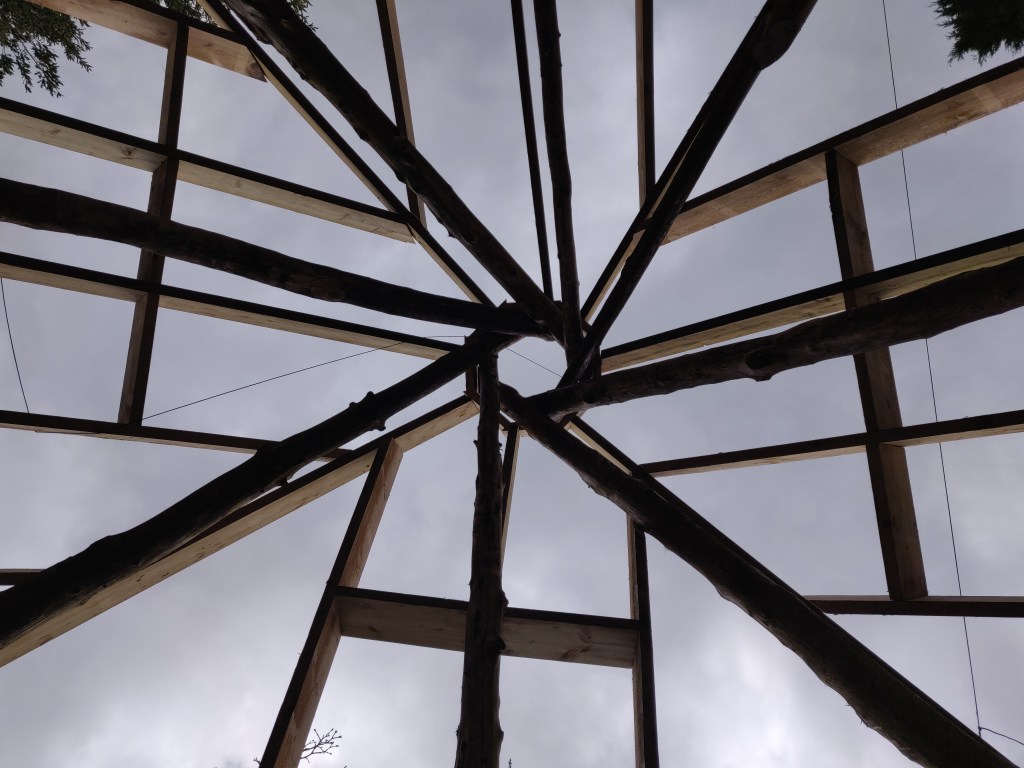
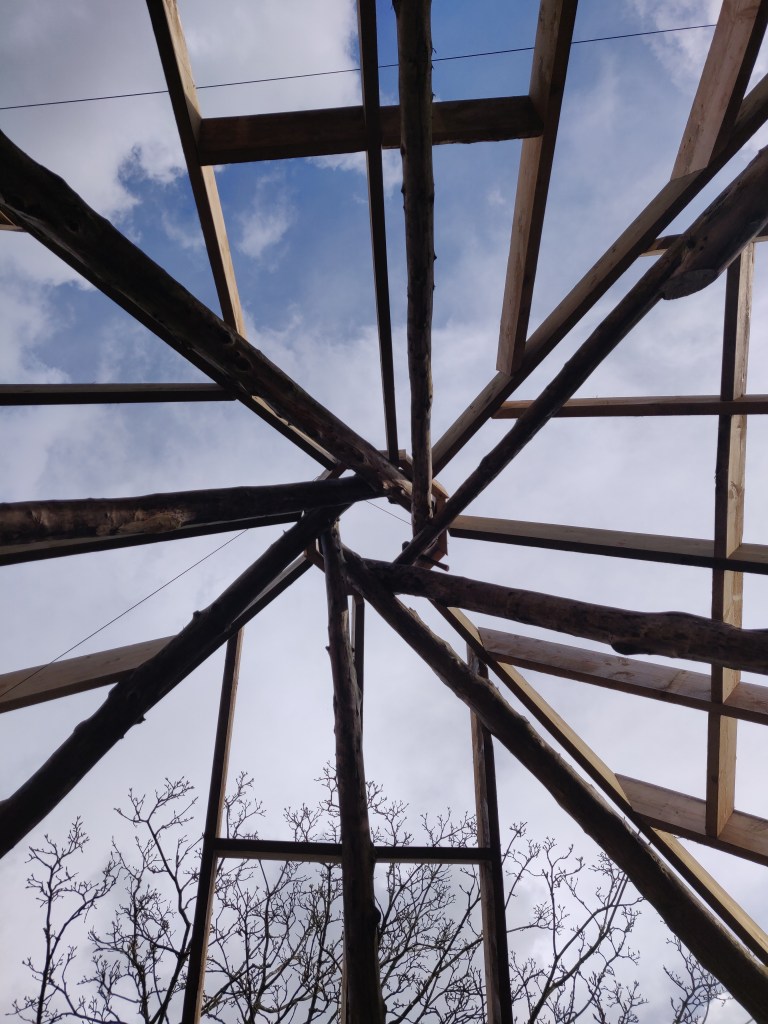
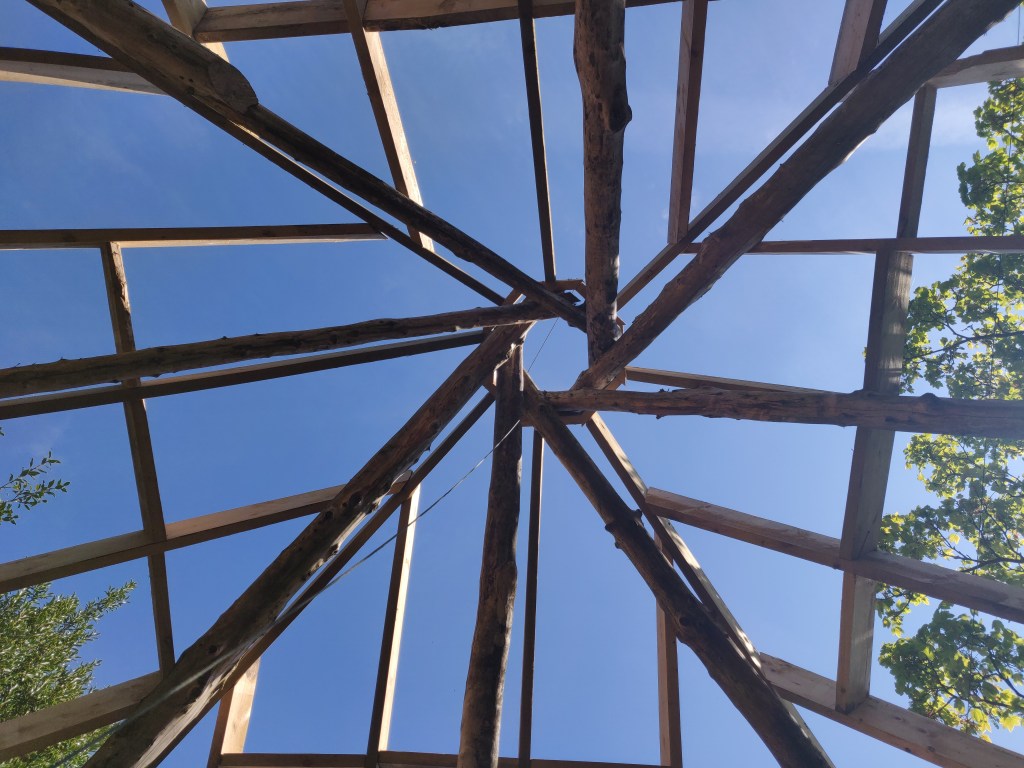
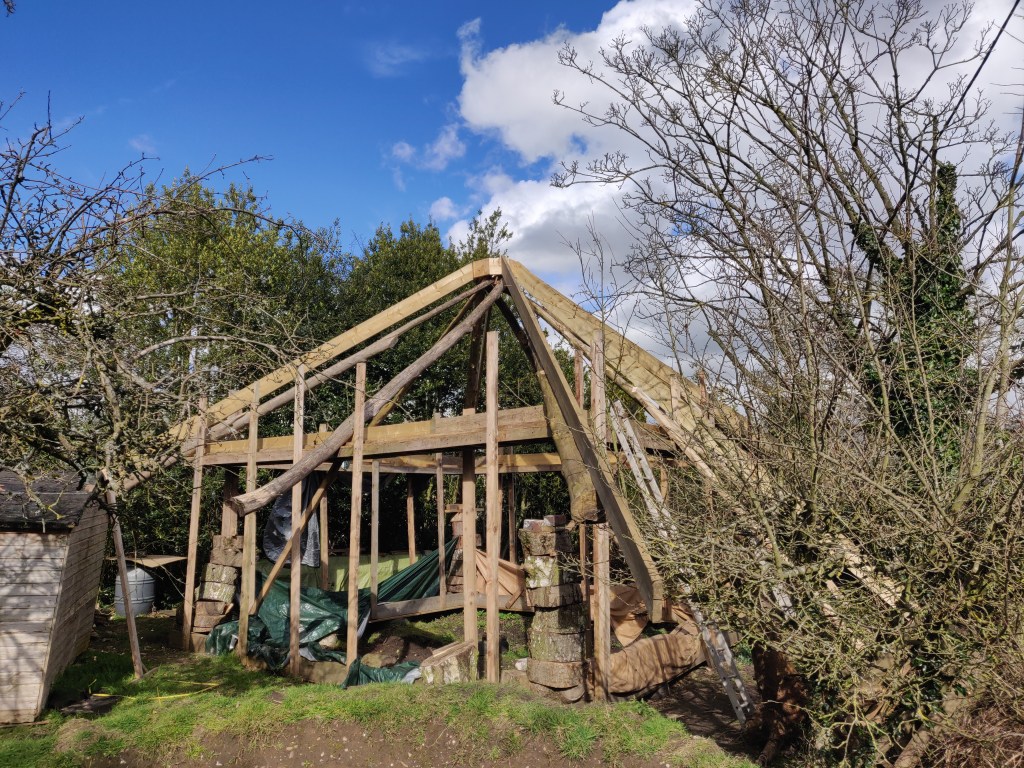
    Jack rafters fill in the gaps between the hip rafters. One difficult part of this is getting them all level. I tied paracord from one hip rafter to the next as a rough level.

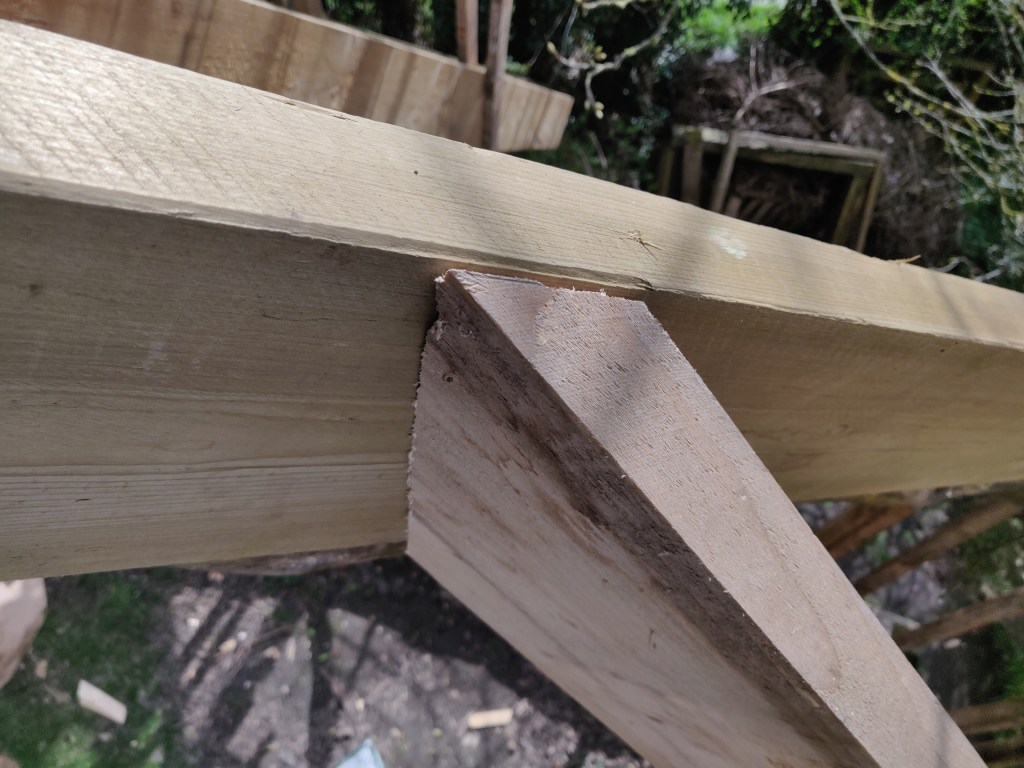
    Another difficulty is getting the angles correct. These timbers join the hip rafters so they are angled in two dimensions. I used an angle measurer to match the angles on the hip rafters. Every one had to be individually cut to size as nothing is standard. I cut them all using a handsaw. A cut like this that goes in two different angles is hard to cut by hand, but after a while you get the hang of it. The key is to draw the lines on the timber, then hold the timber so that both lines appear straight, and cut down that straight line.
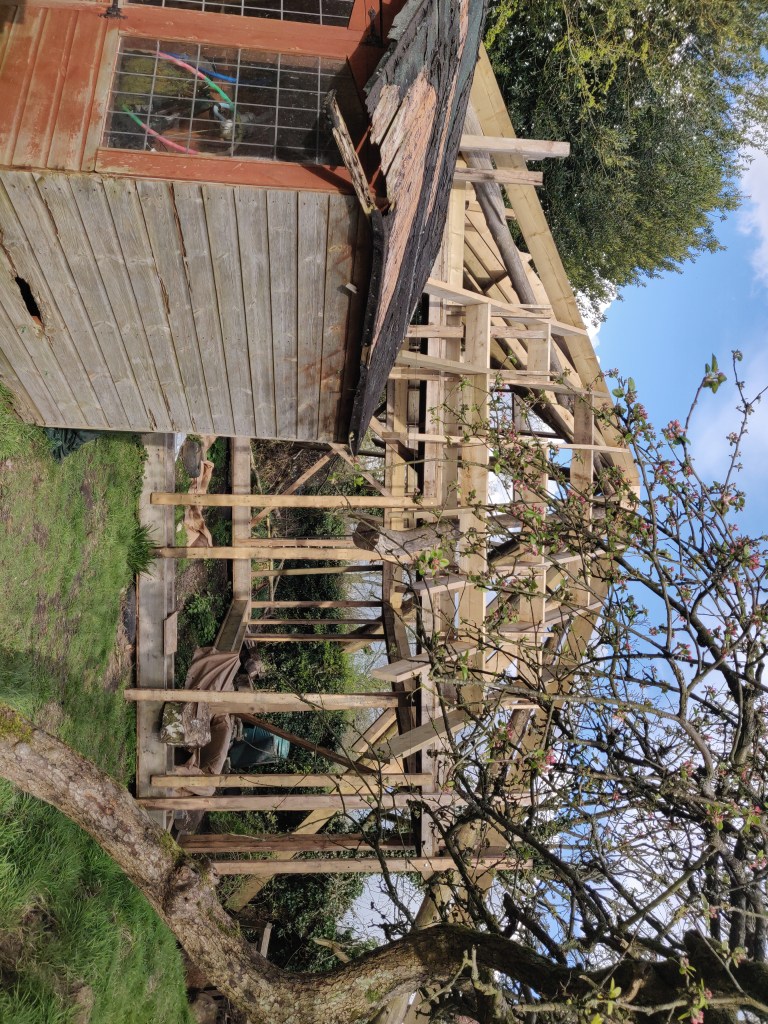
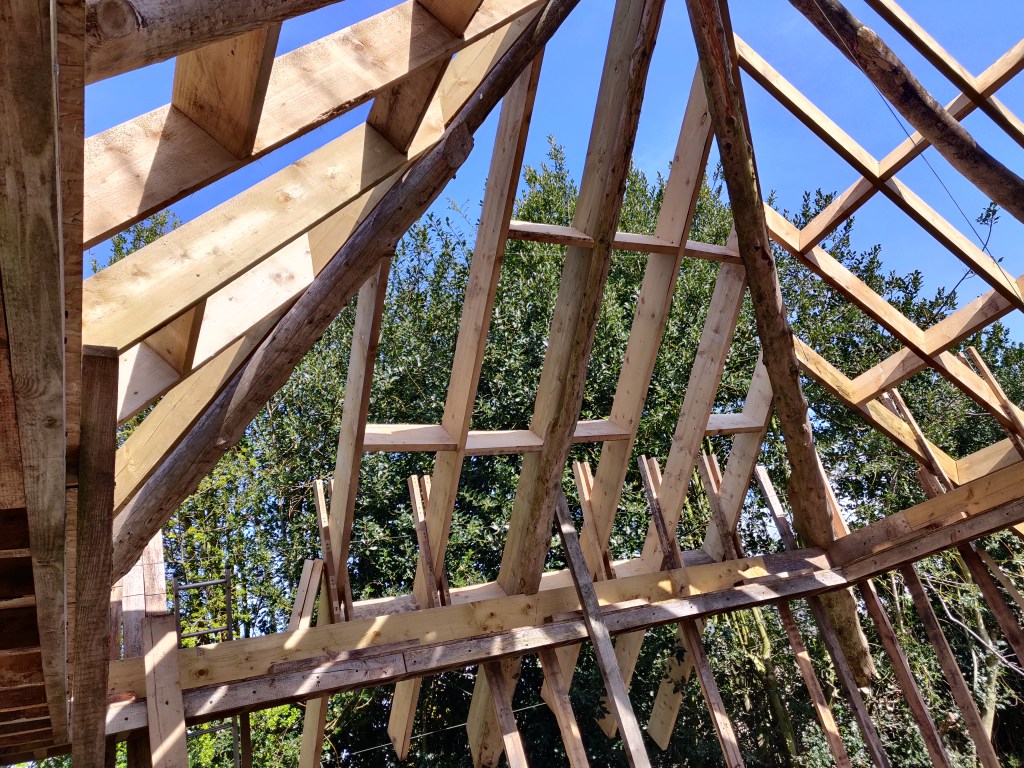
    The other tricky part was holding them in place while I attached them. I used two pieces of 2×4 recovred from pallets, to grip either side of the rafter on the roof plate, while I held the top of the rafter against the hip, and screwed it in. It often took several attempts.

    Step by step:

  • The Hip Rafters

    March 5th, 2022

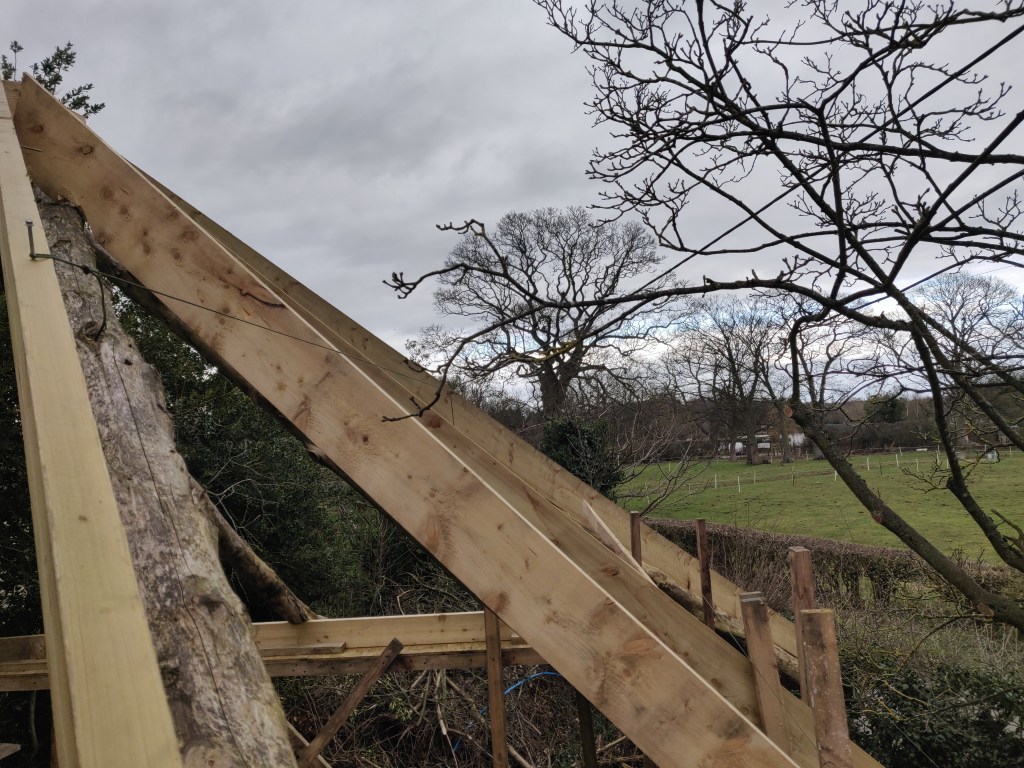
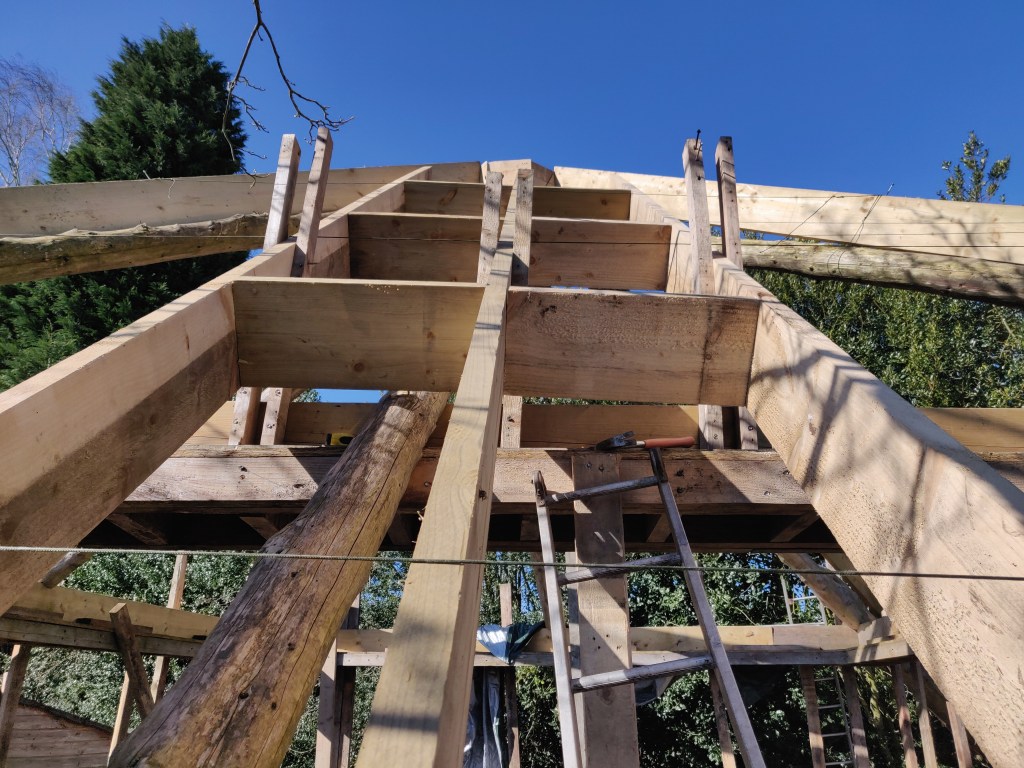
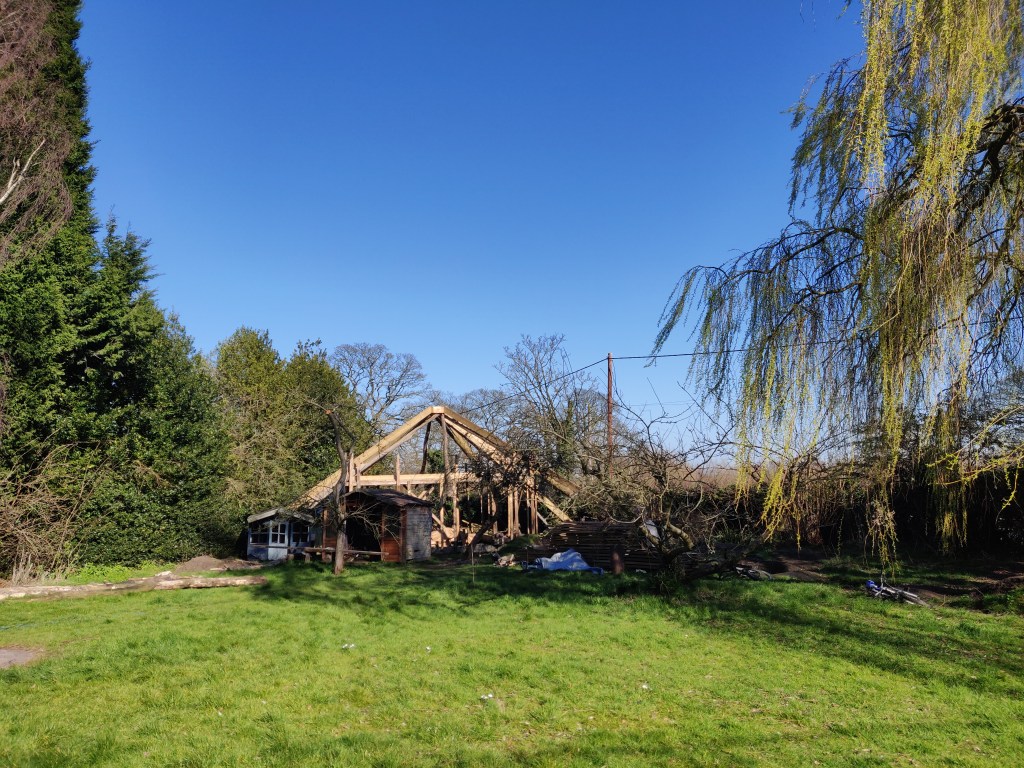
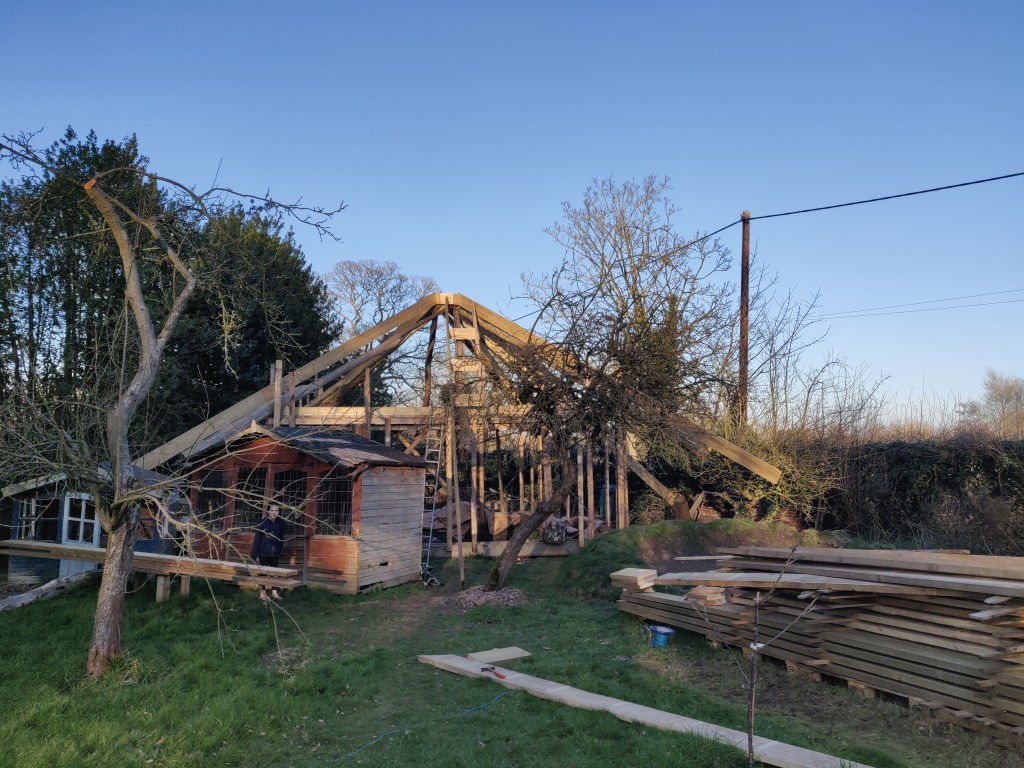
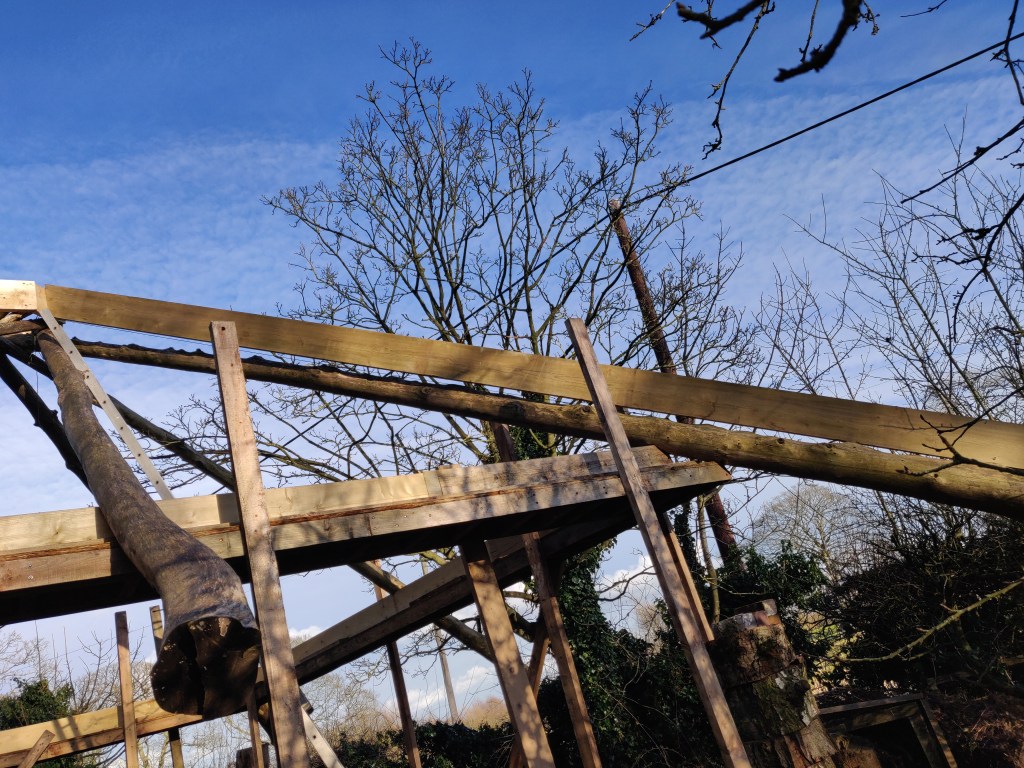
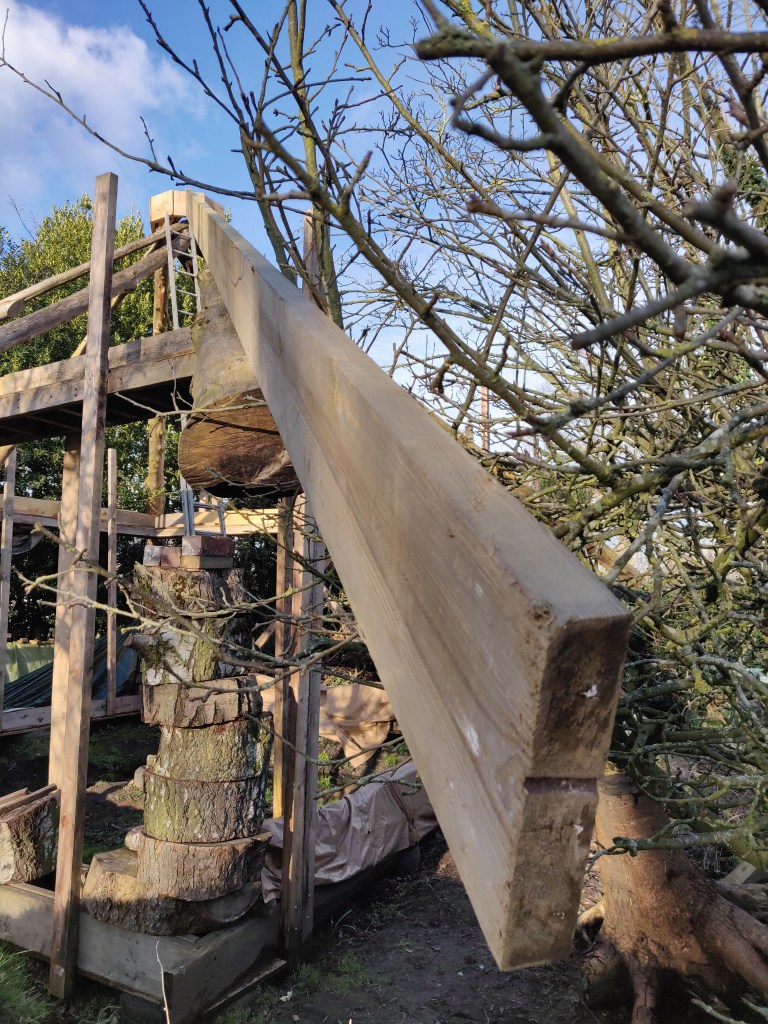
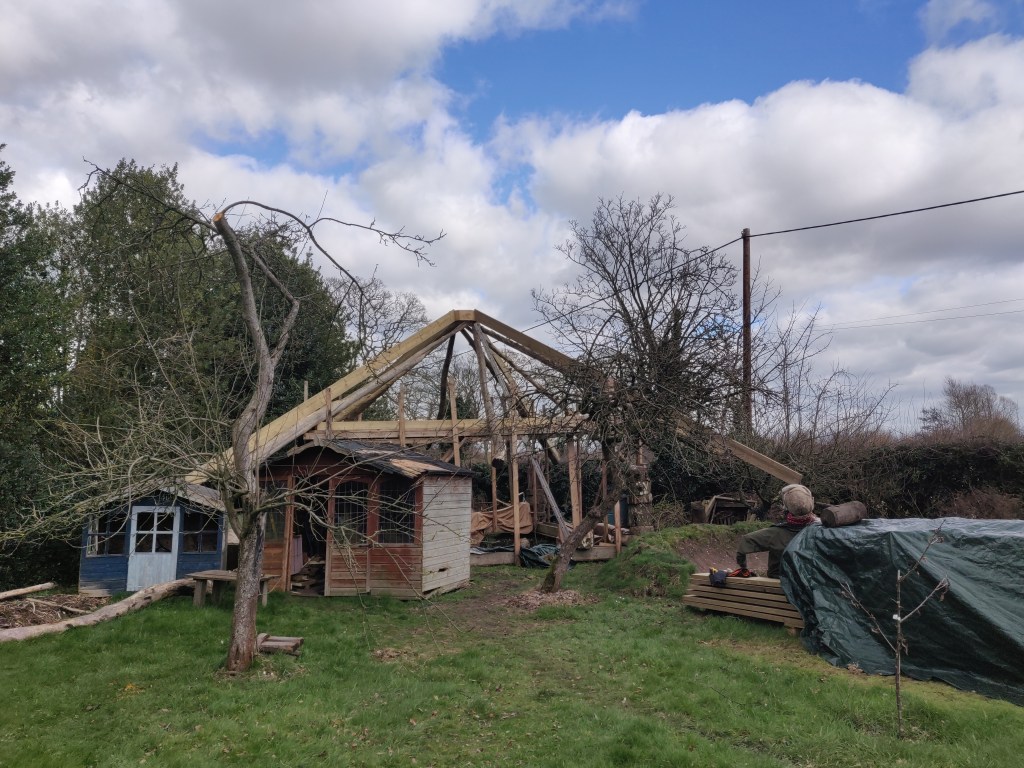
    These timbers are 10 inches by 2 inches and 10 metres long. I moved them into place on my own, cut the joints and screwed them into place. I only broke one finger.

  • The Roof Ridge Ring Beam

    February 12th, 2022

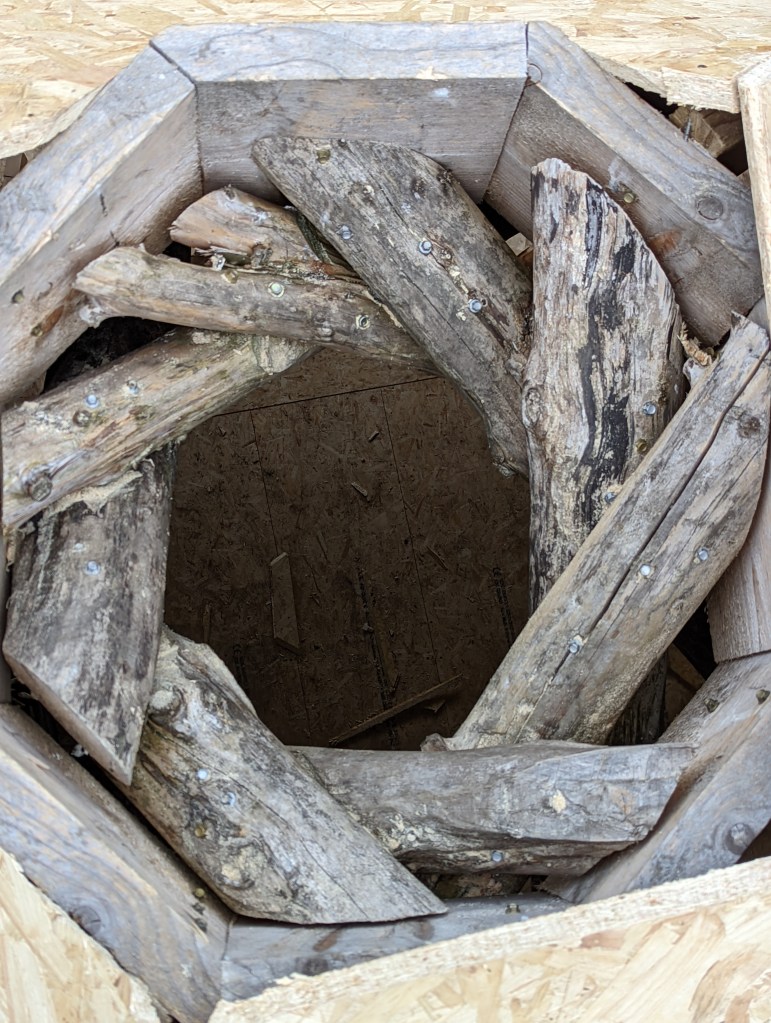
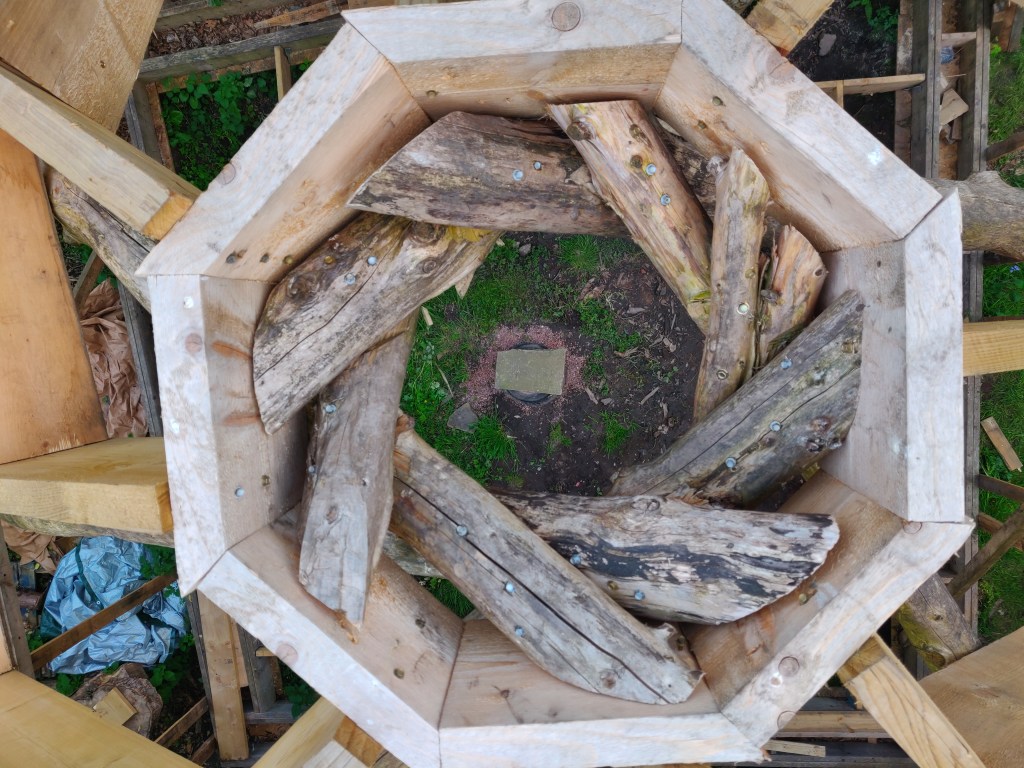
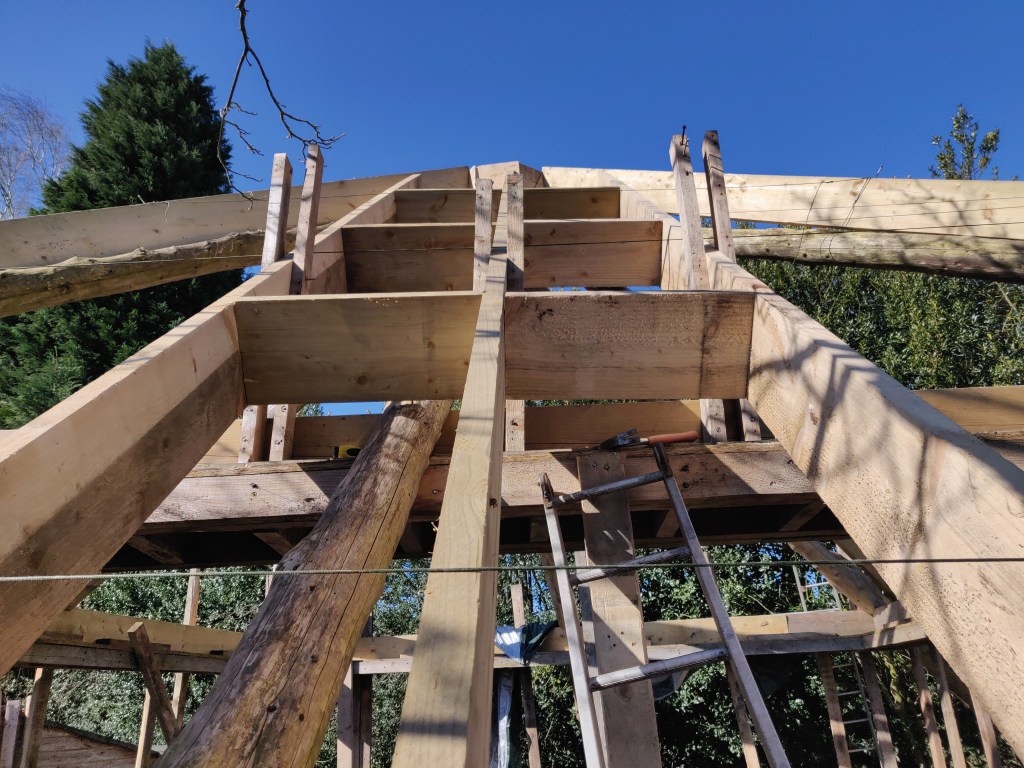
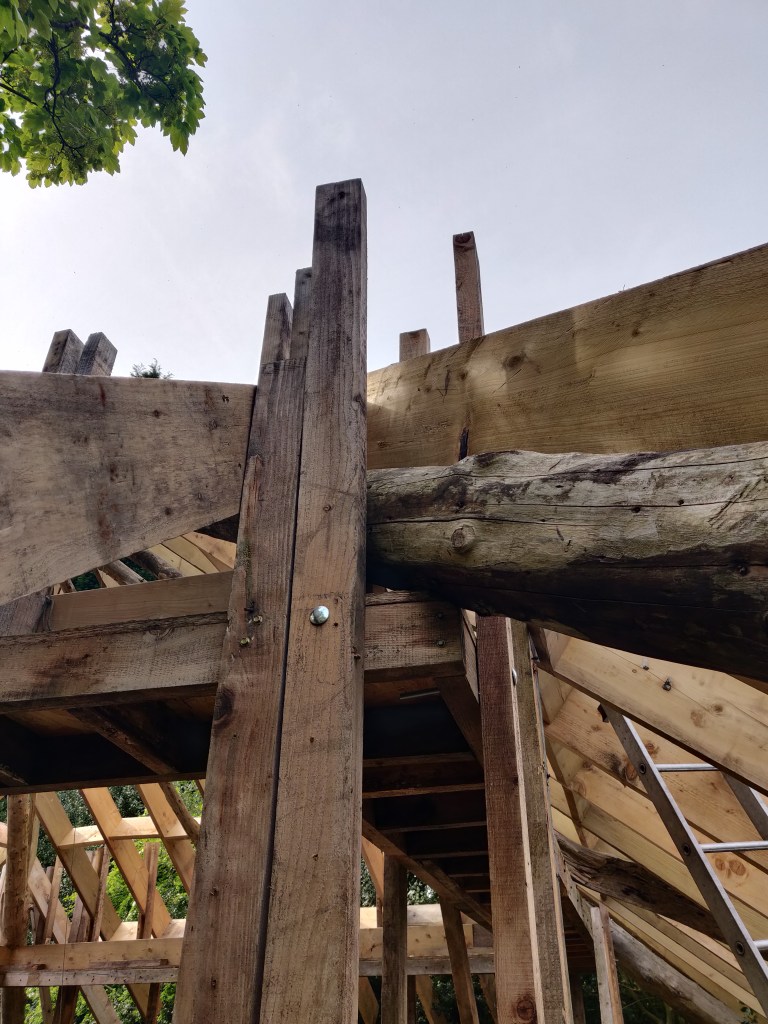
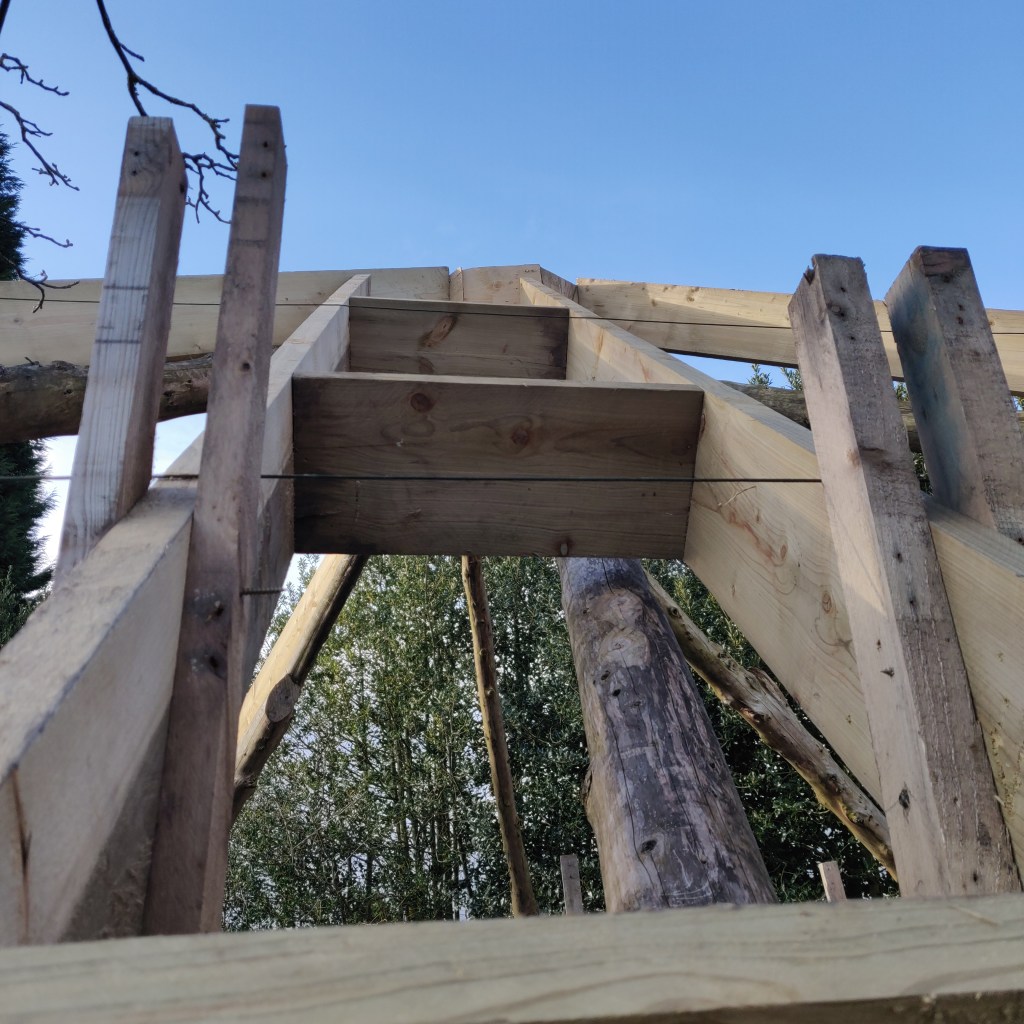
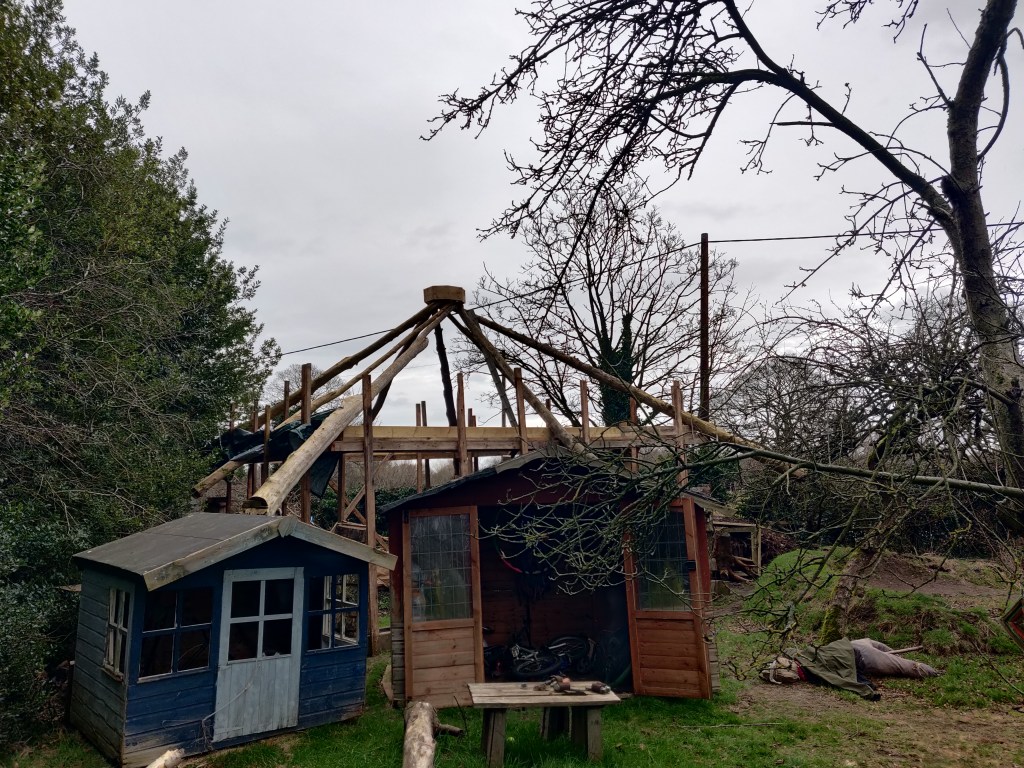
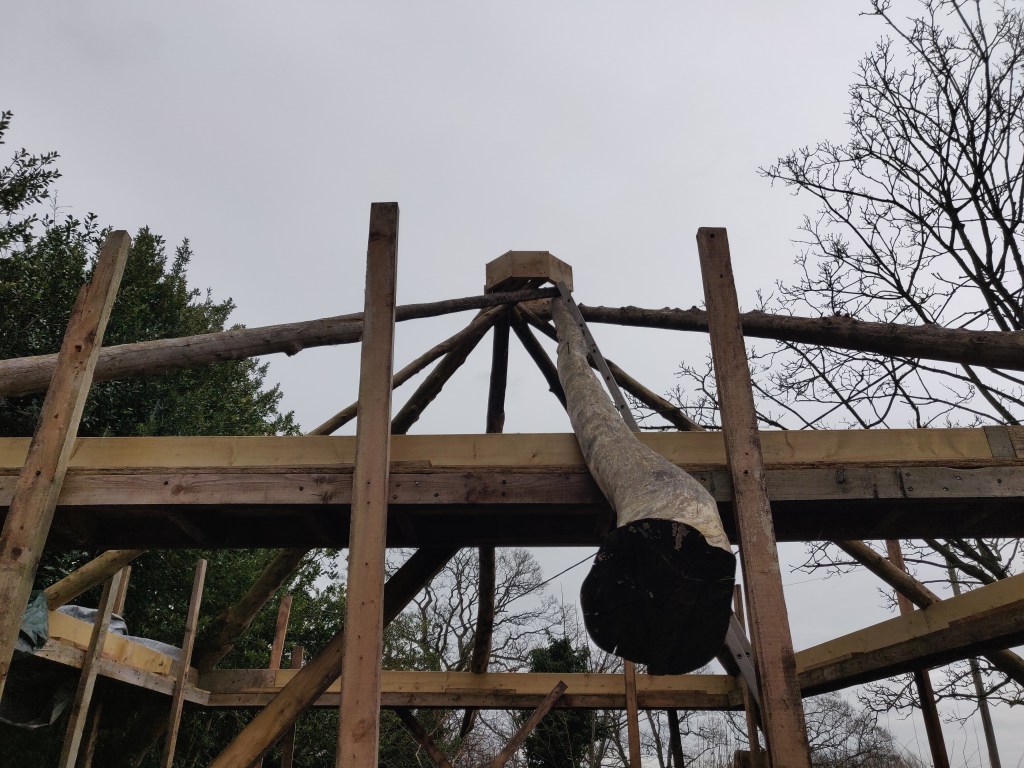
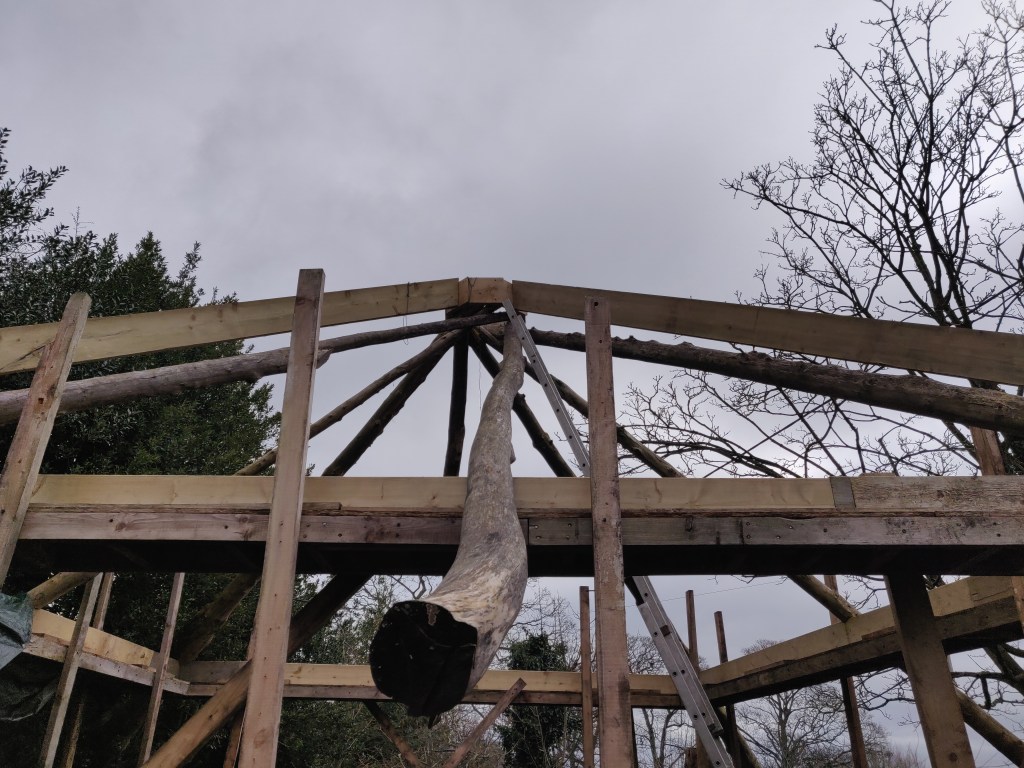
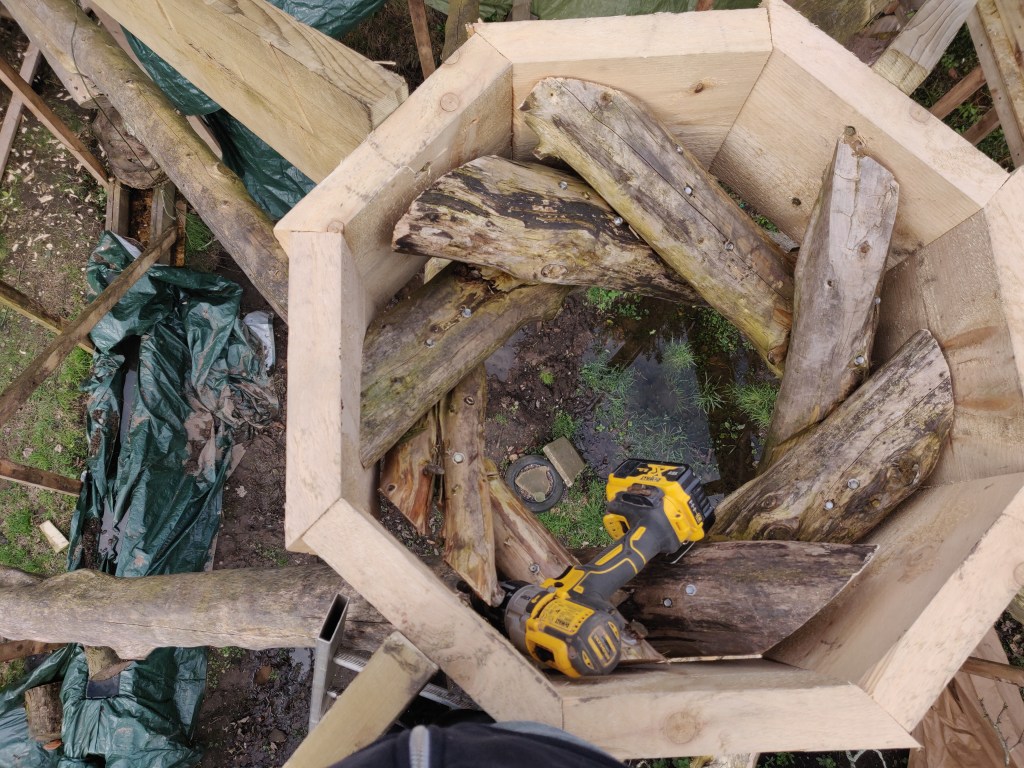
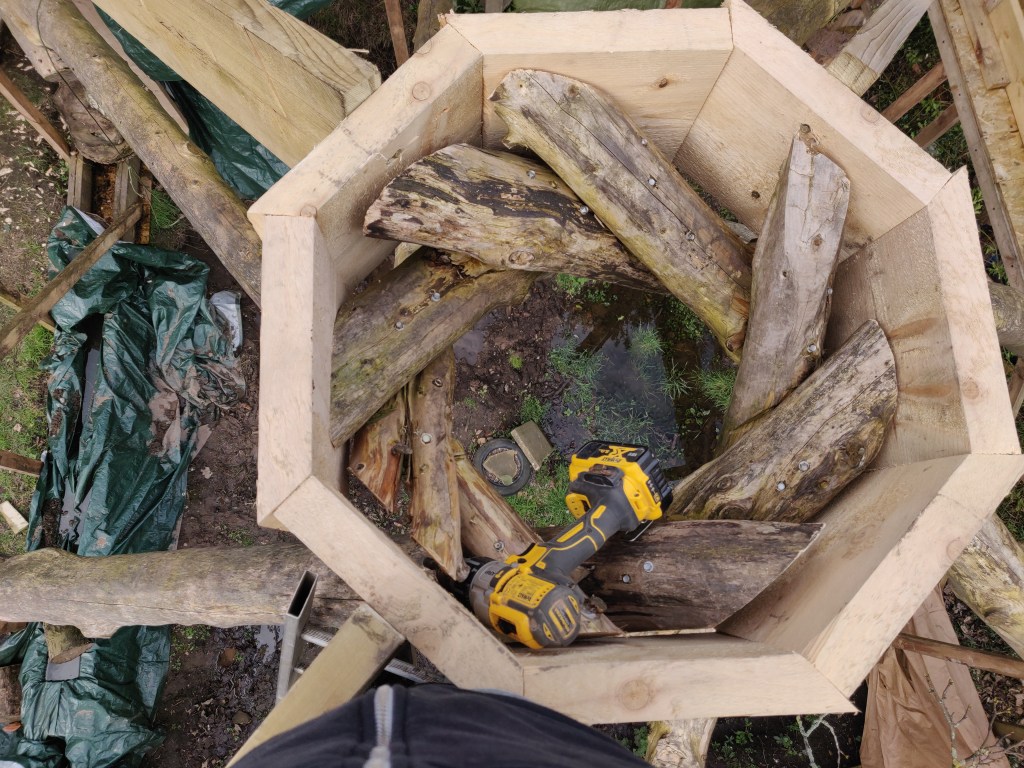
    Once the roof was up to height, the next step was to build a ring beam to go at the top of the reciprocal roof, to attach the rafters too.

←Previous Page
1 2 3 4 5 6
Next Page→

a scruffian project

Loading Comments...
  • Subscribe Subscribed
    • The Strawdio
    • Already have a WordPress.com account? Log in now.
    • The Strawdio
    • Subscribe Subscribed
    • Sign up
    • Log in
    • Report this content
    • View site in Reader
    • Manage subscriptions
    • Collapse this bar