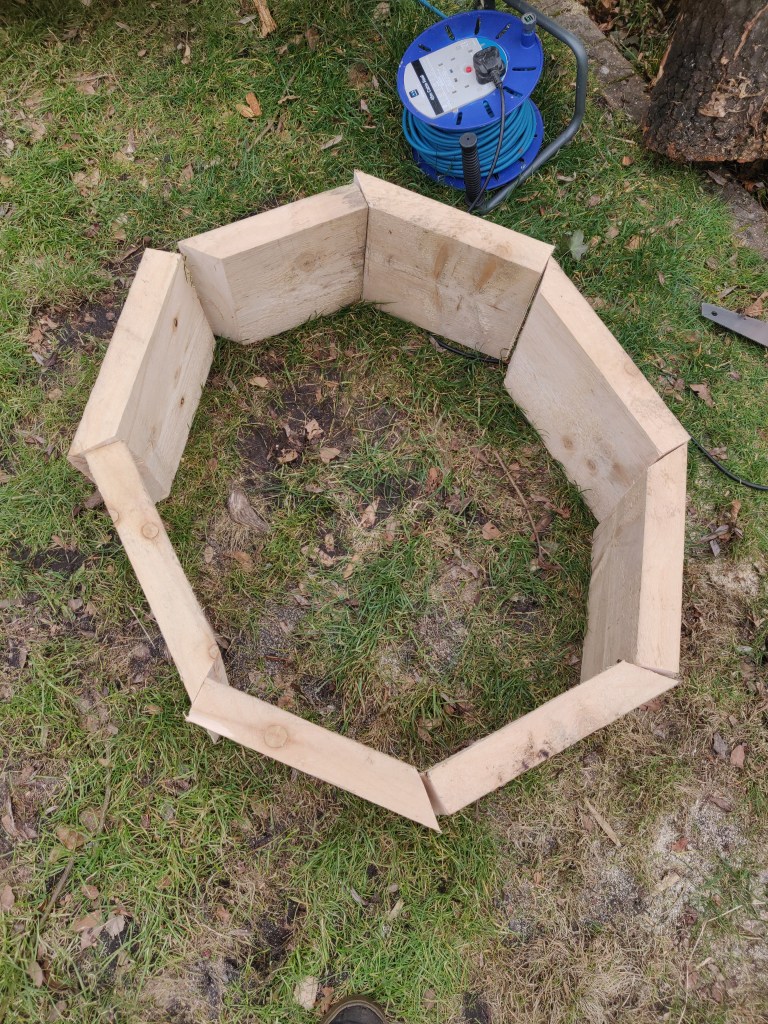
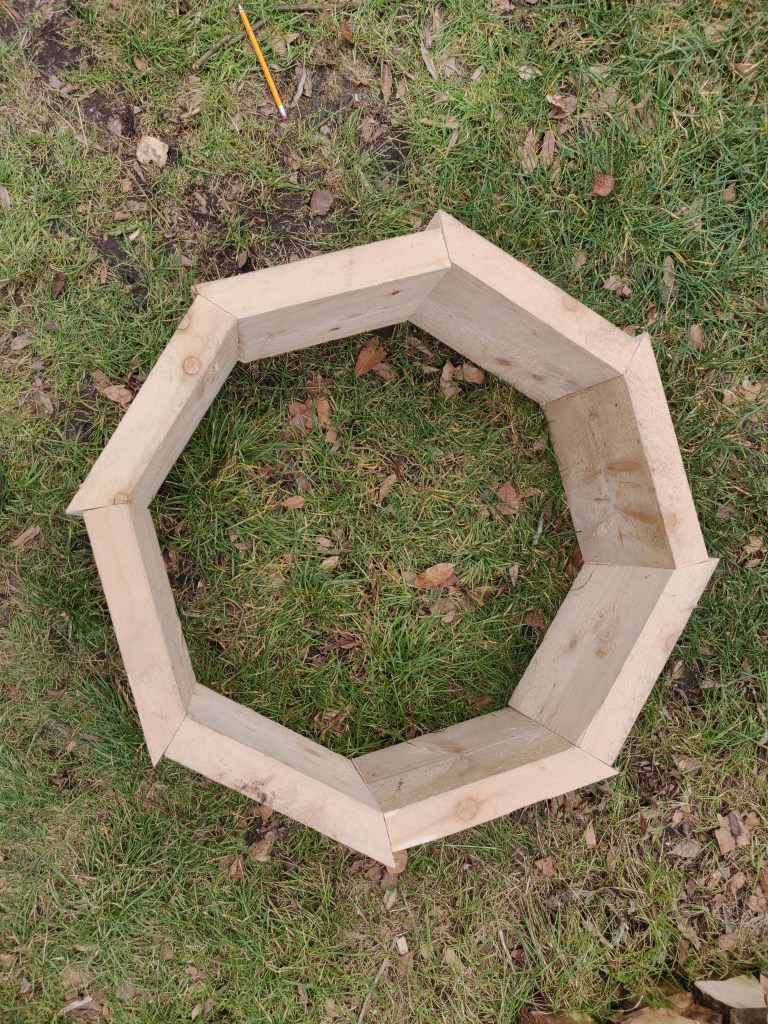
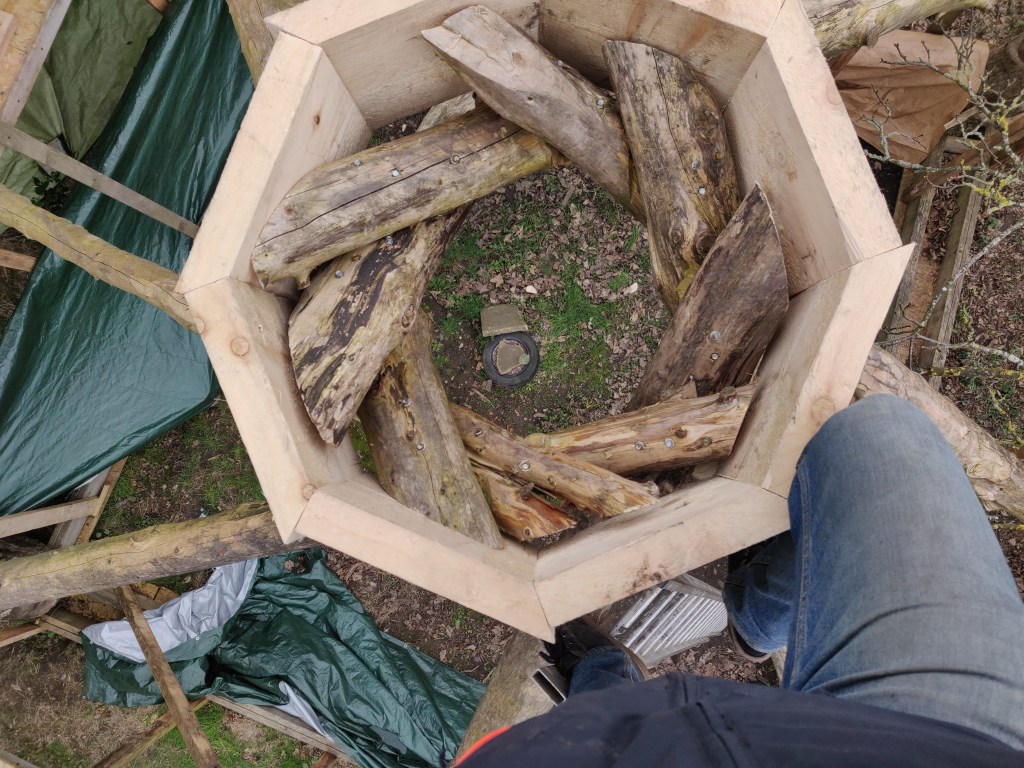
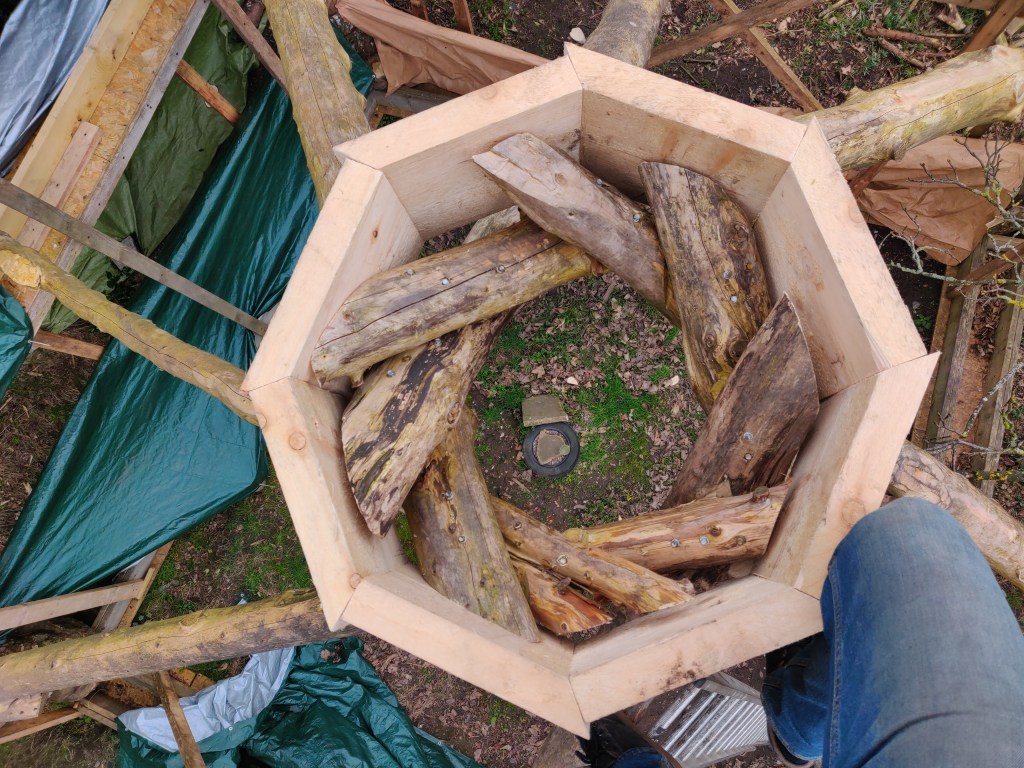
Once the roof was up to height, the next step was to build a ring beam to go at the top of the reciprocal roof, to attach the rafters too.
A straw bale studio
Once the roof was up to height, the next step was to build a ring beam to go at the top of the reciprocal roof, to attach the rafters too.
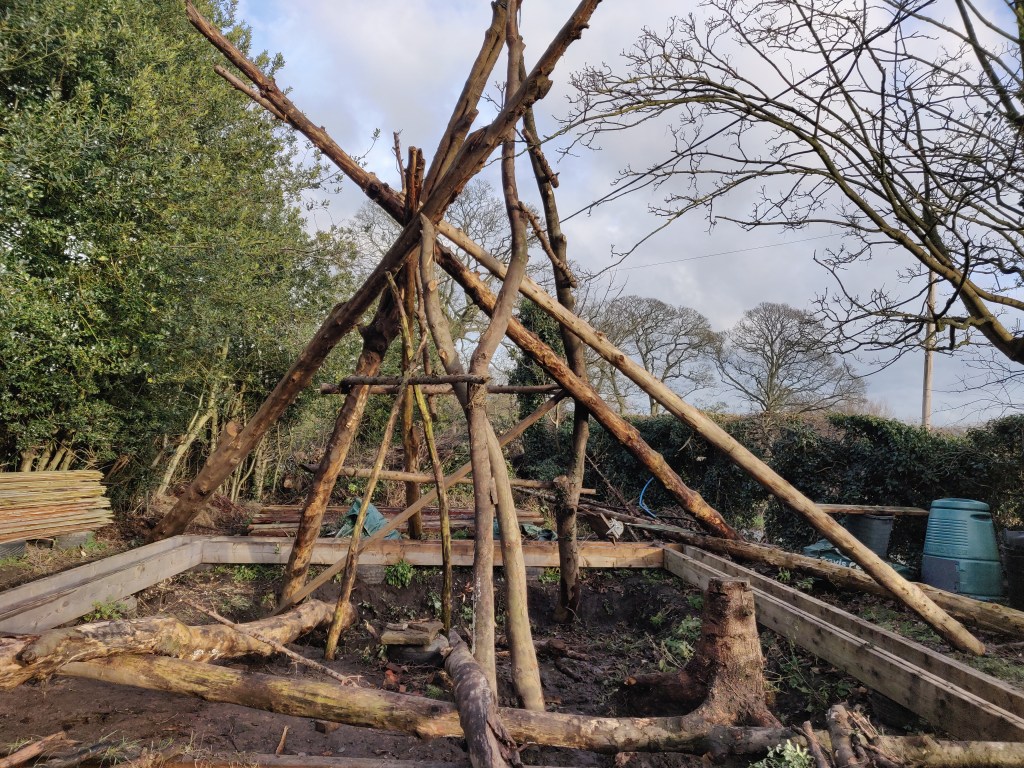
One unintended consquence of raising the roof in the way that I did was that the roof didn’t go up evenly. This caused the pins holding the rafters in place to snap and the whole thing collapsed on itself
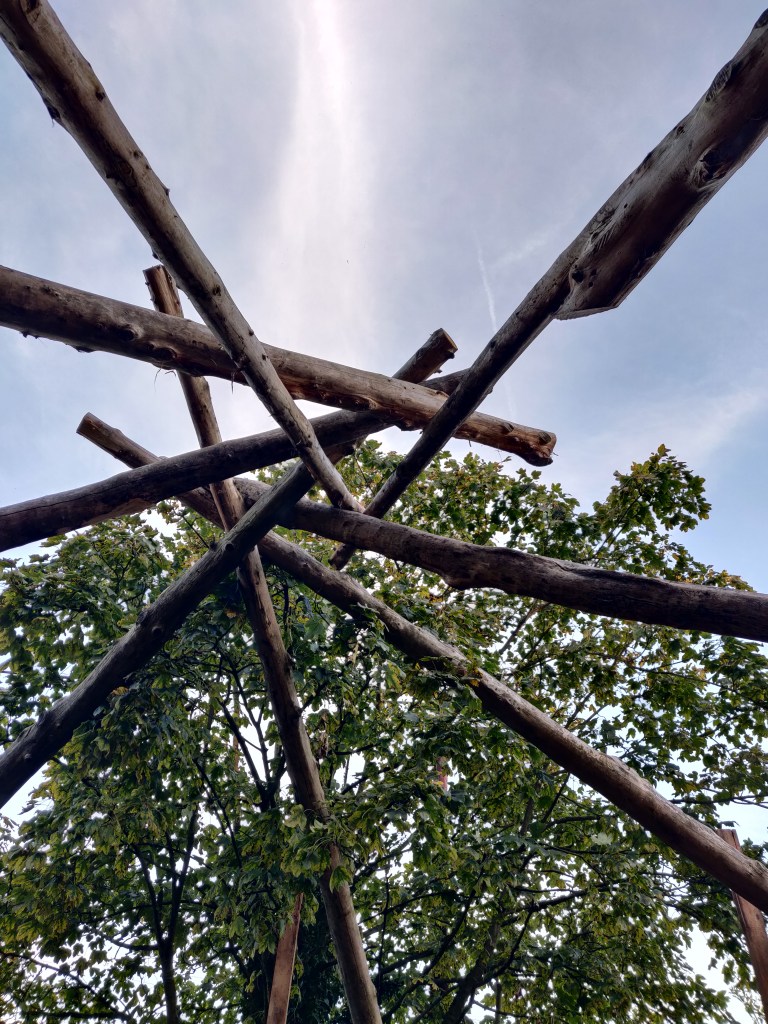
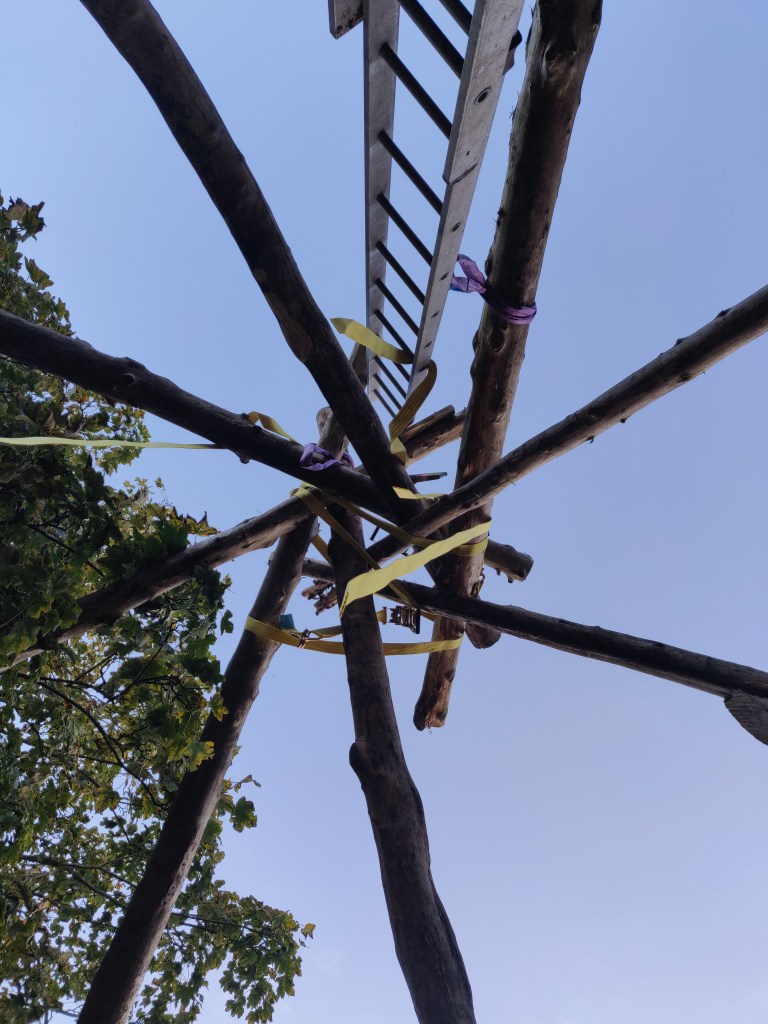
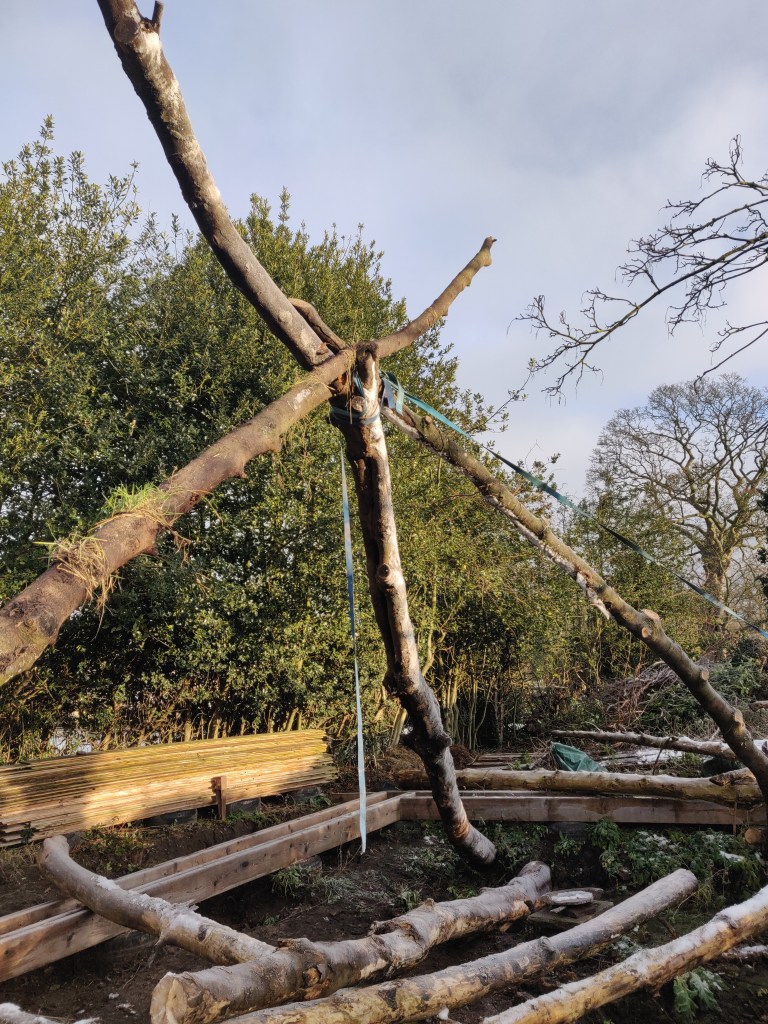
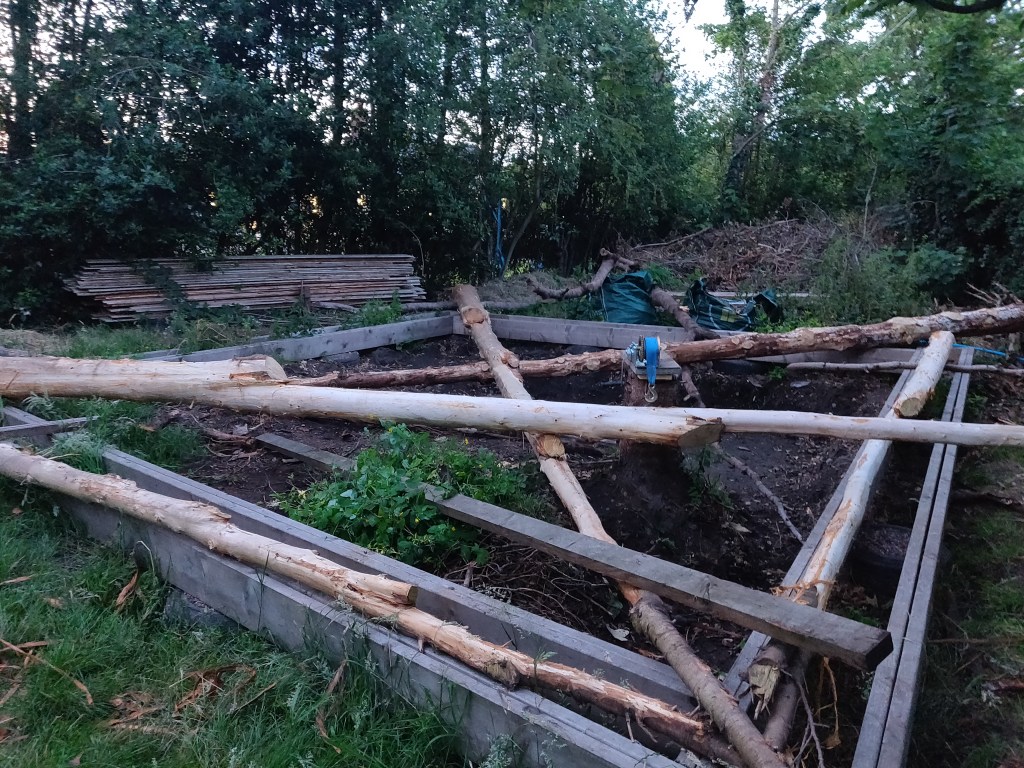
This was a tricky problem to solve. At first I tried using ratchet straps to pull the beams into place:
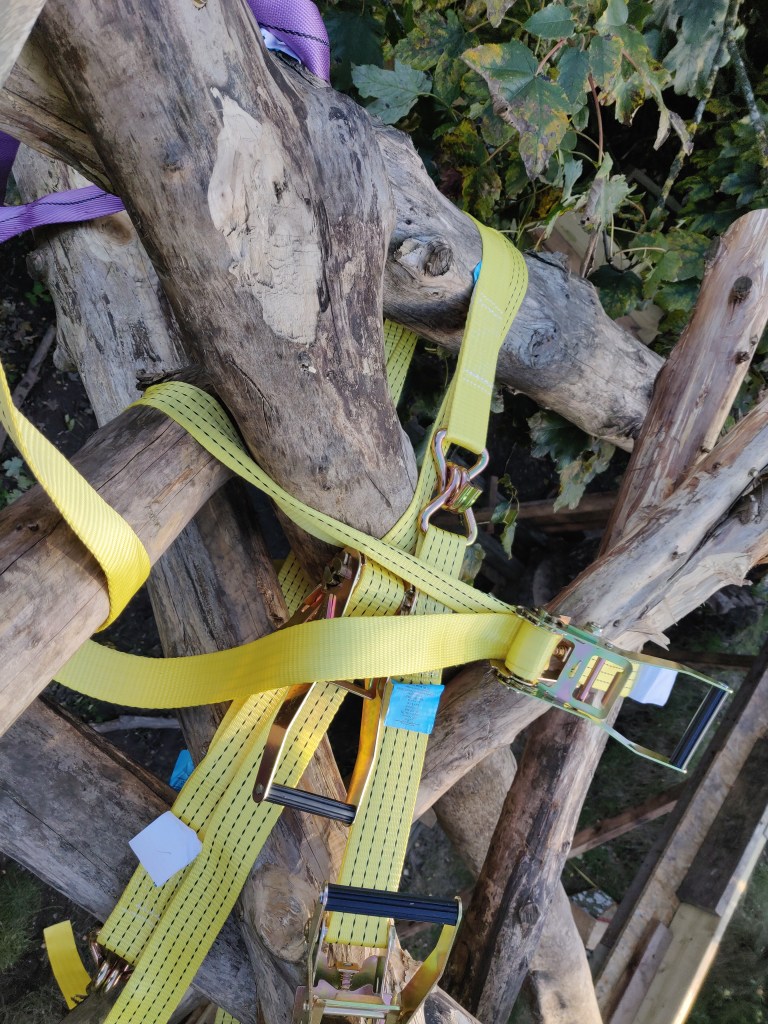
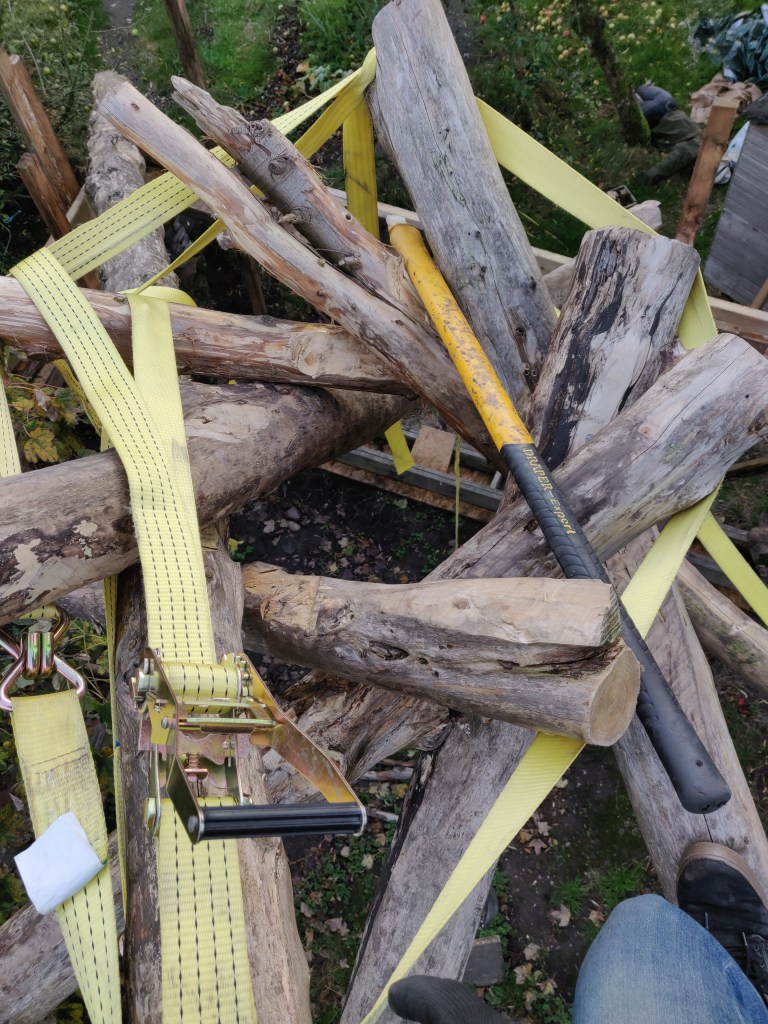
This really didn’t work as it just ended up binding on itself all the time. I went to sleep at night thinking about it and I had a realisation – all I needed to do was to put the strap around the ends of the beams.
When I did this and then tightened the strap it came together very quickly.
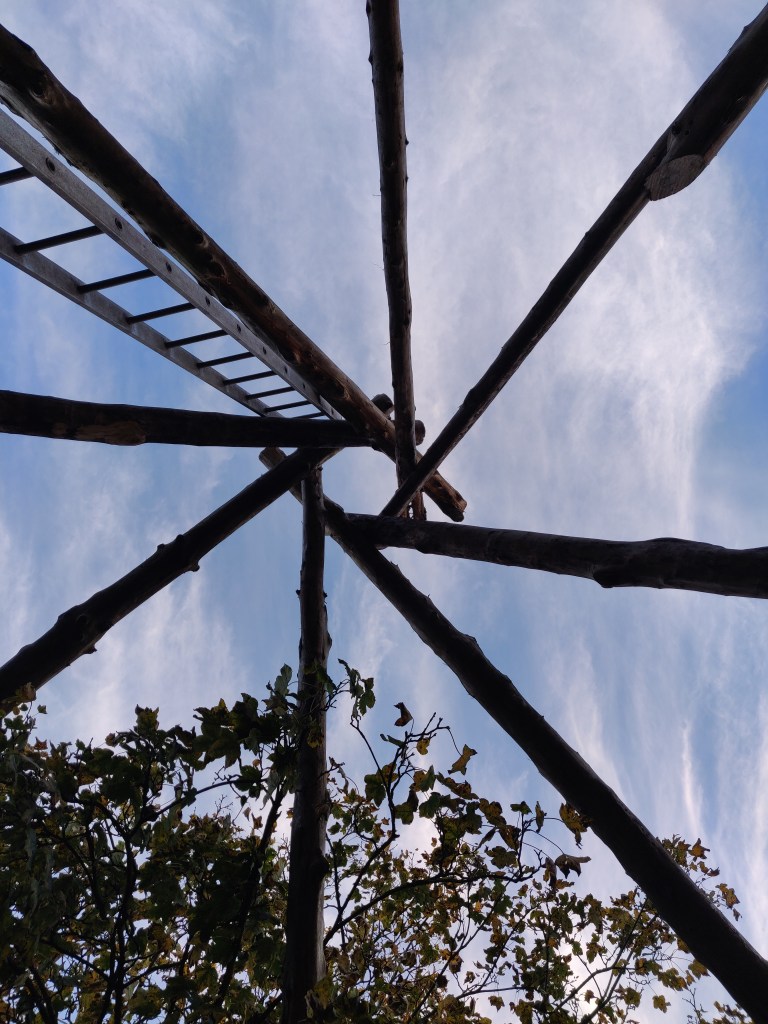
Once the roof timbers were in place it was time to raise the roof plate to the right hight to fit the bales in. One obvious question is, why not do this before the rafters were on – surely that would have been much easier.
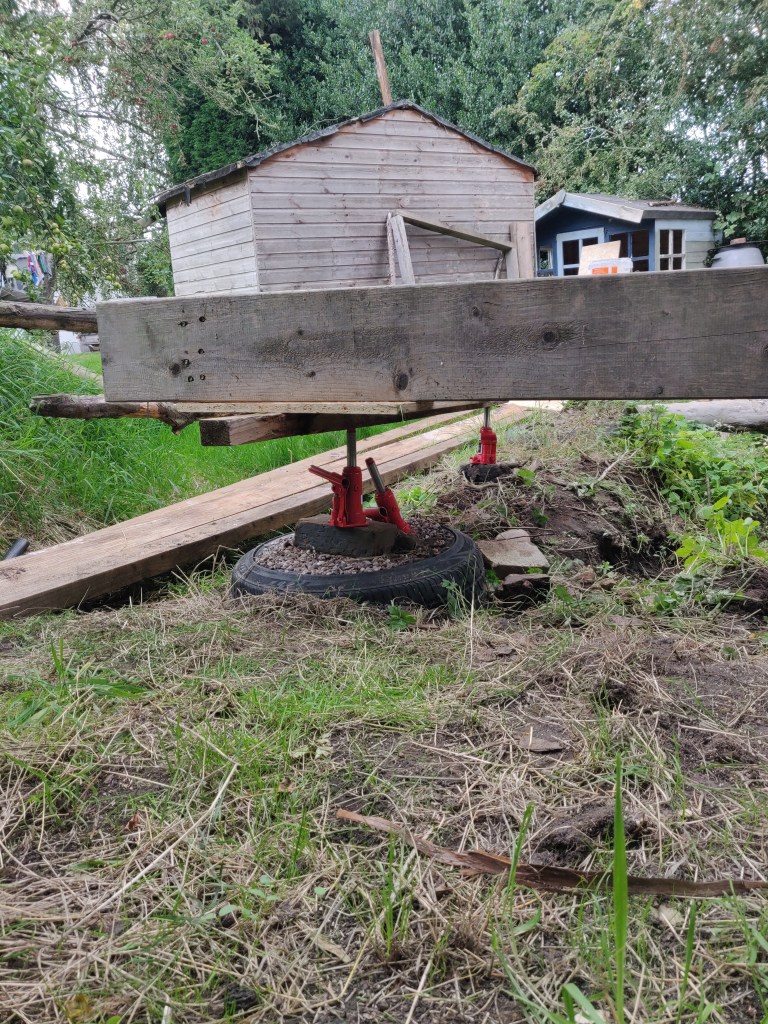
The problem would have been that once the roof was up to the 2 meteres it needed to be at, getting the rafters on top would have been impossible without some kind of machinery. This way took longer probably but all it required was 4 bottle jacks and a lot of patience.
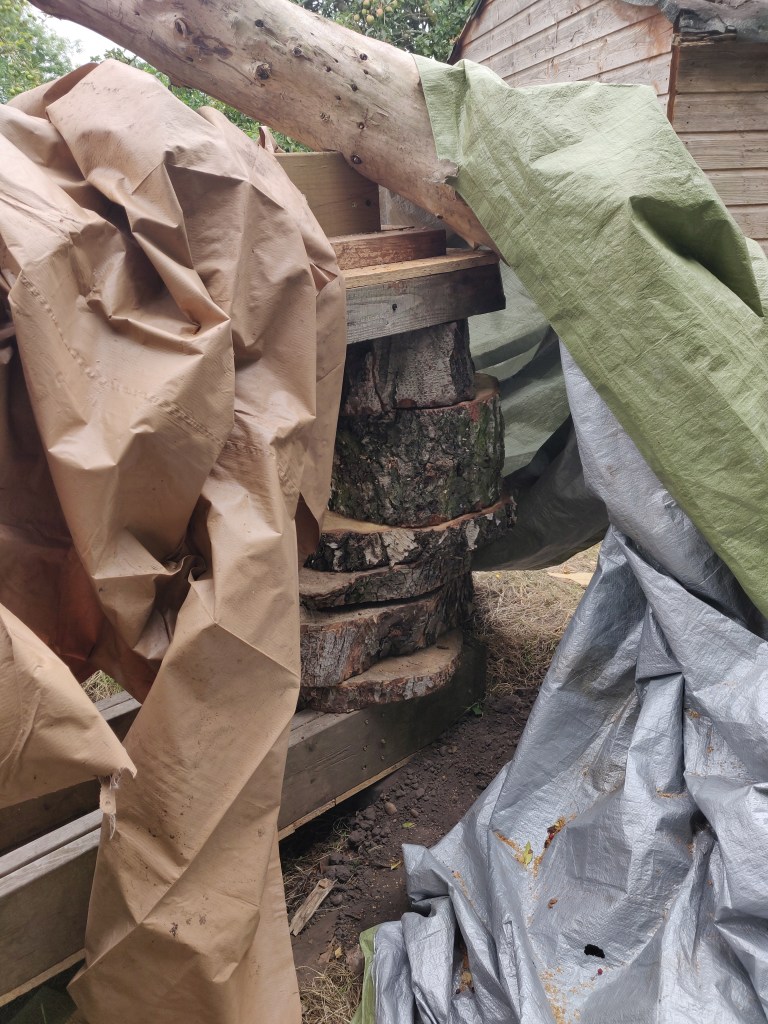
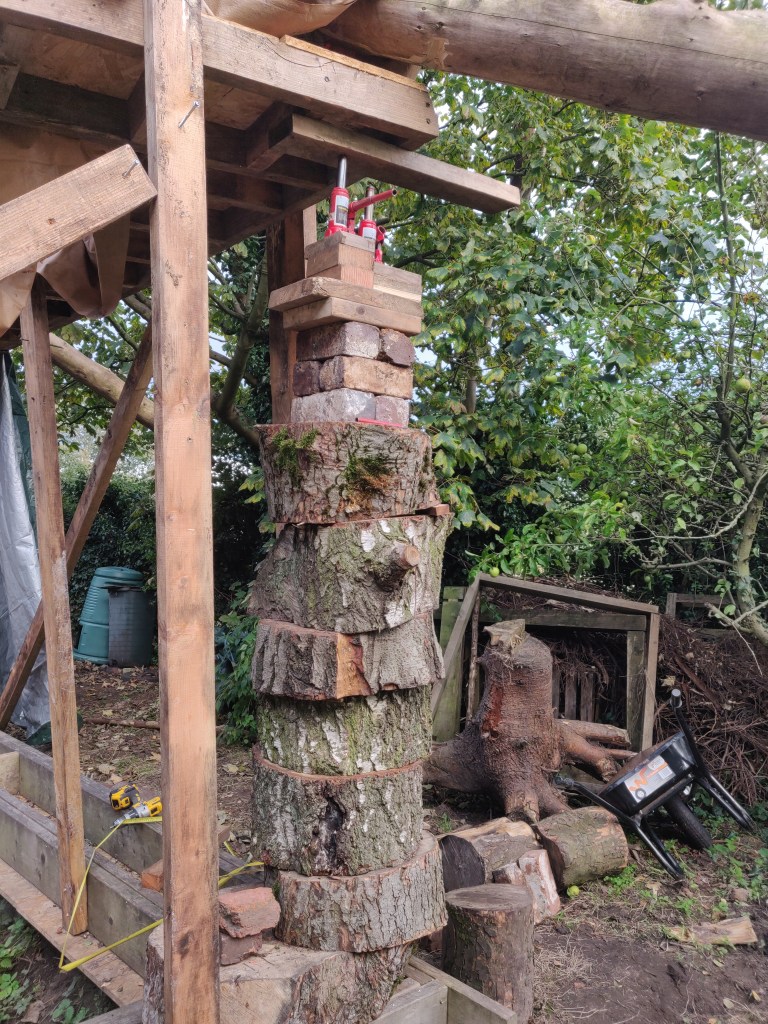
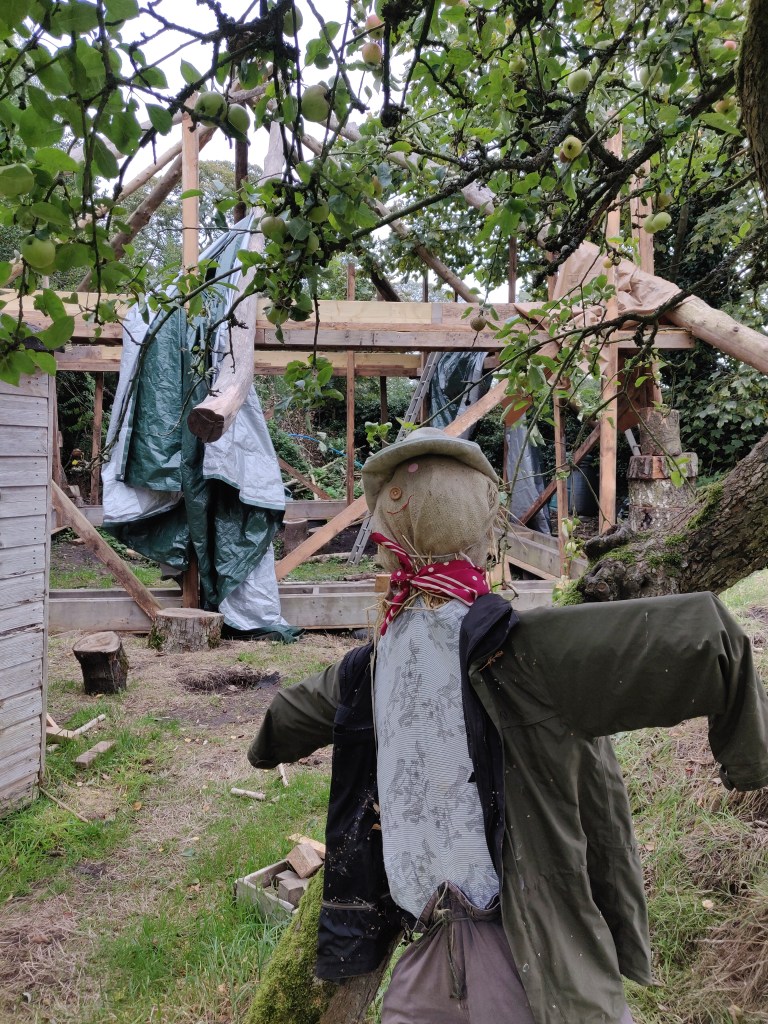
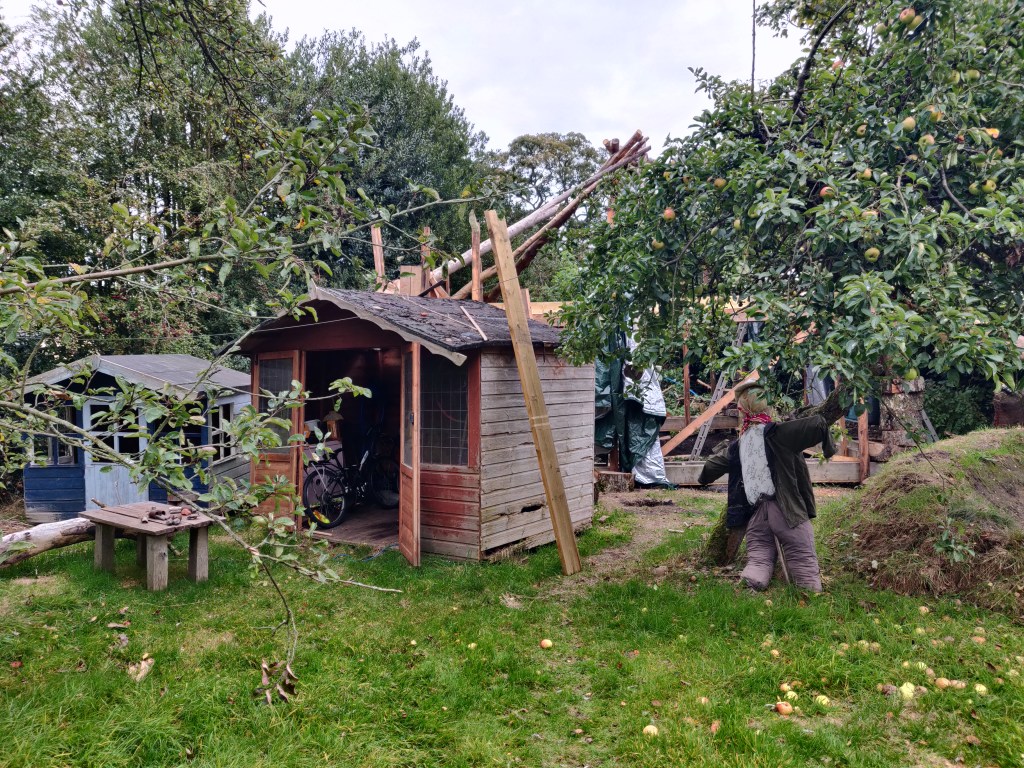
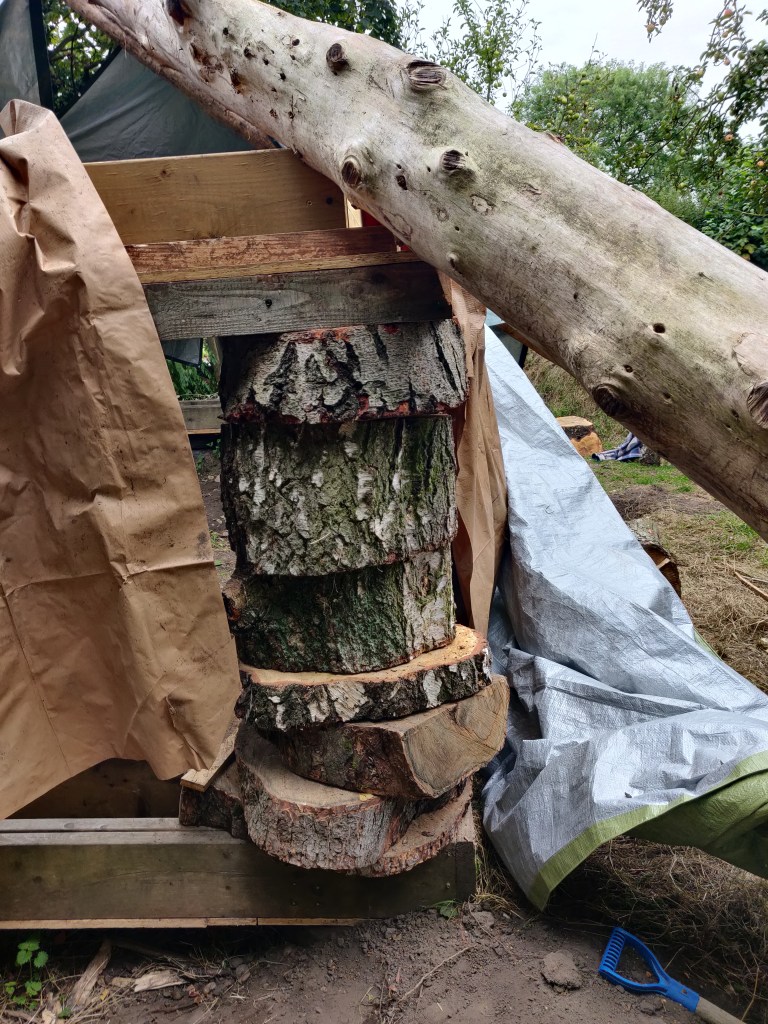
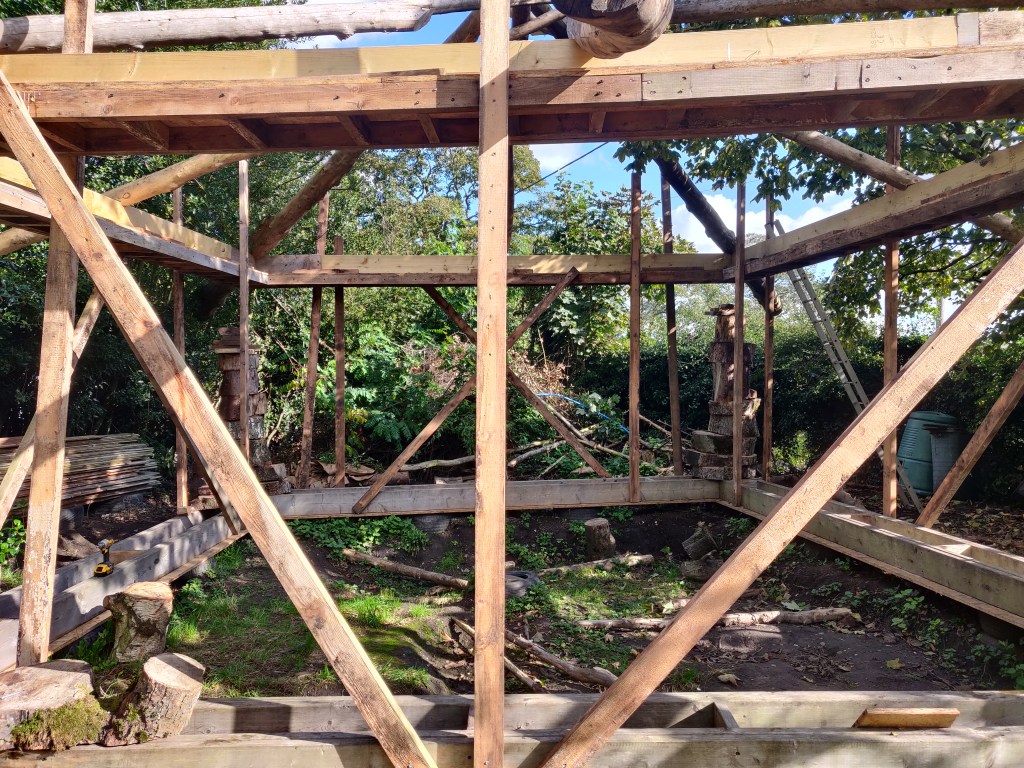
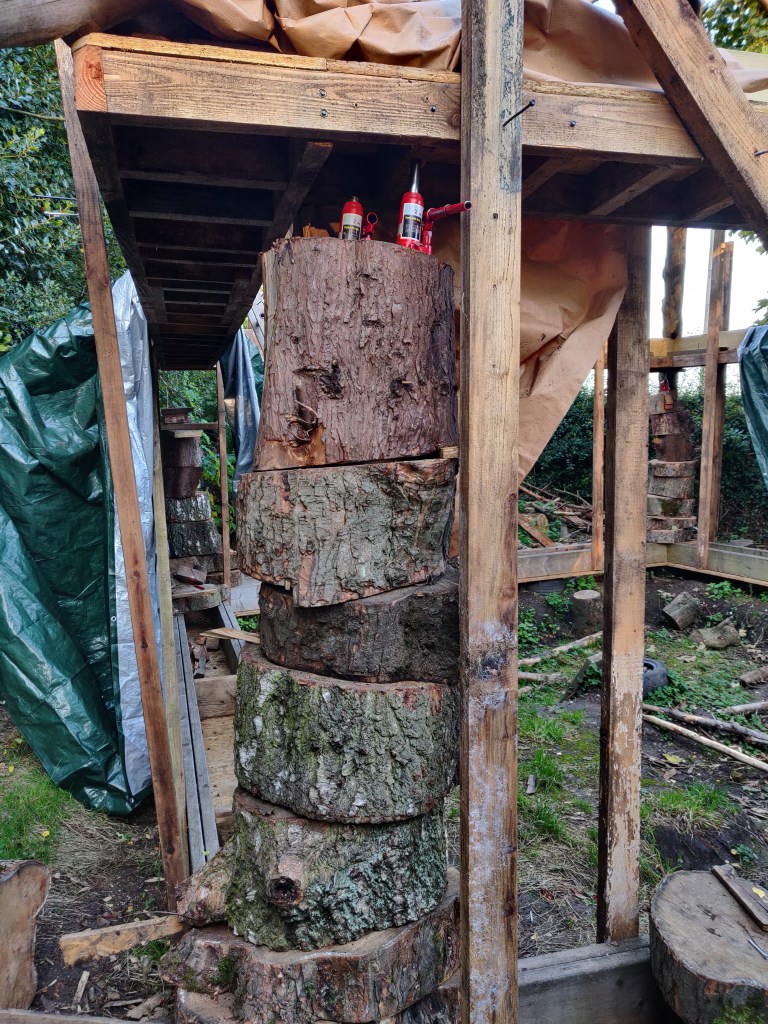
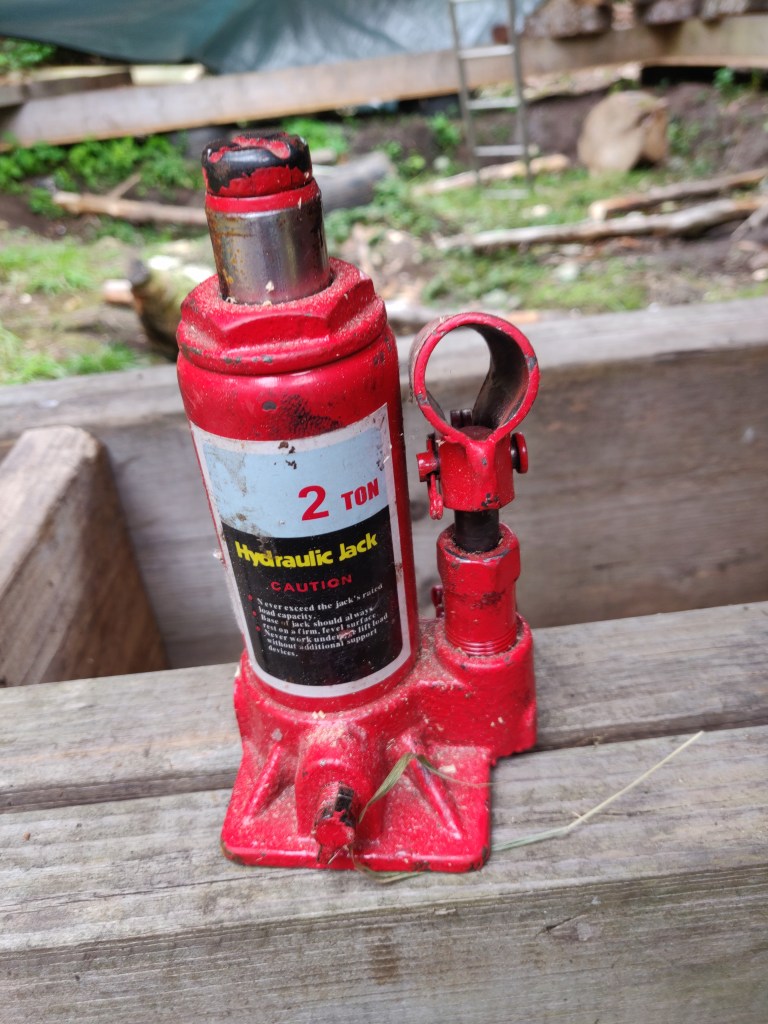
This was a great day. So many people came to help. This was one thing I could never have done on my own.

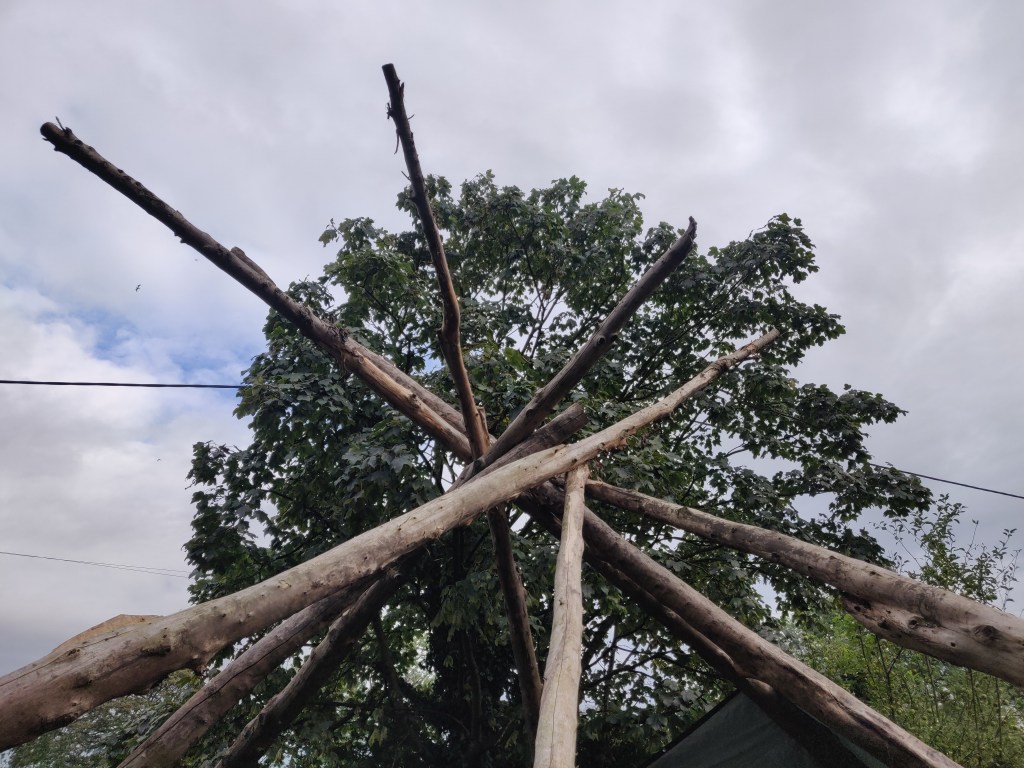
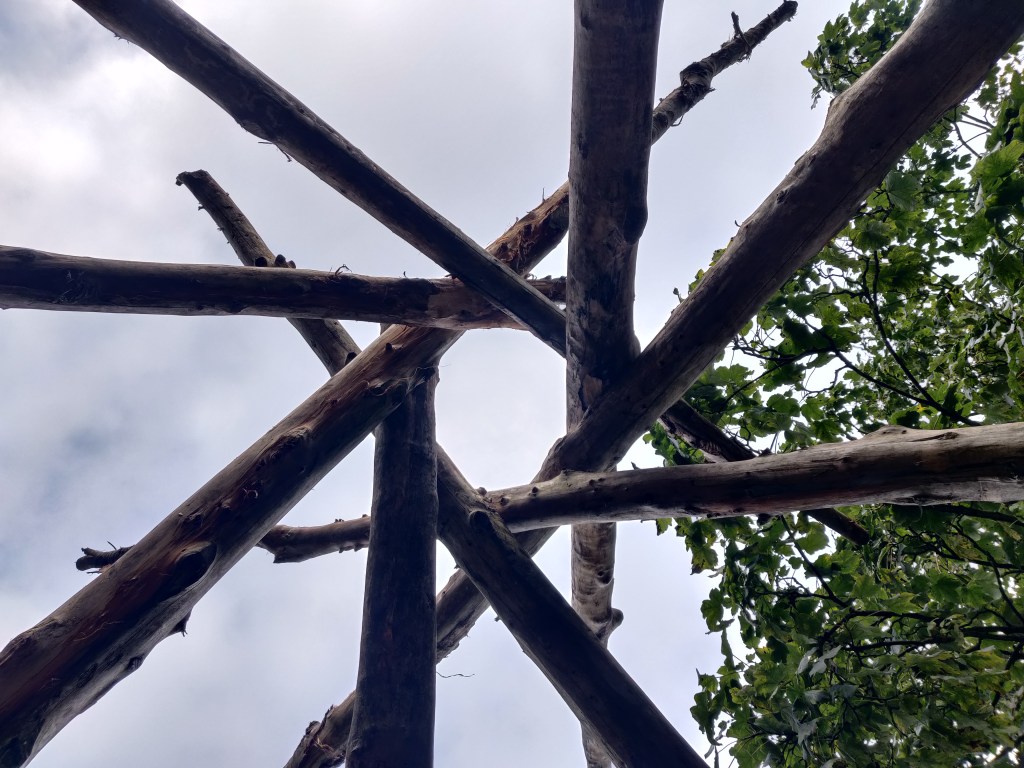
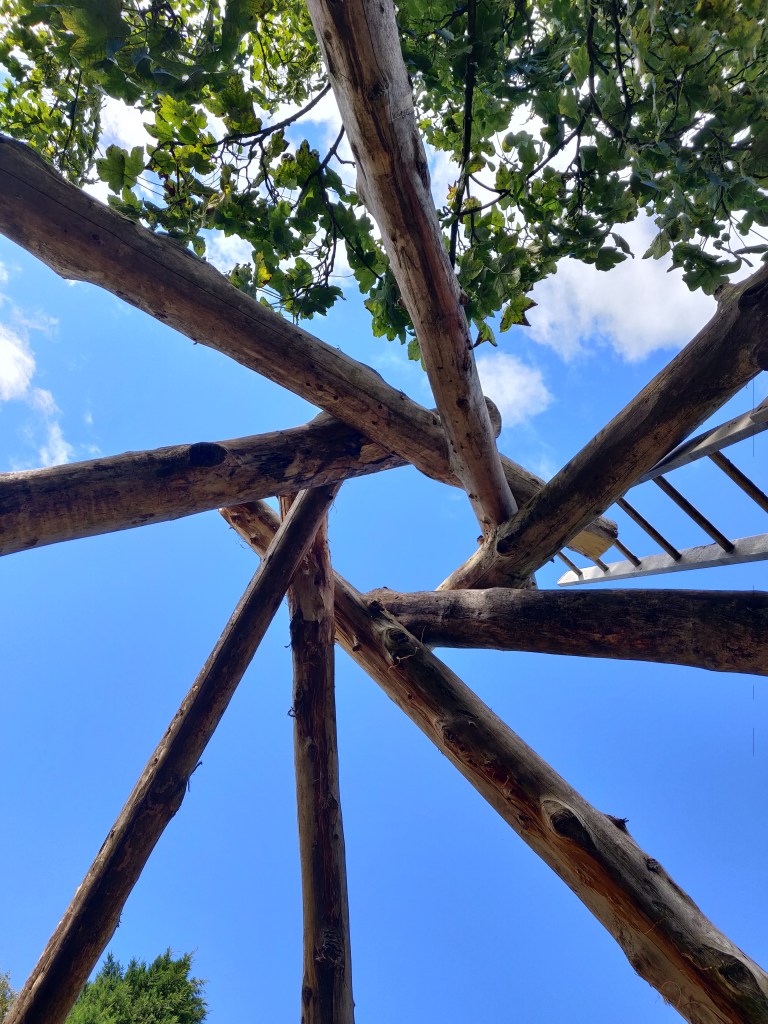
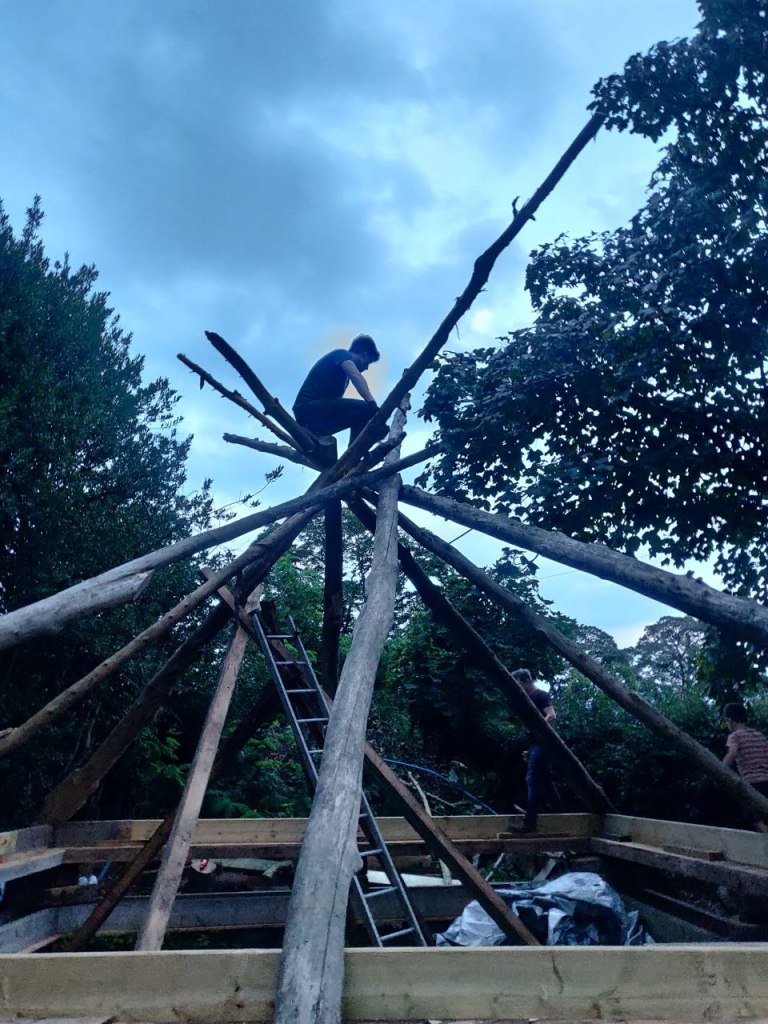
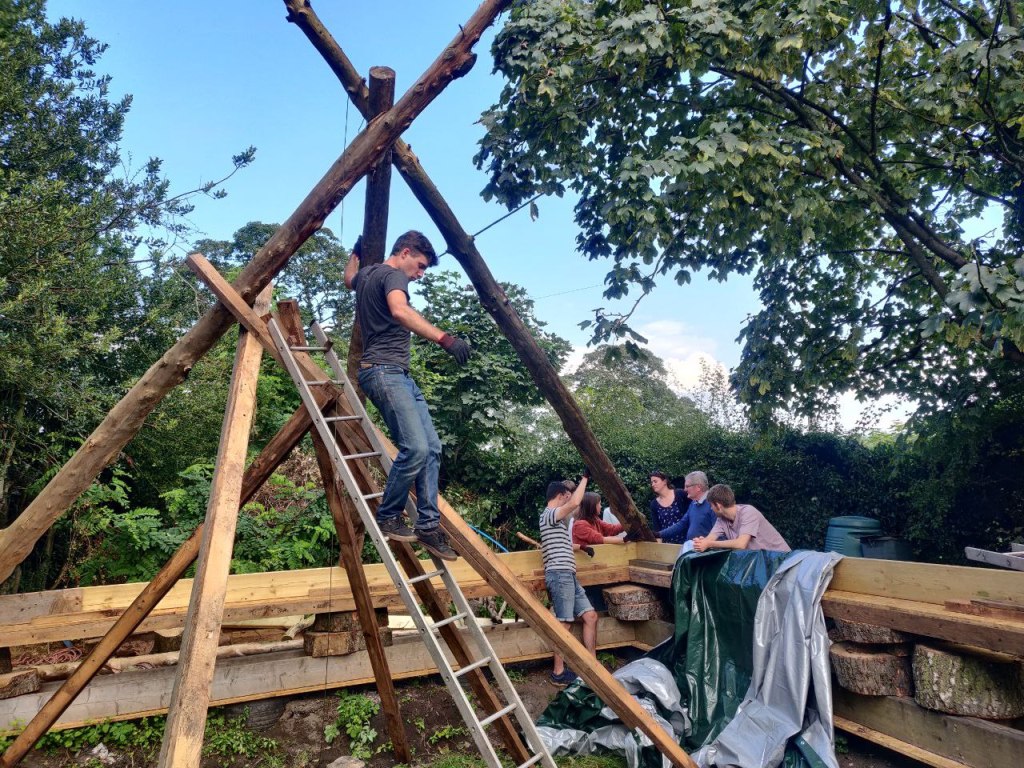
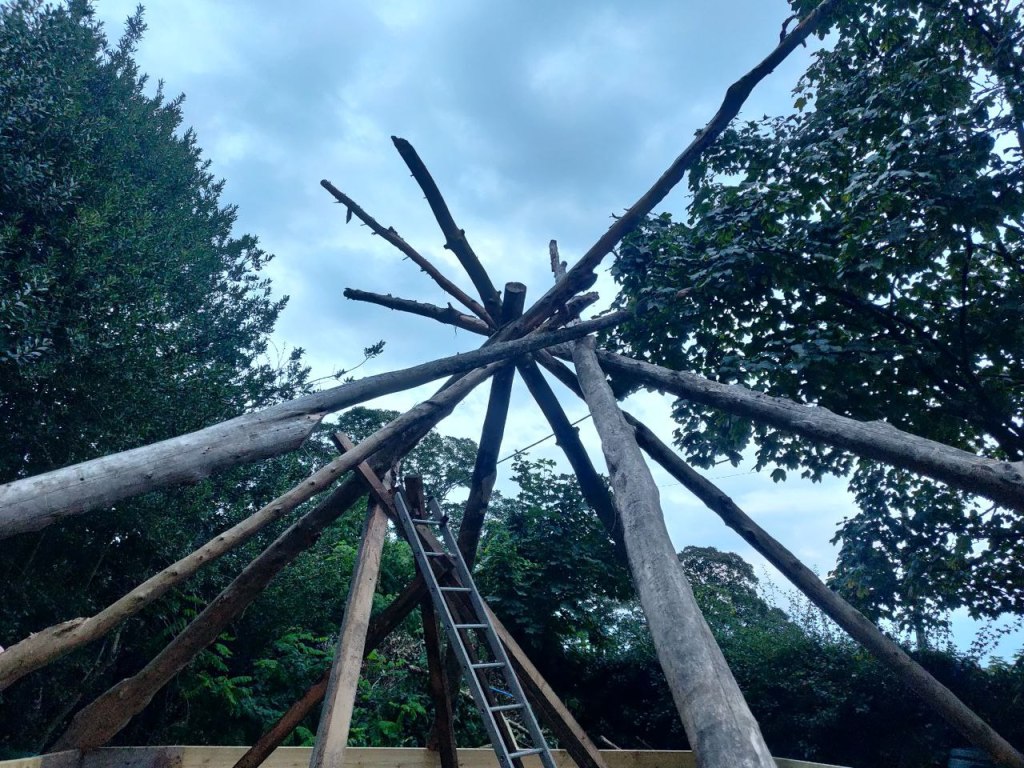
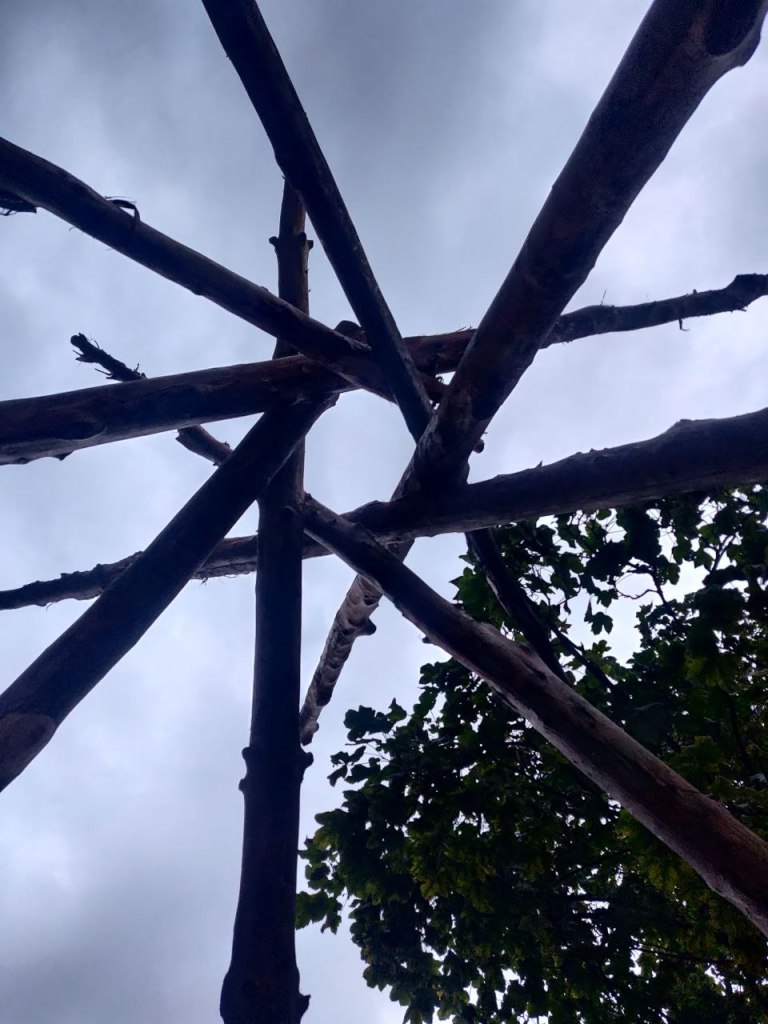
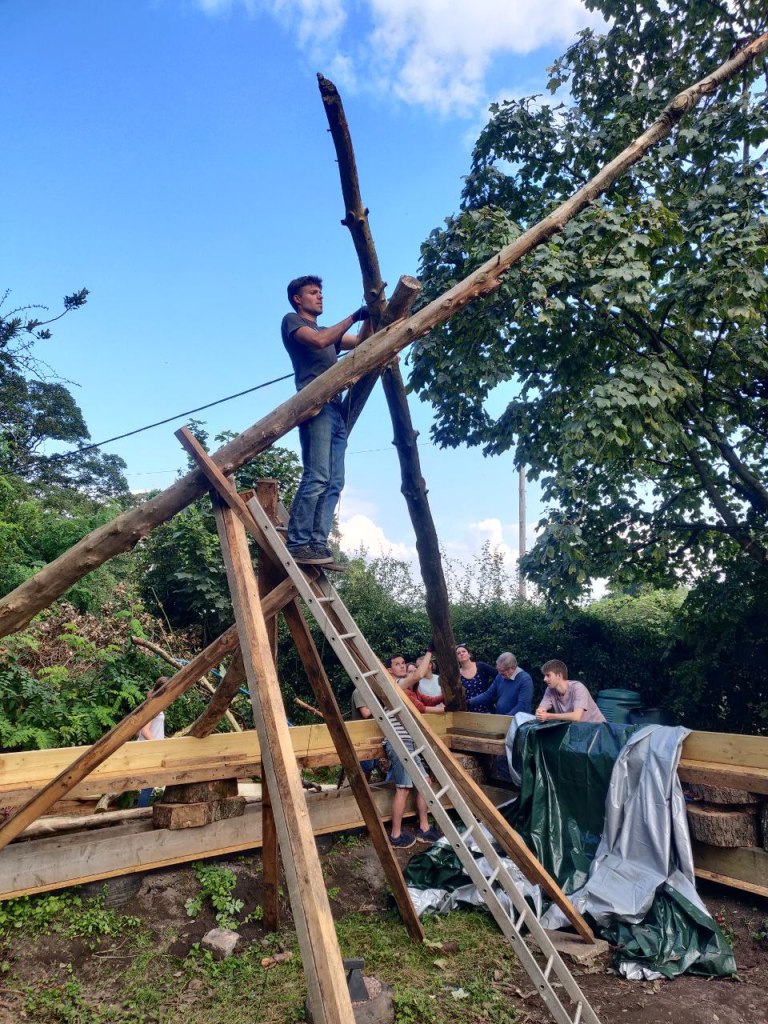
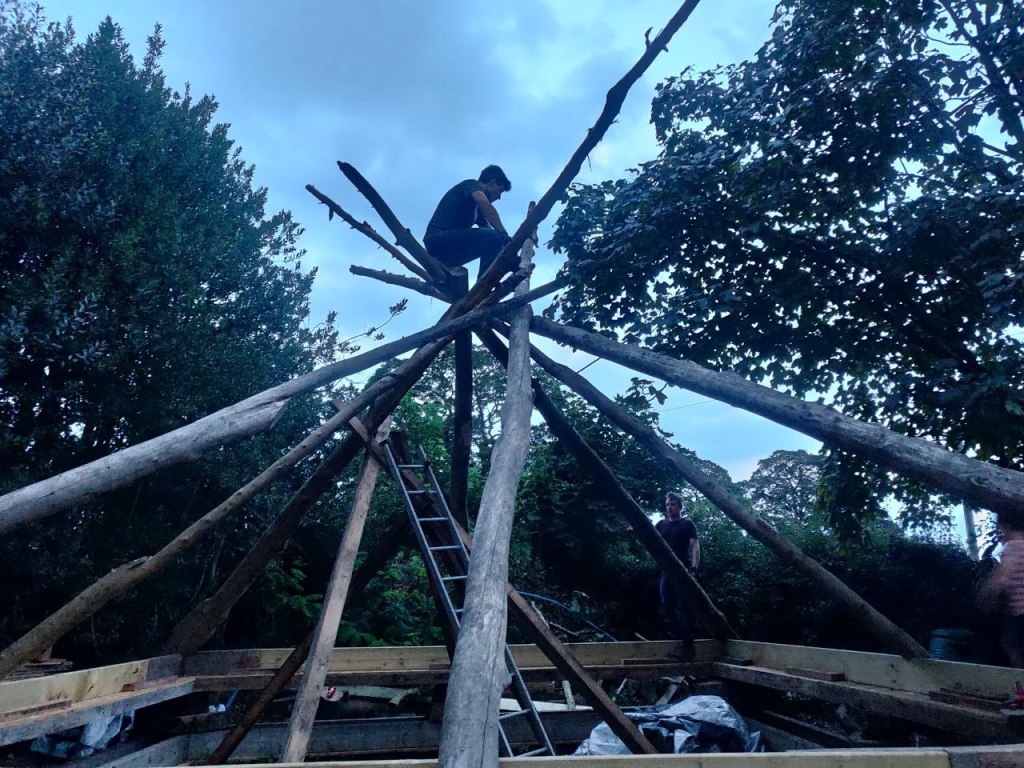
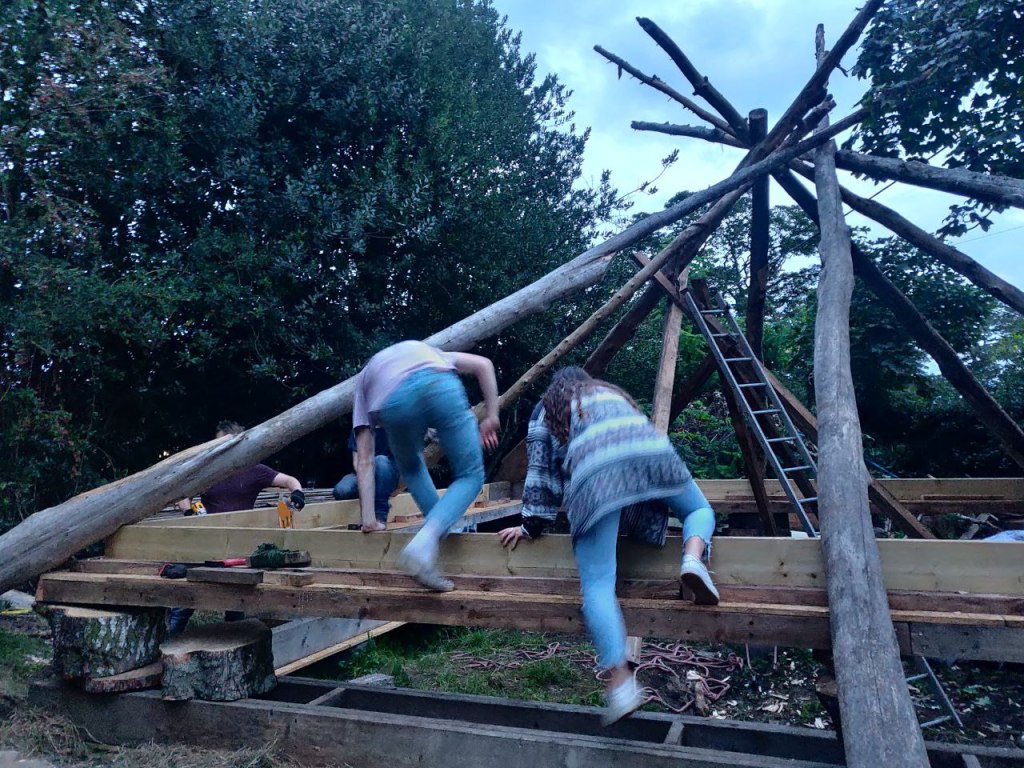
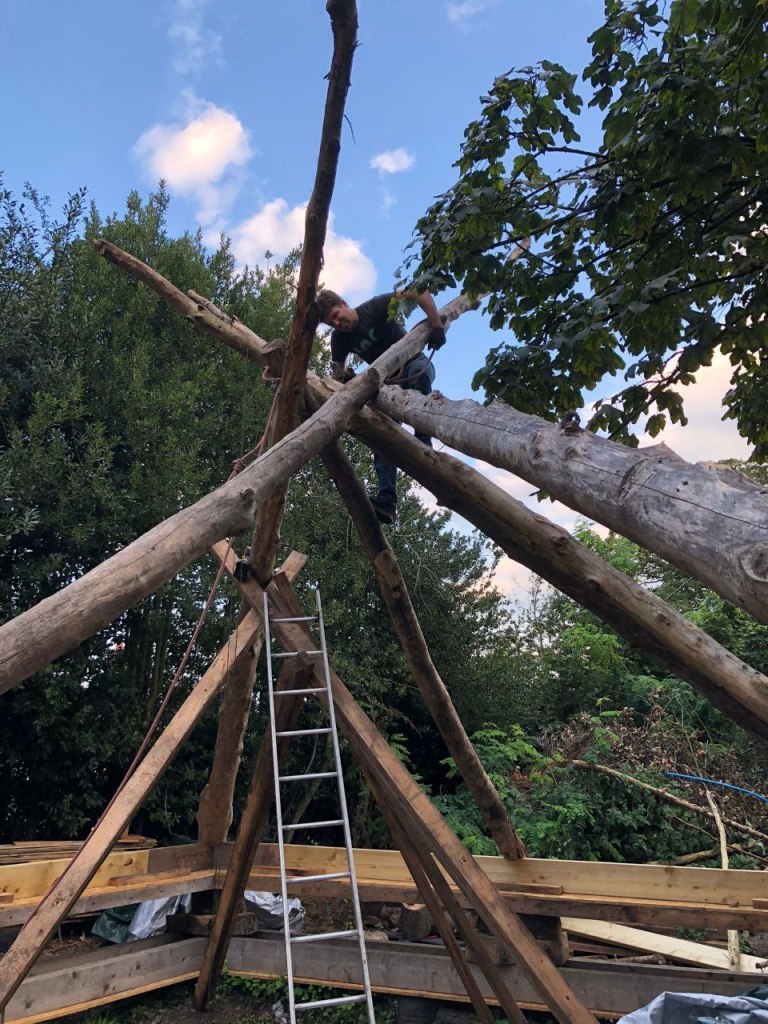
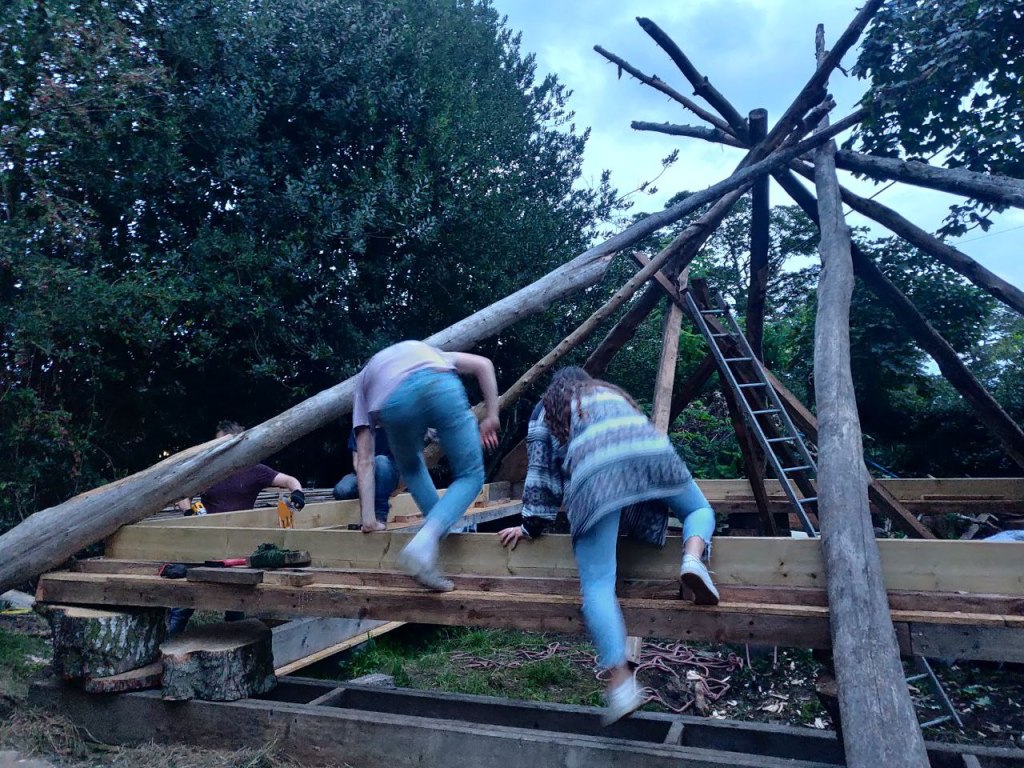
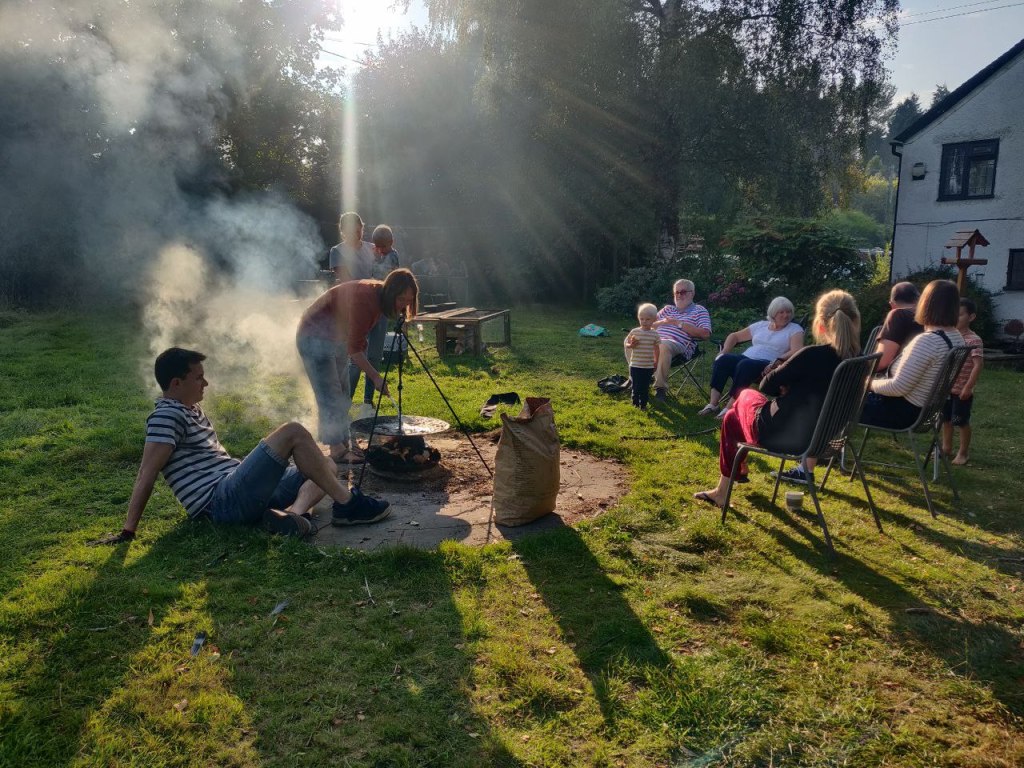
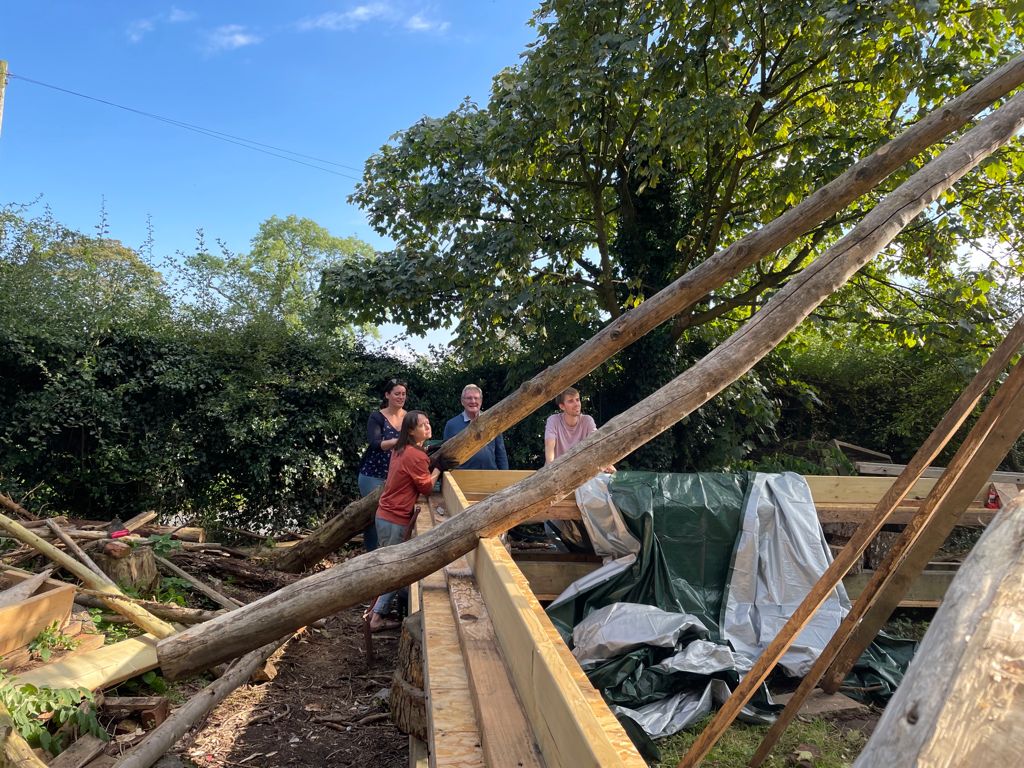
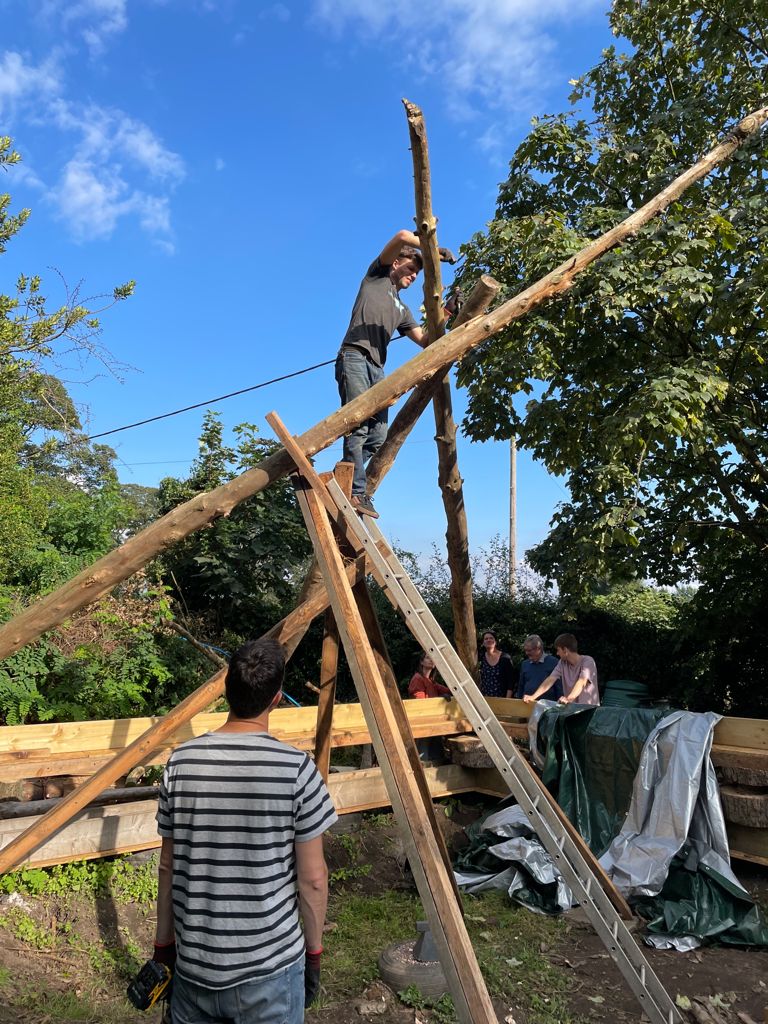
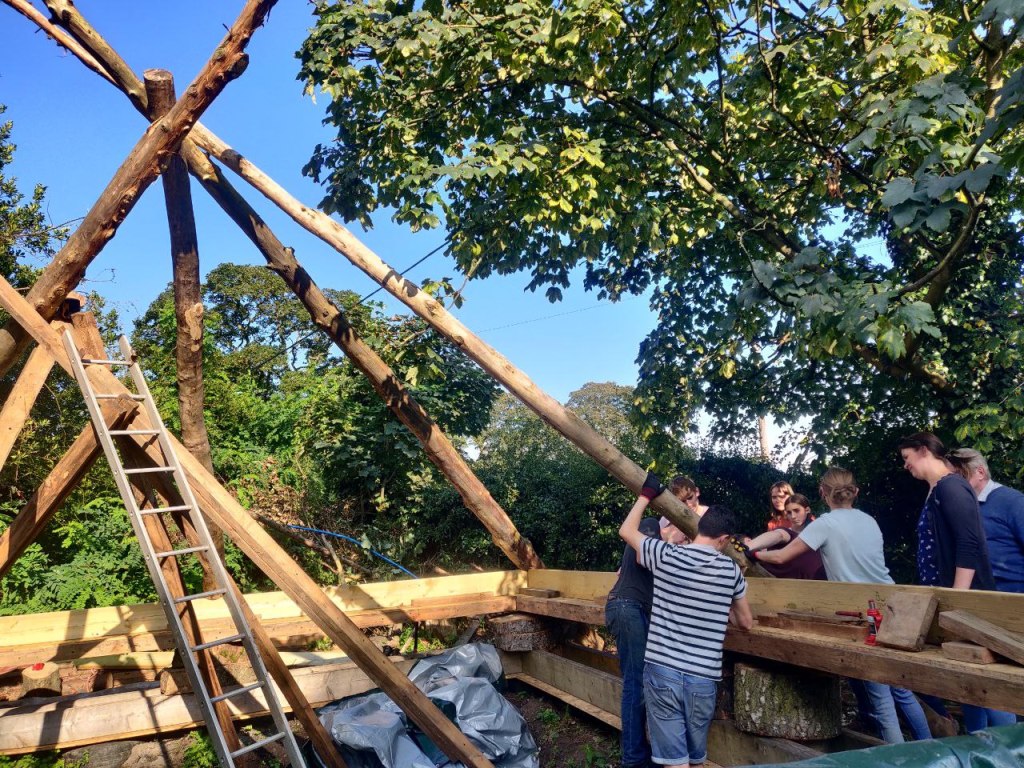
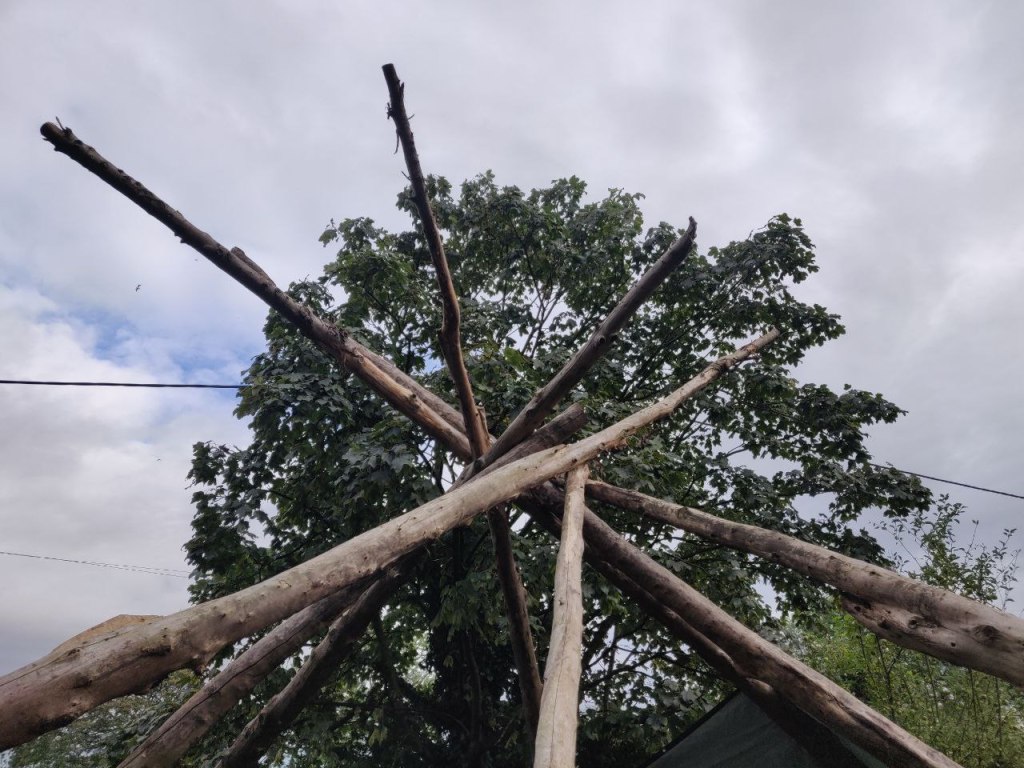
A very satisfying day’s work. Also it was Birch’s fourh birthday.
Trying to work out how to cut the bird’s mouth notches for the roof beams to sit on the wall plate was pretty tricky. I’ve not done wood working of this complexity before. I had to buy a new, sharp, chisel and then do quite a few practice cuts before I felt confident in getting it right.
My initial model was done with plastacine so that I could get an idea of how the cut should look.
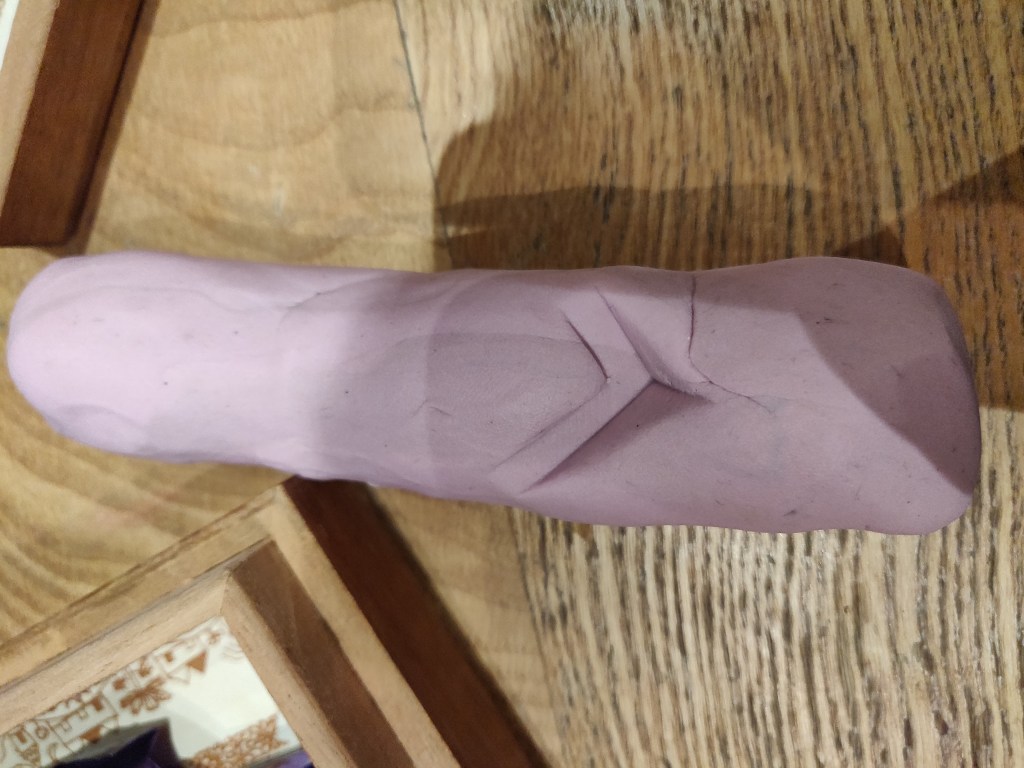
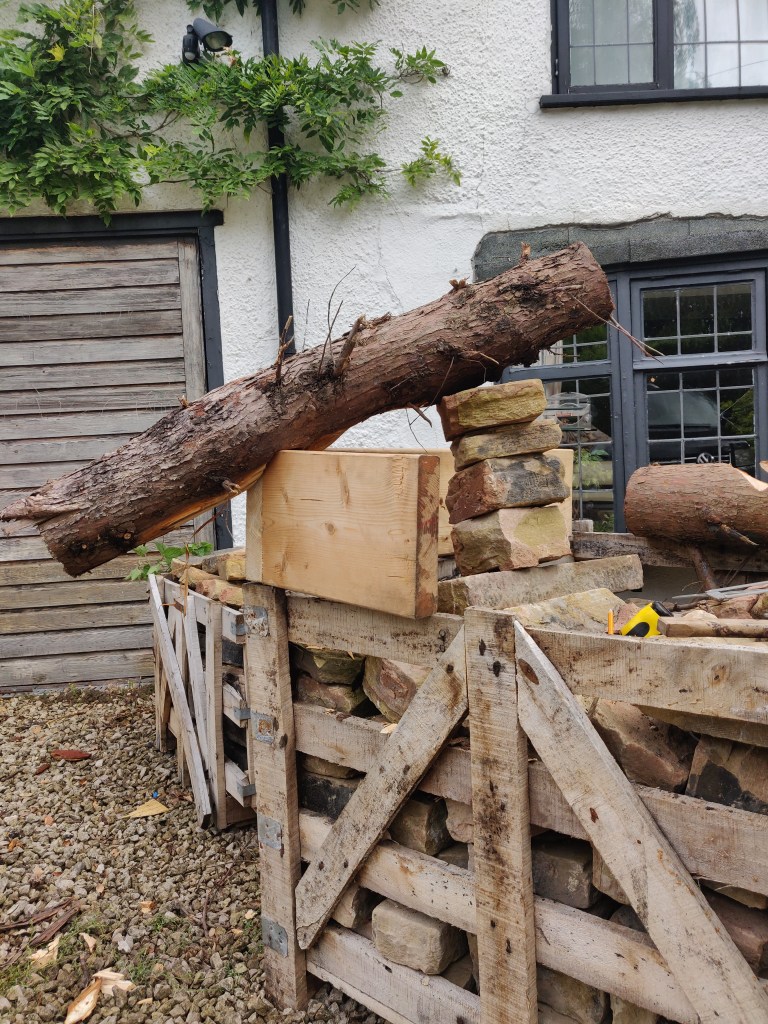
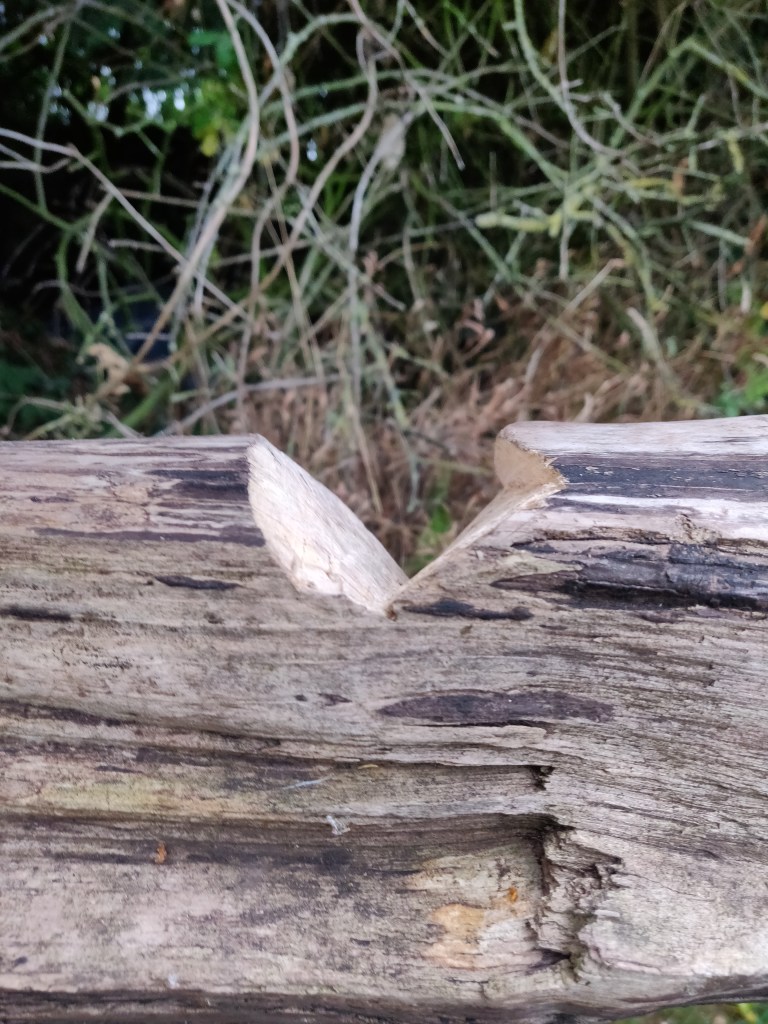
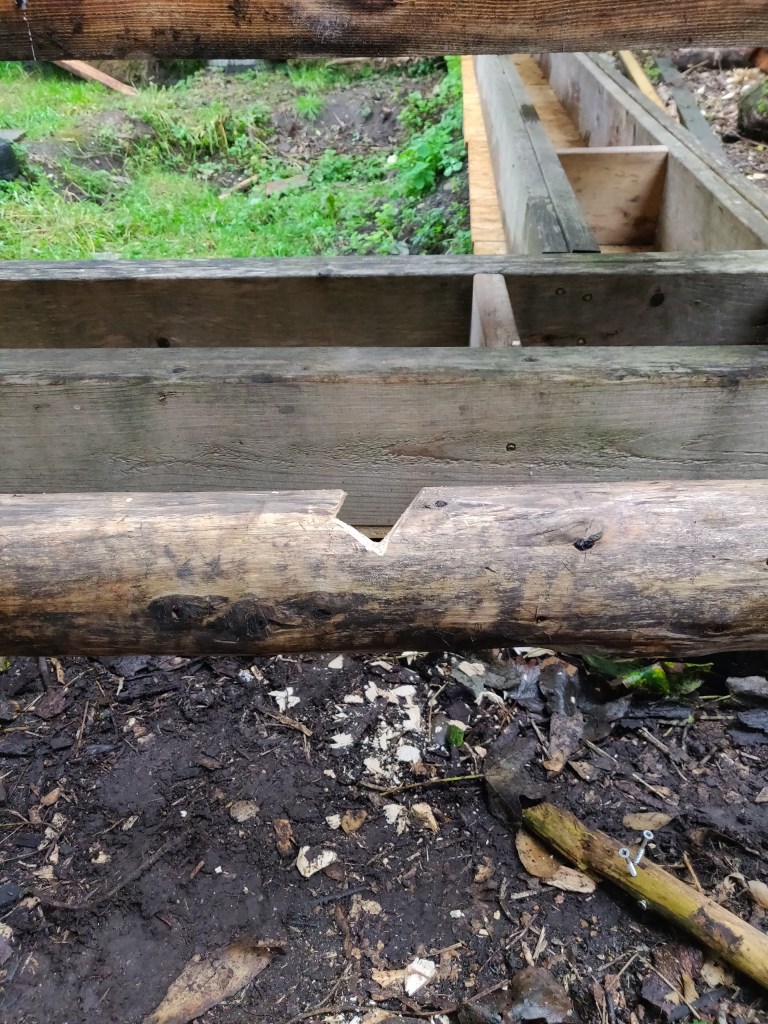
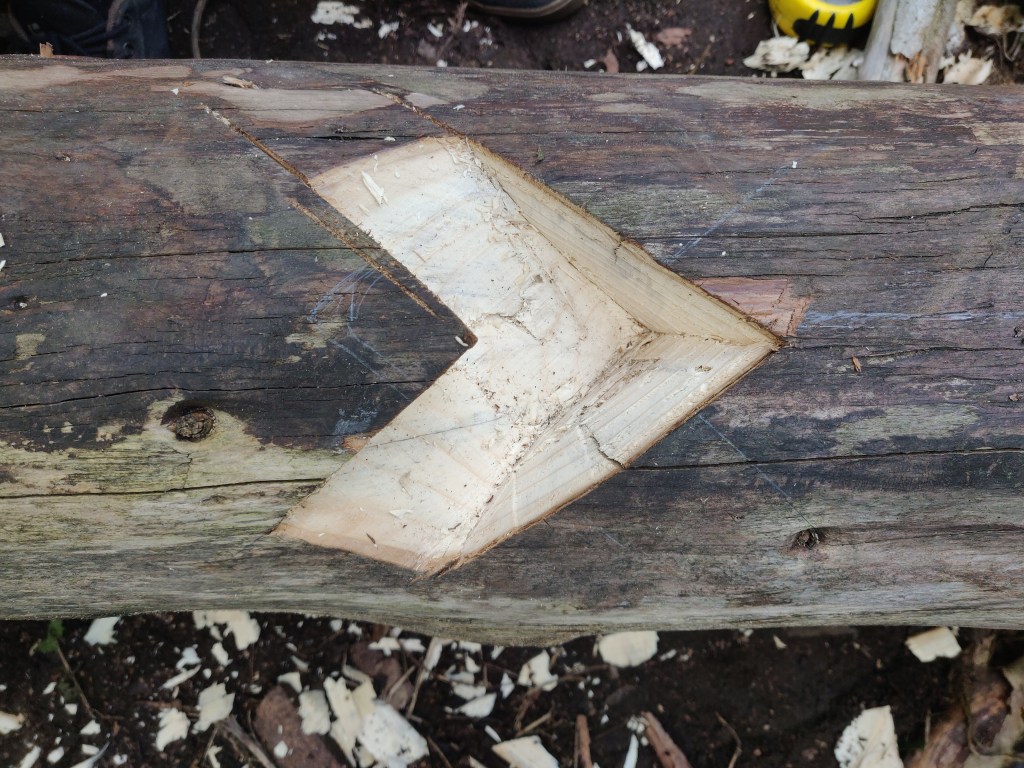
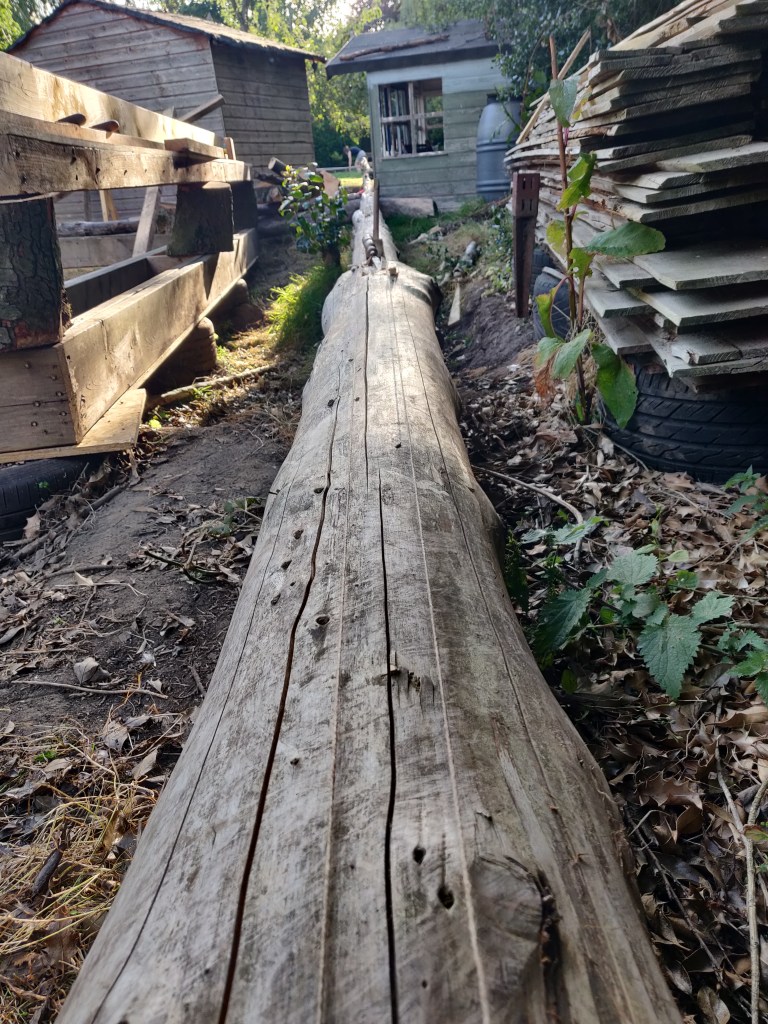
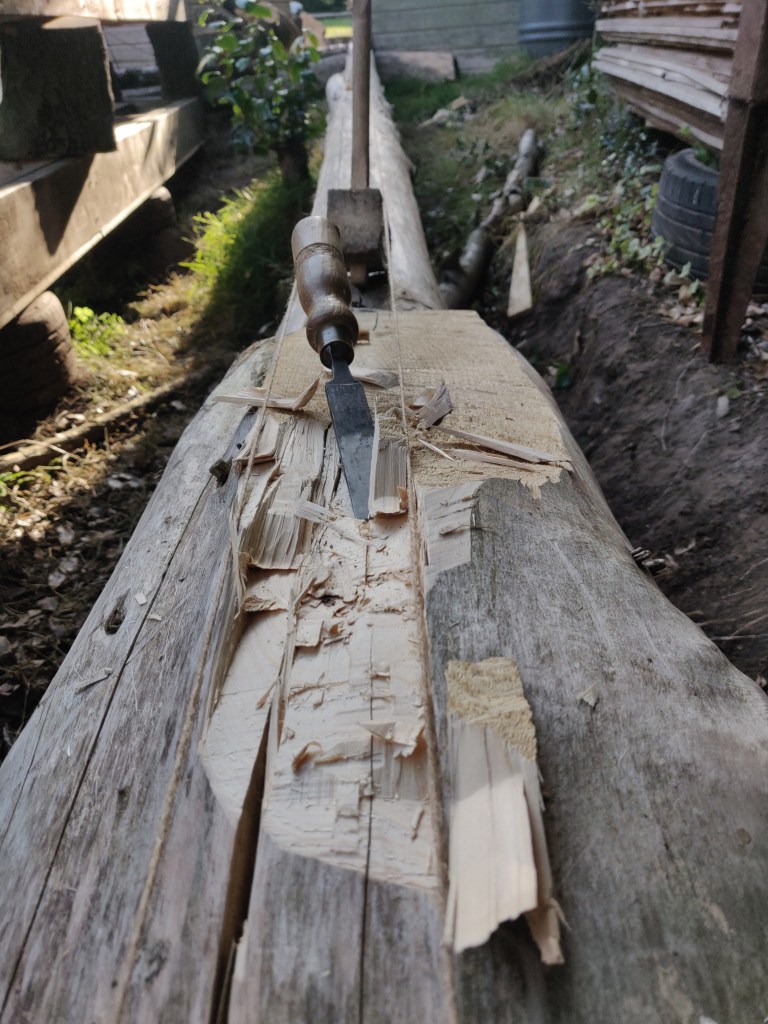
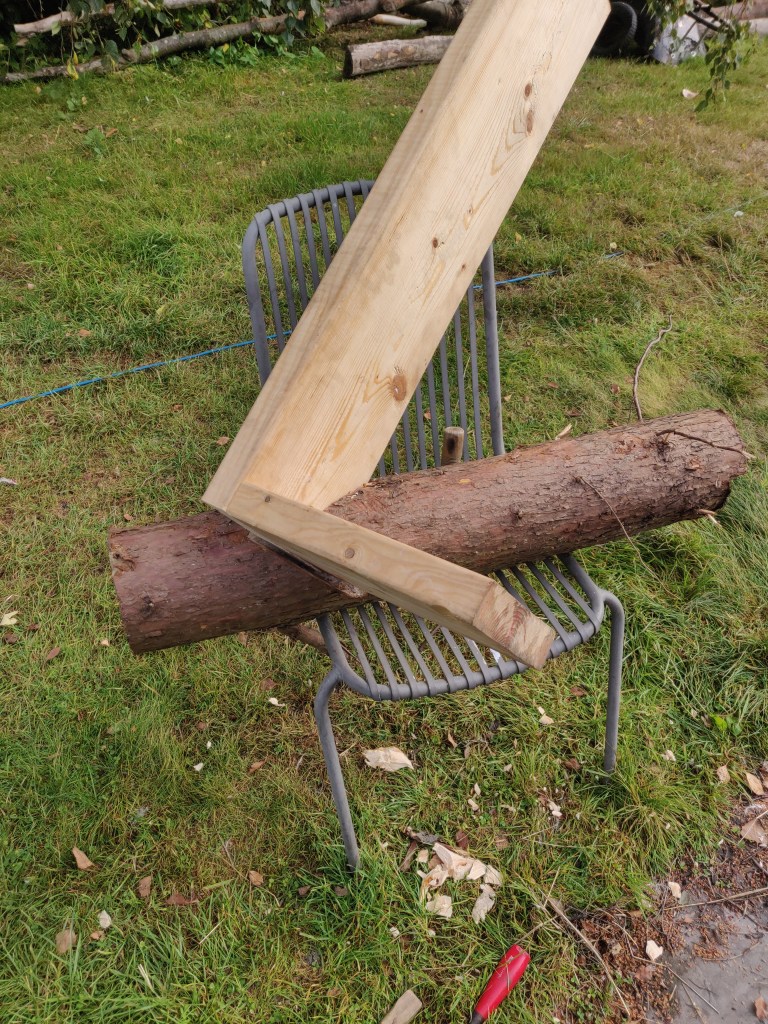
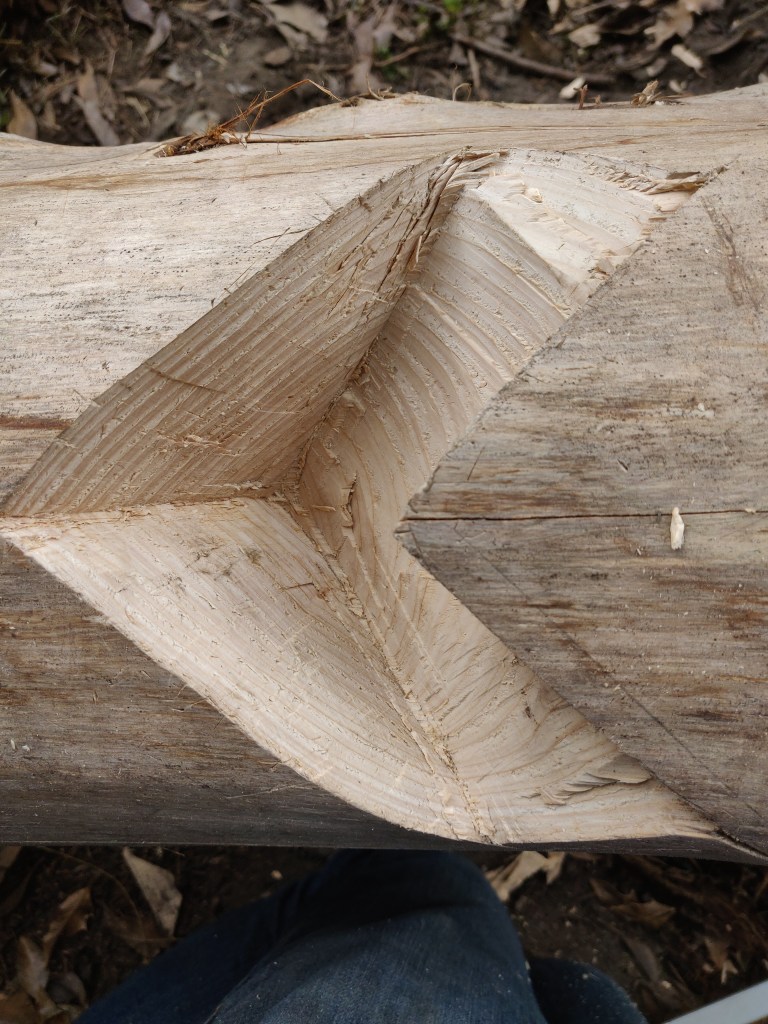
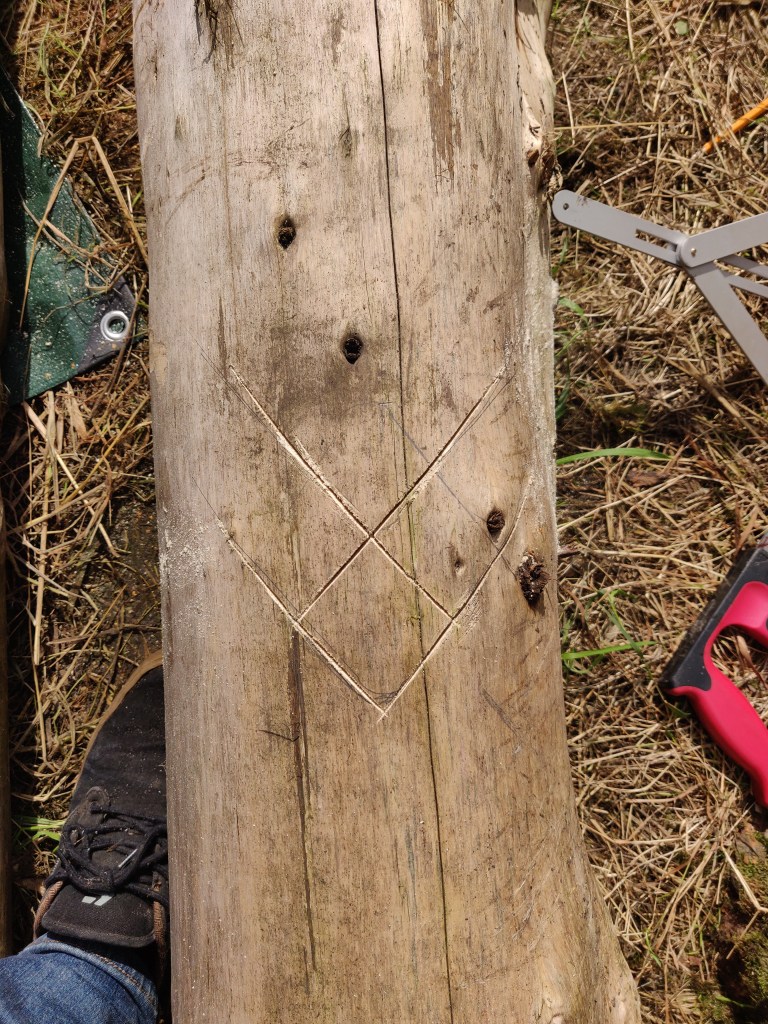
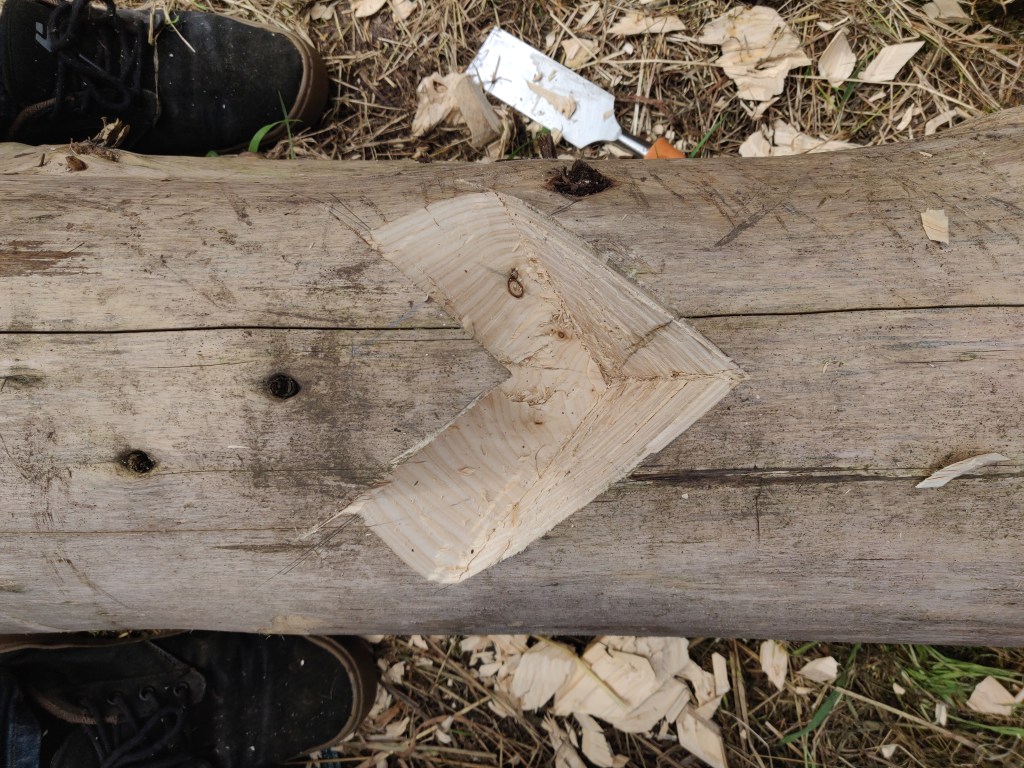
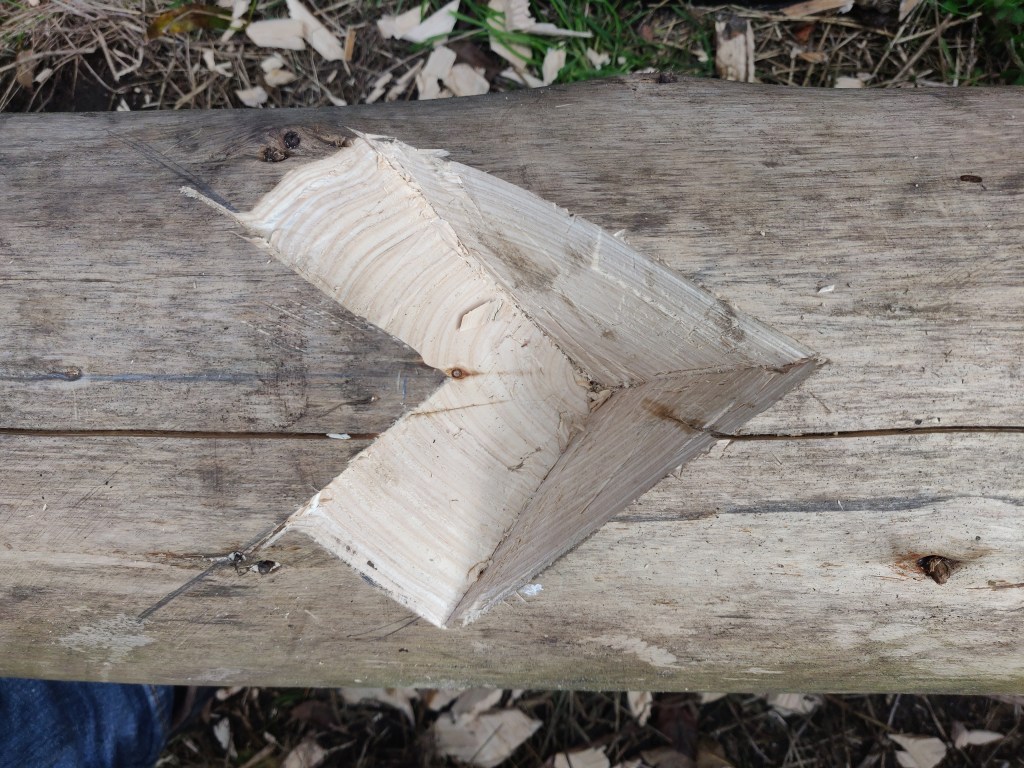
In the end I was very pleased with how the cuts came out out – they were a pretty snug fit.
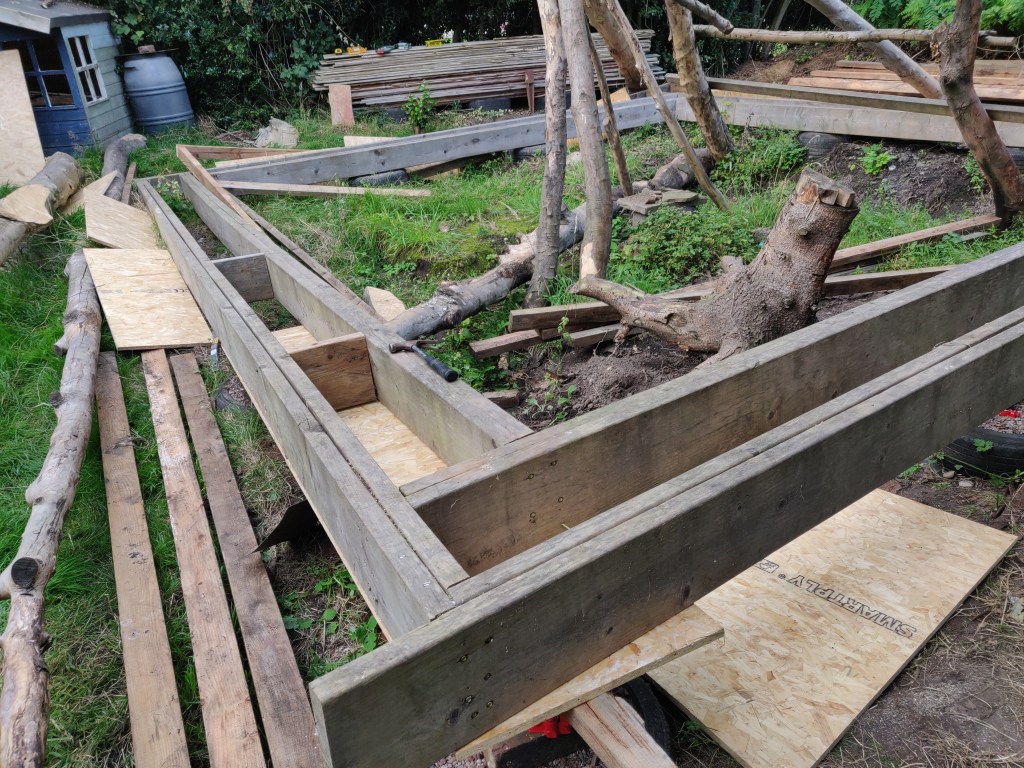
This was a fun work day project to build the roof plate – the section that the roof timber sit on top of:
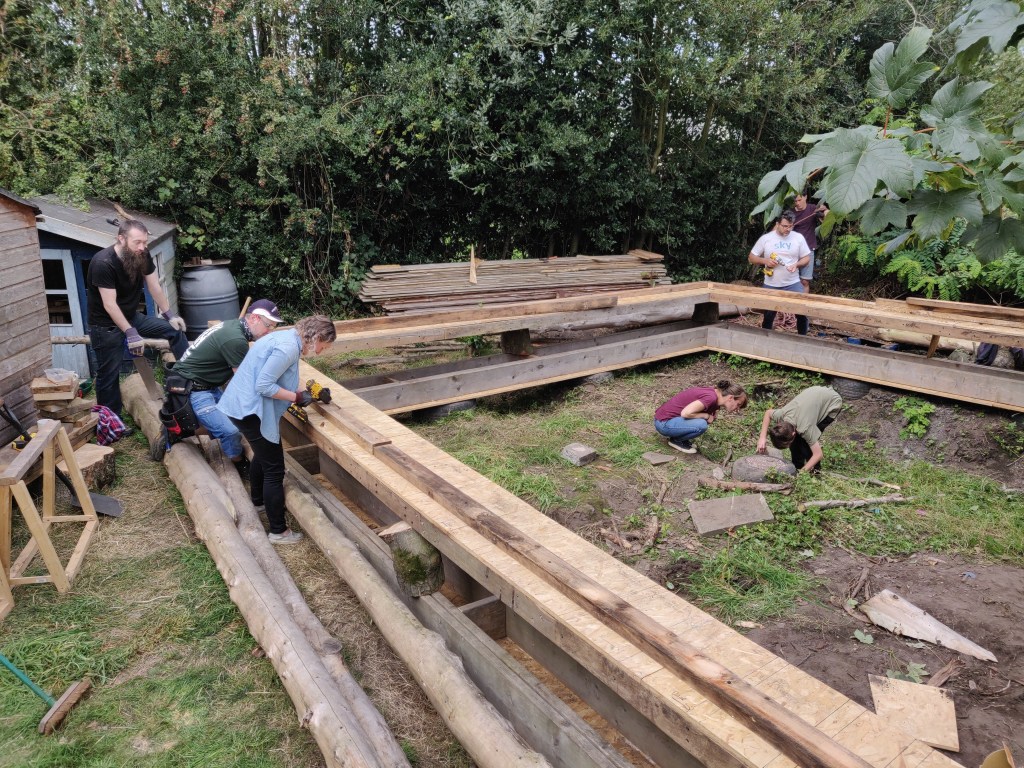
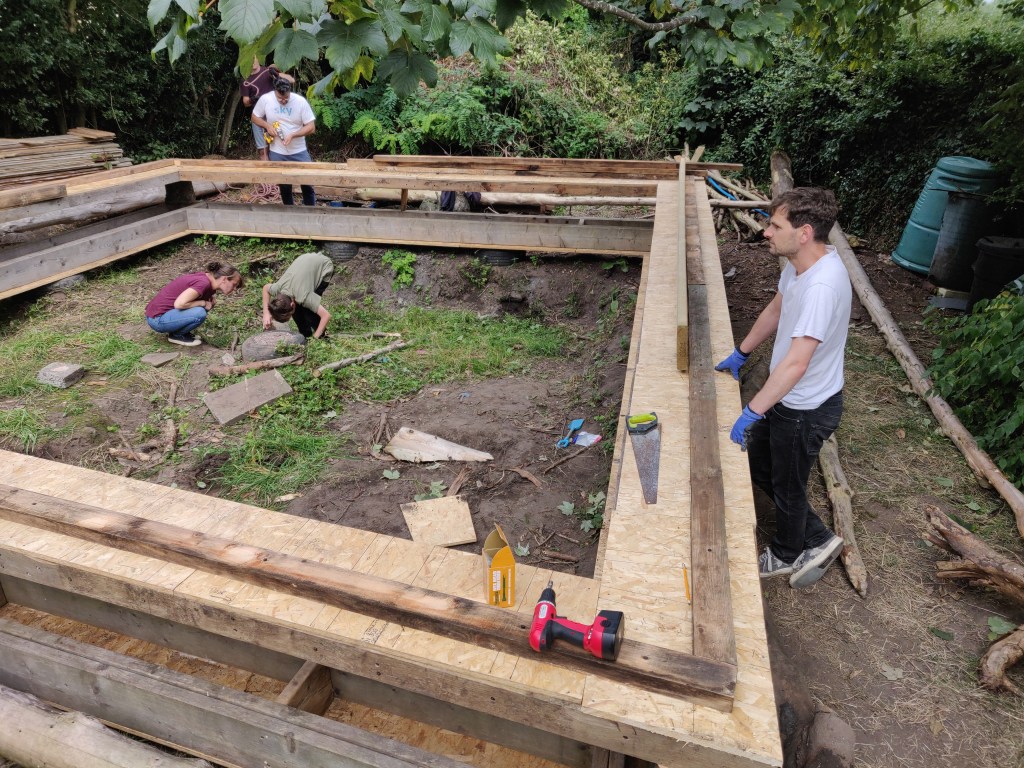
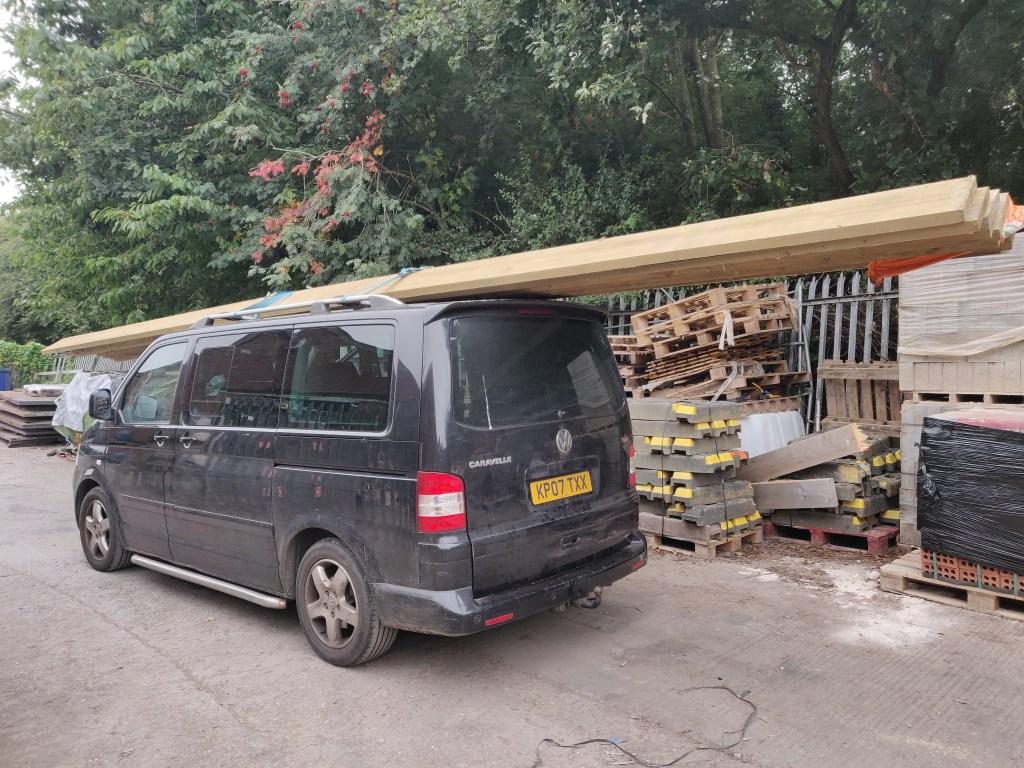
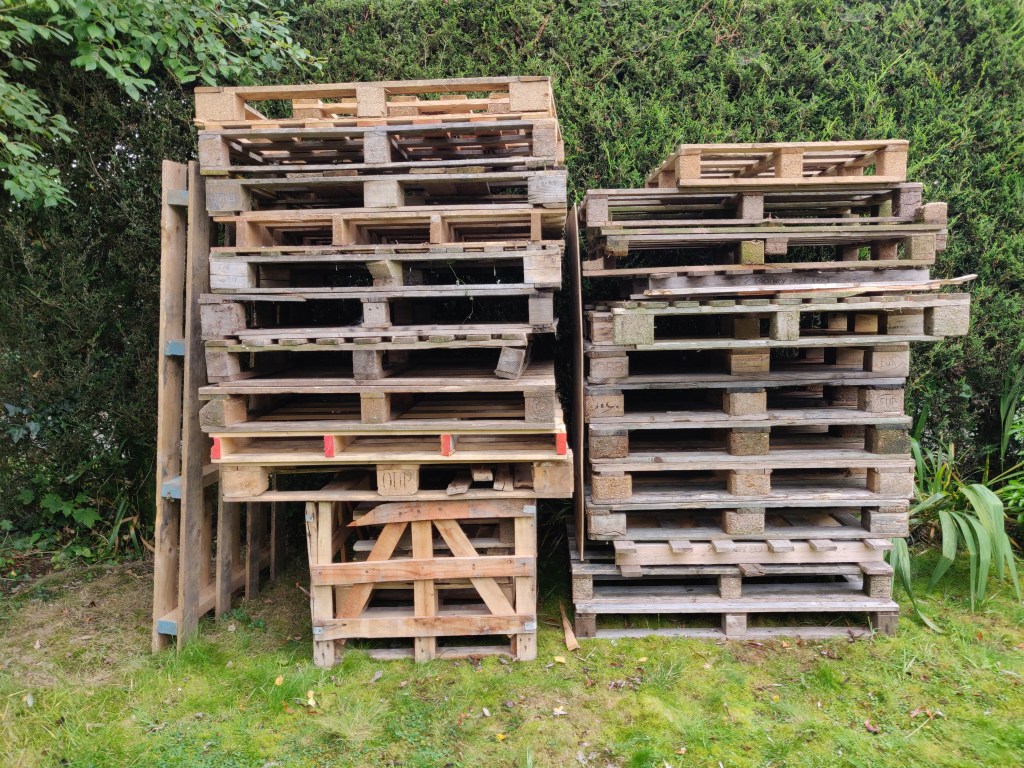
10 metre long timbers on the roof of the van. A stack of pallets (for the floor). Roof timbers stacked up.
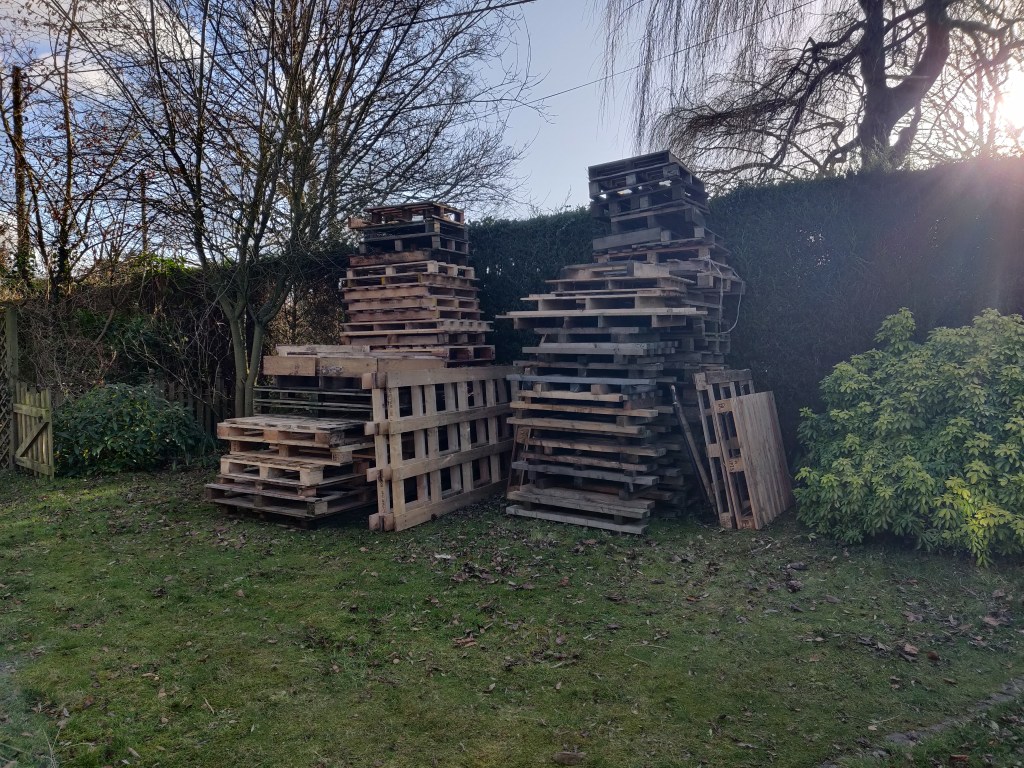
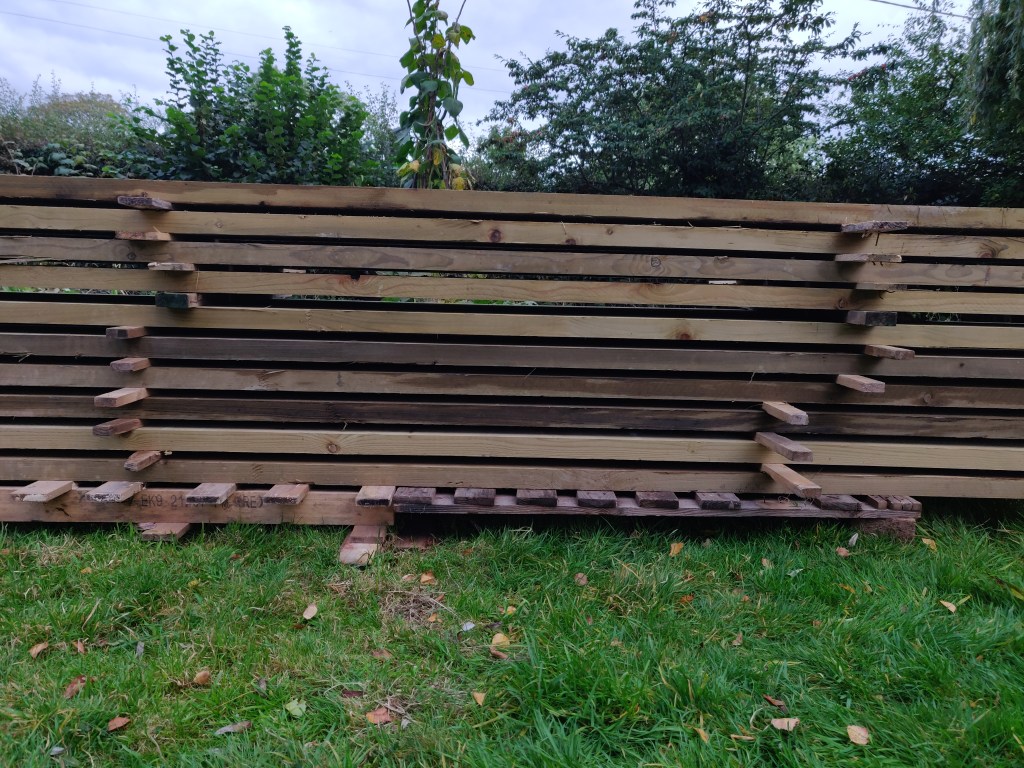
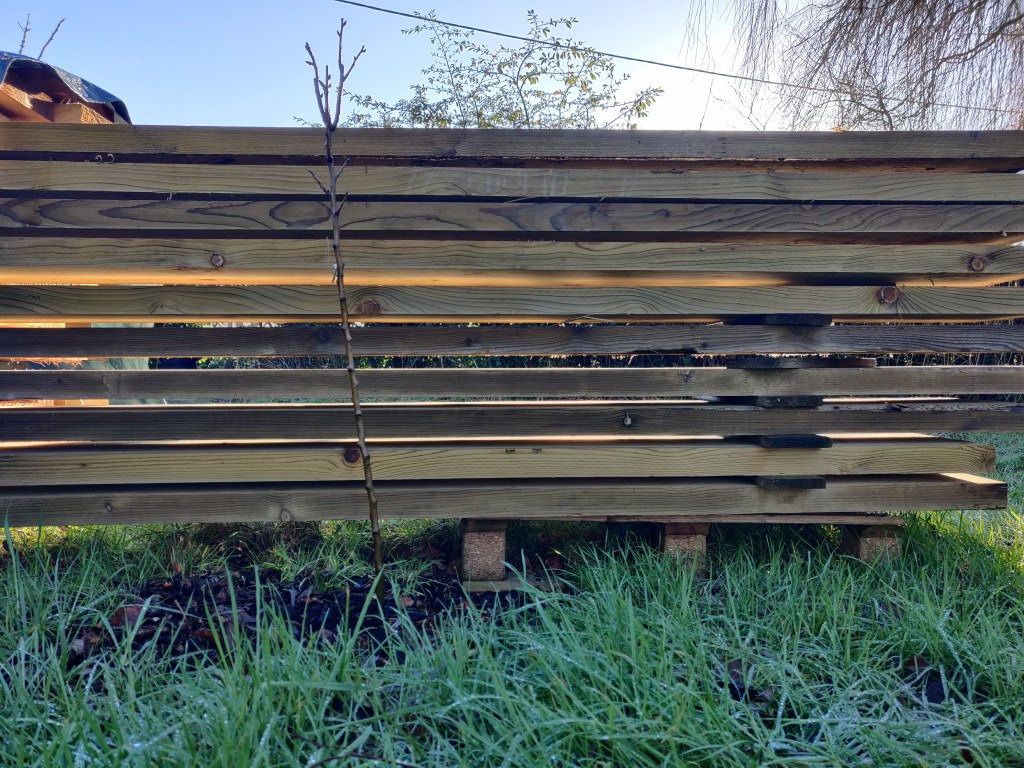
I didn’t attach the OSB to the bottom of the base plate at first as I didn’t want it to be badly weathered.
However, I realied that I needed to attach the boards to the underside of the base plate before I got too far with the rest of the building otherwise. It’s OSB3 so it lasts pretty well in the rain anyway. I used bottle jacks to lift it up, and then glued and nailed them on. This was pretty tricky.
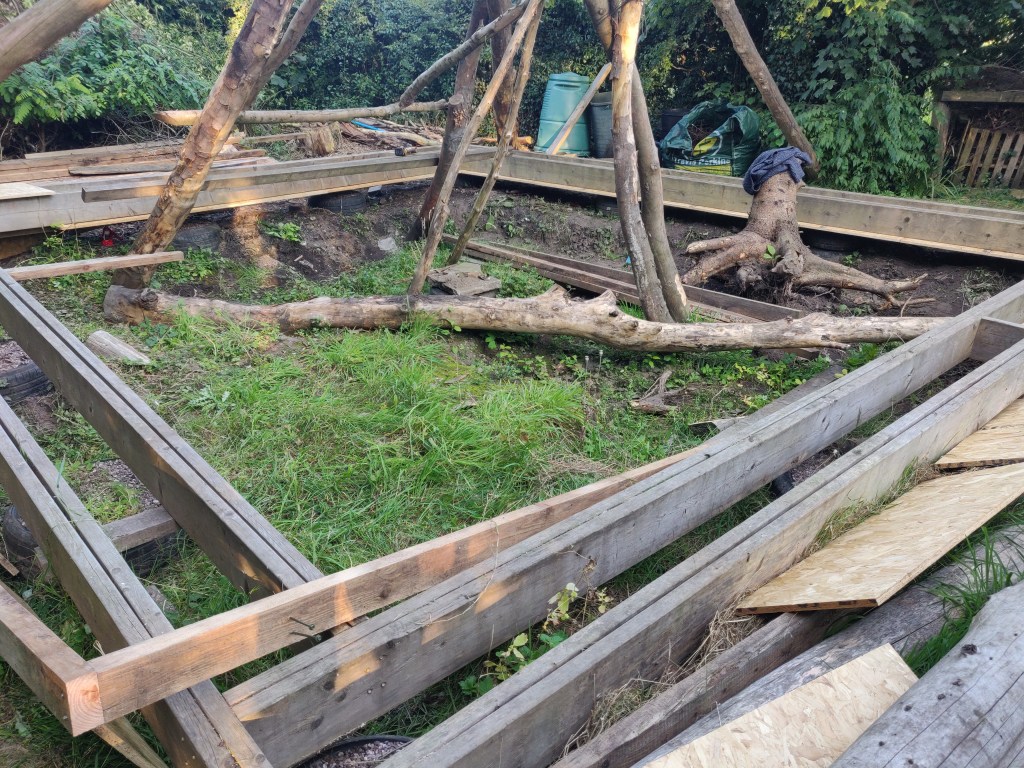
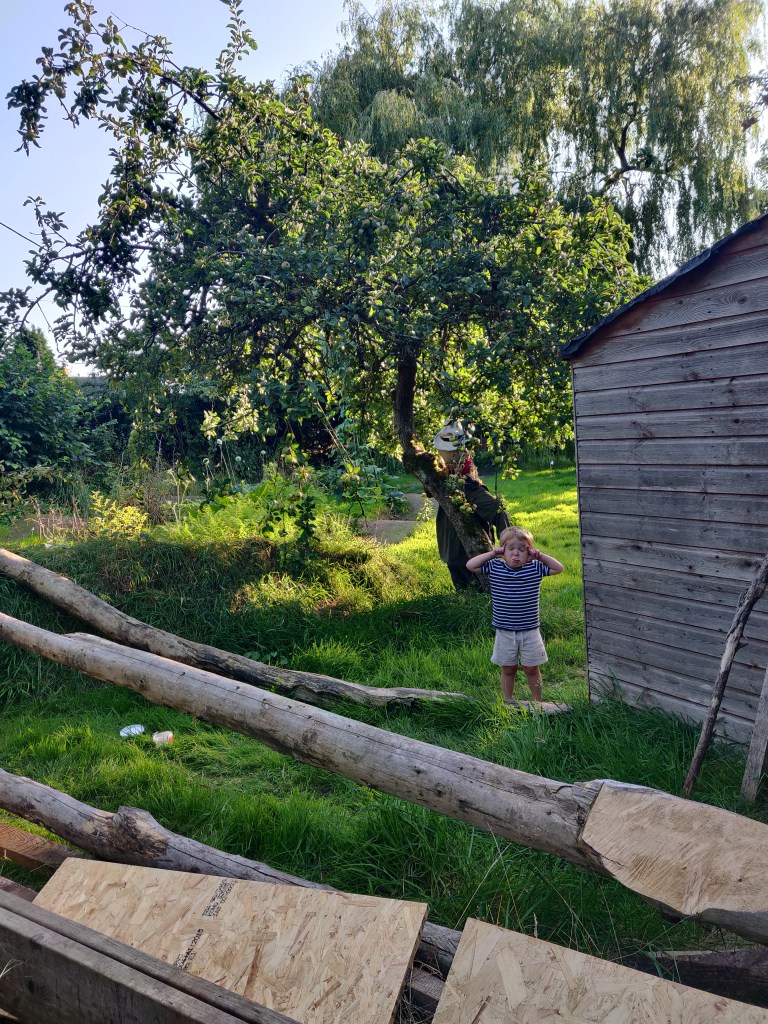
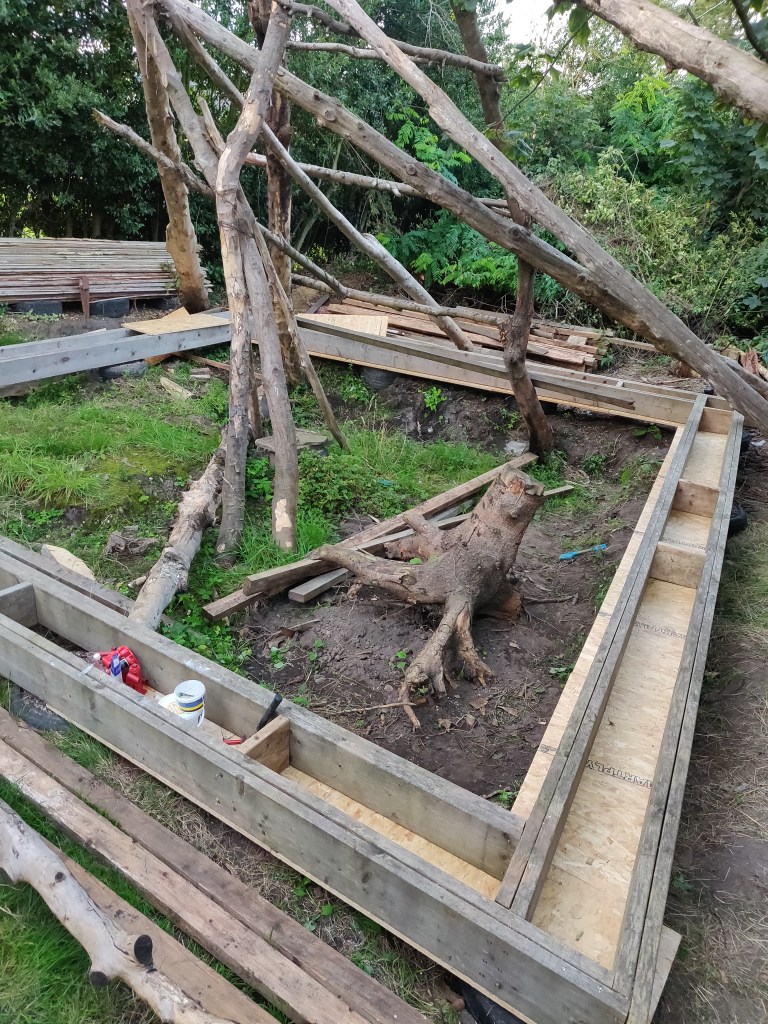
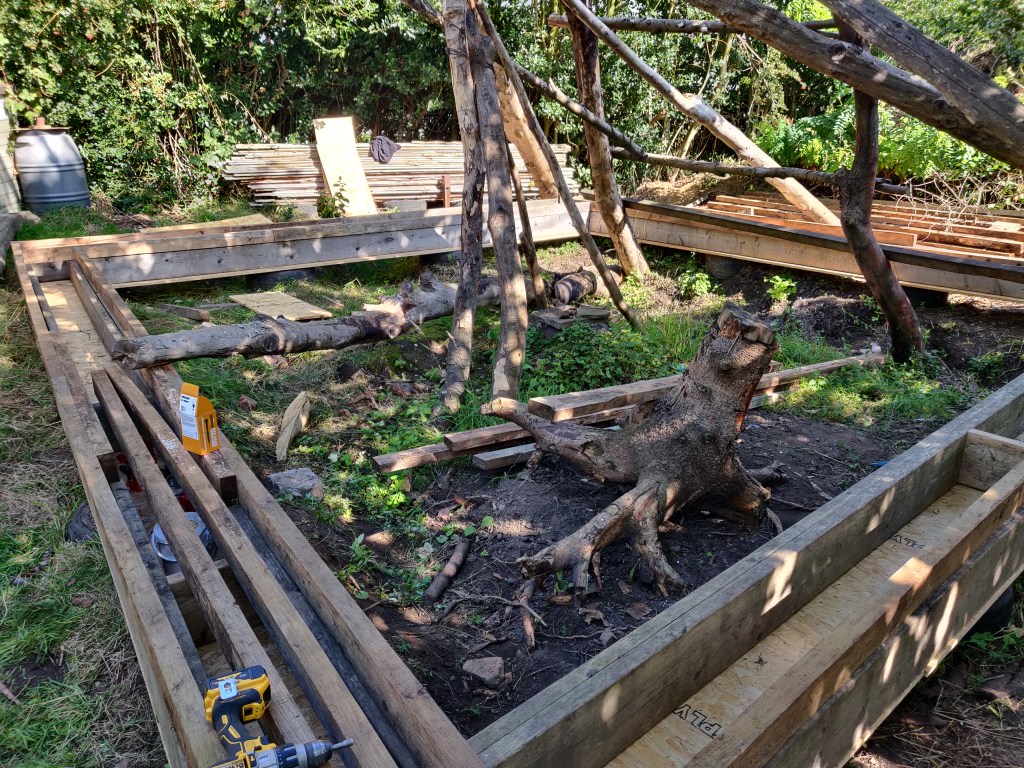
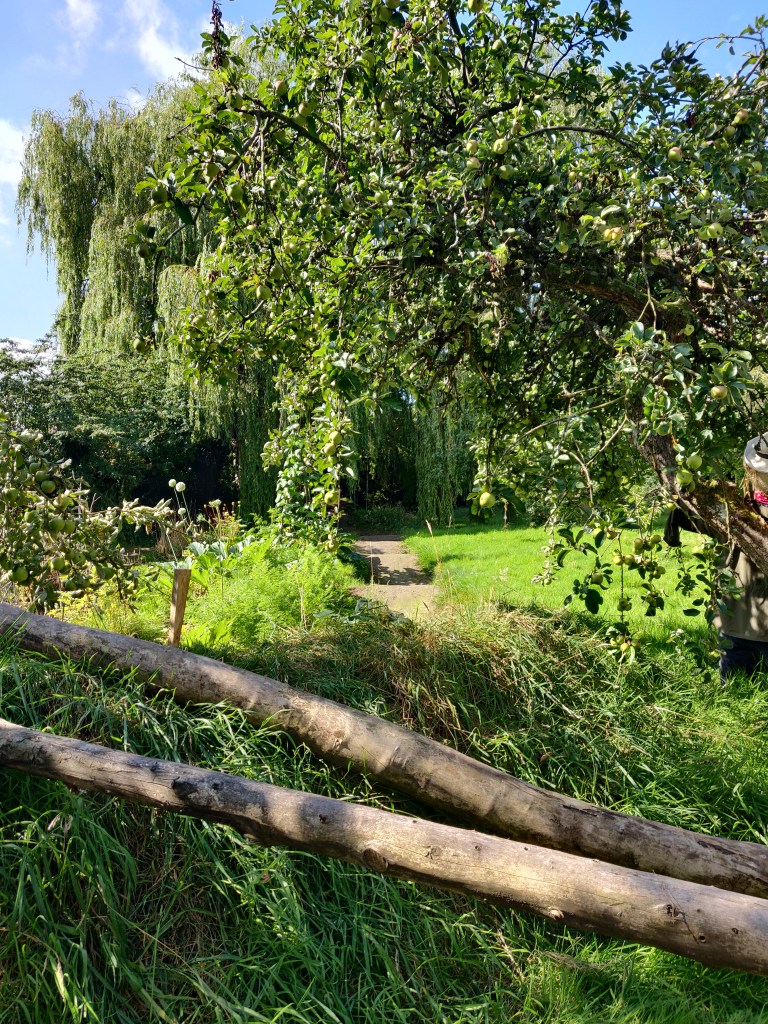
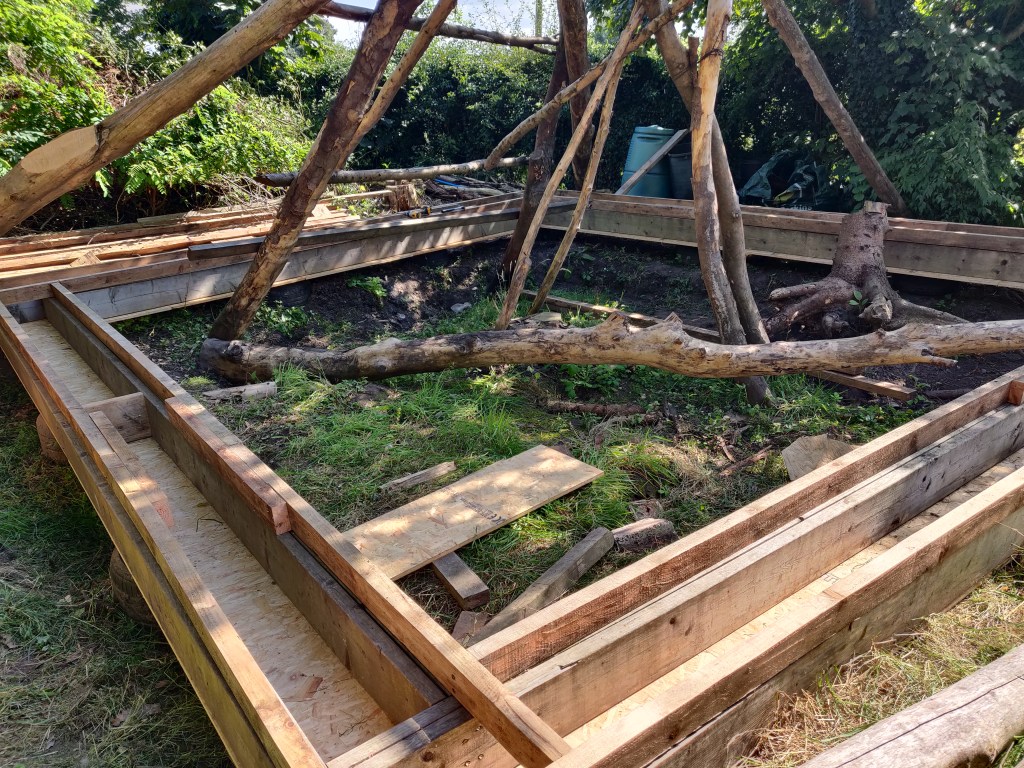
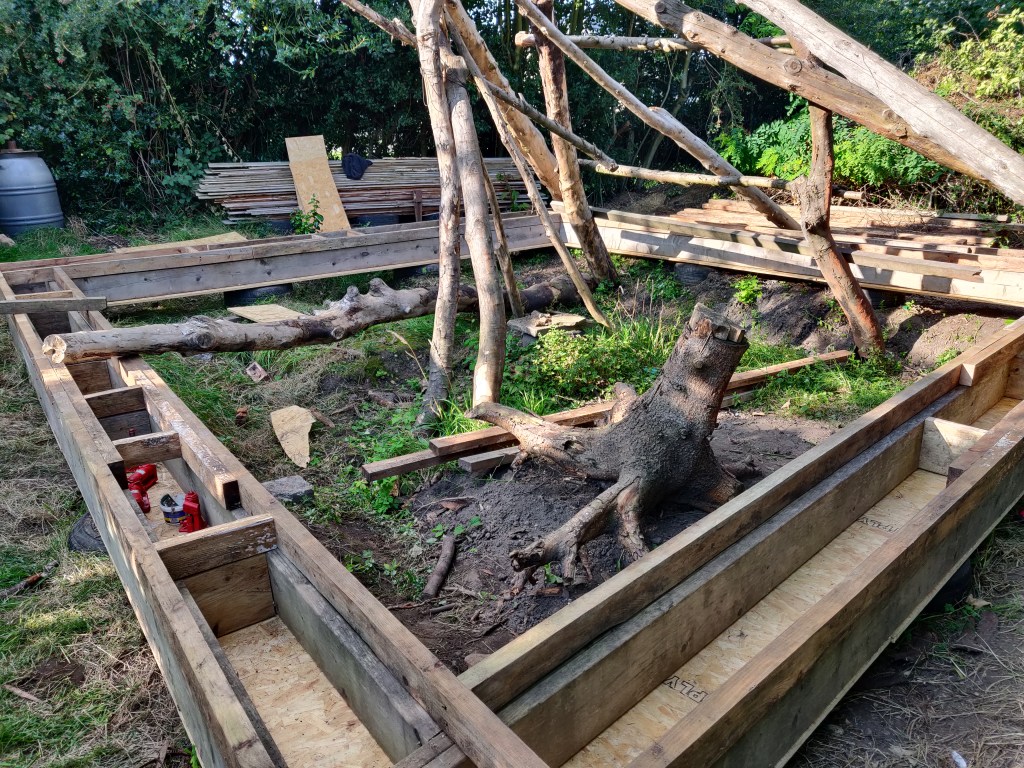
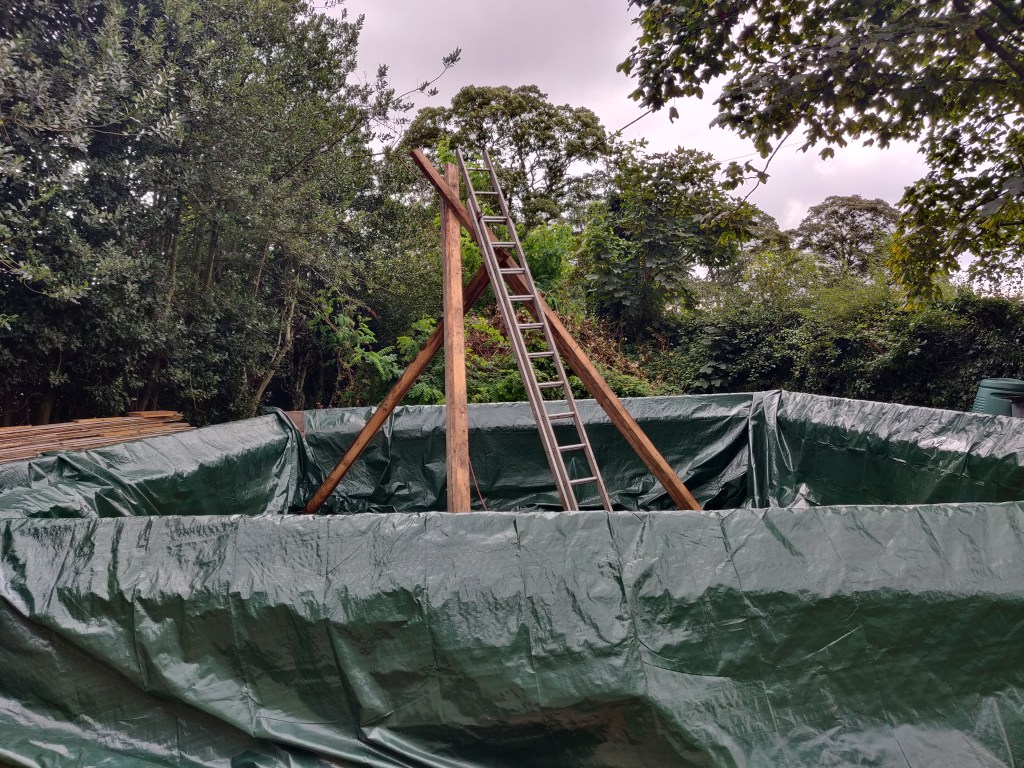
I built this tripod on my own in the hope that I could use it to build a roof. In the end it turned out to be useless!
I moved a lot of the timbers into place using a winch and ratchet straps.
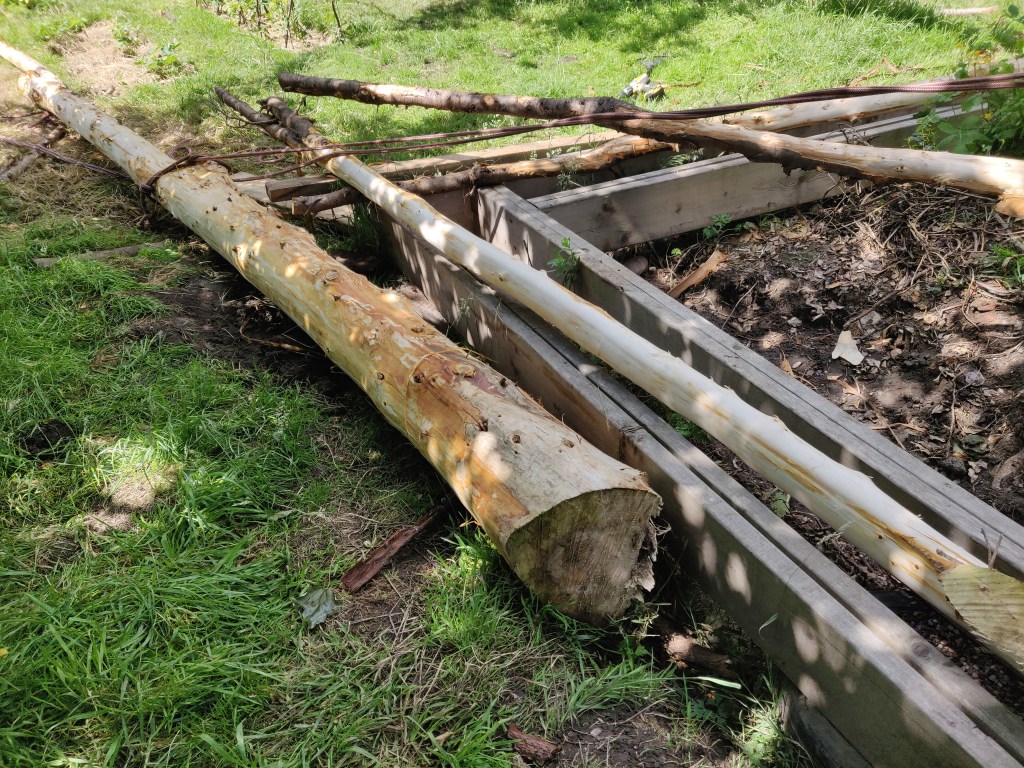
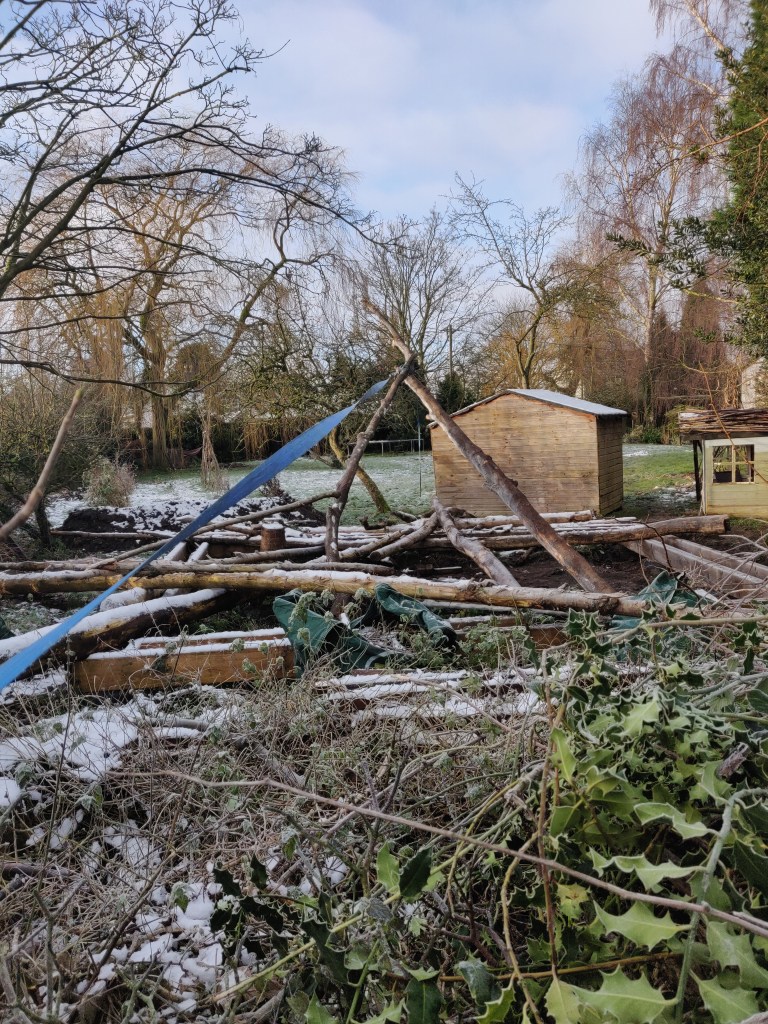
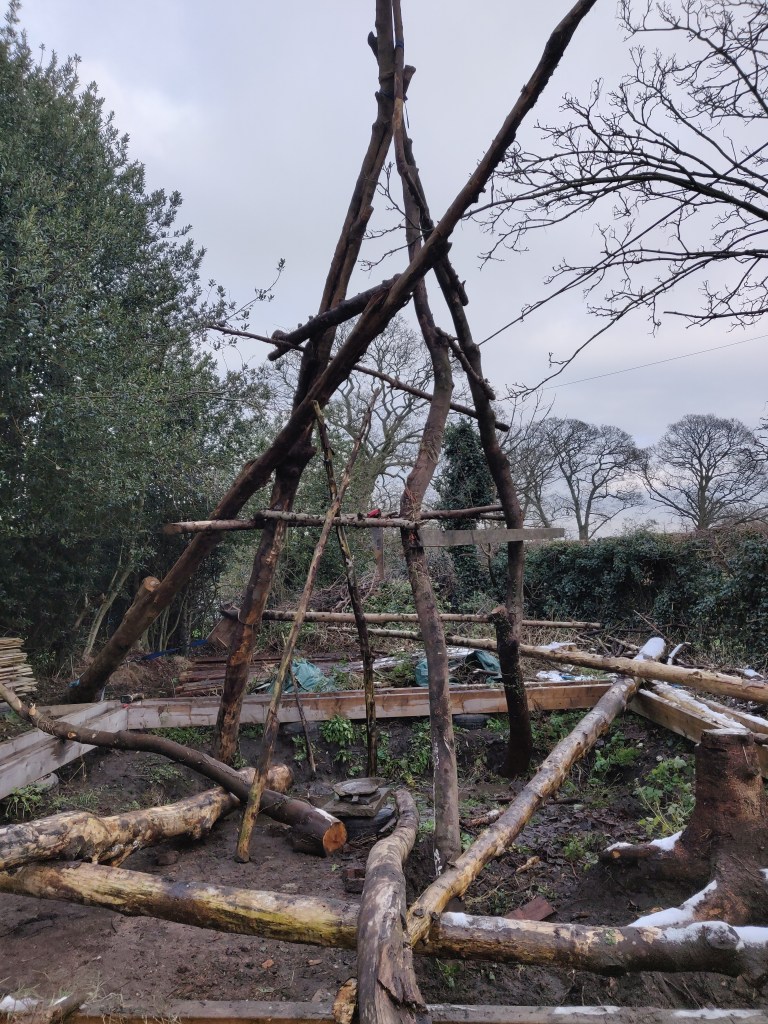
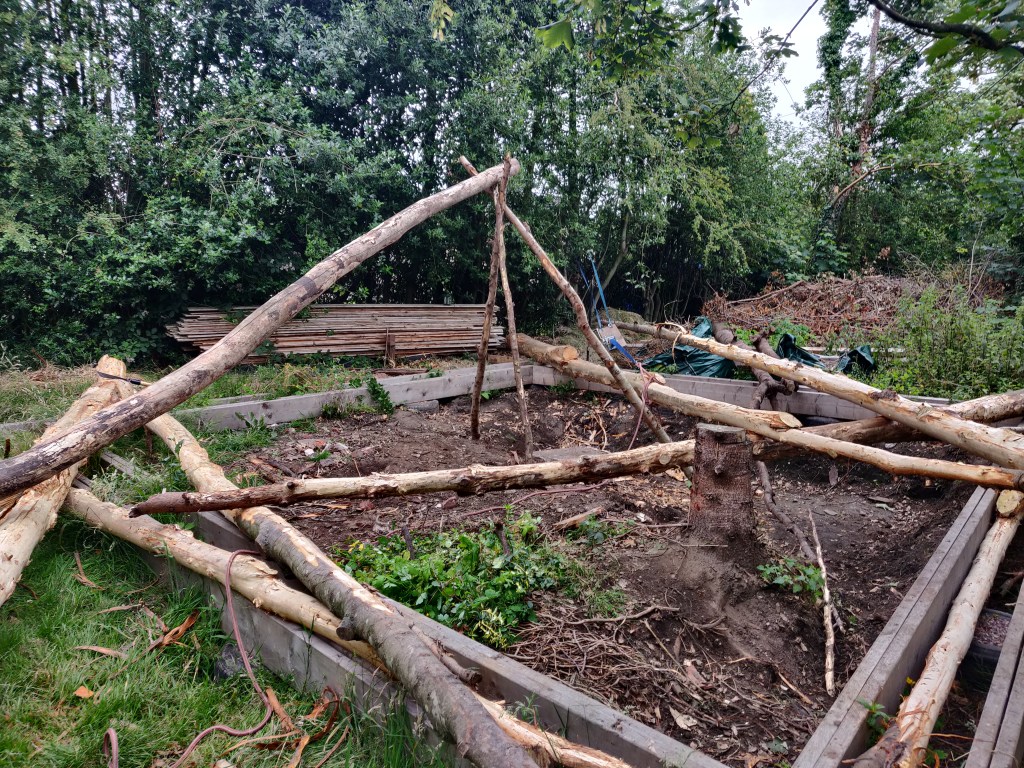
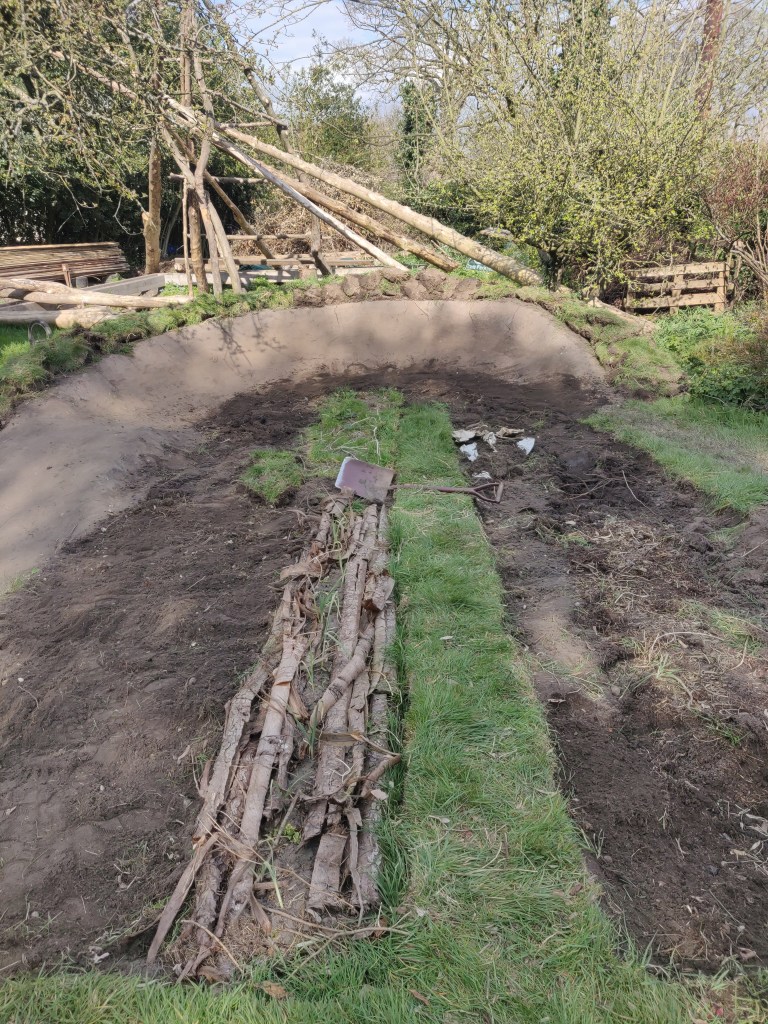
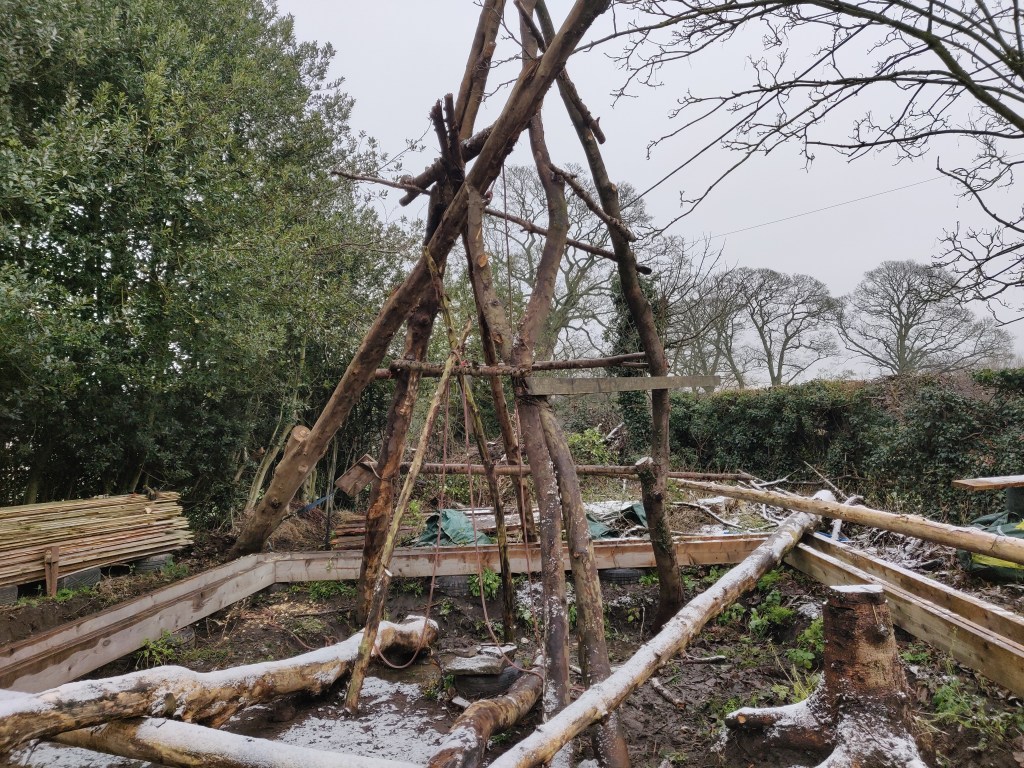
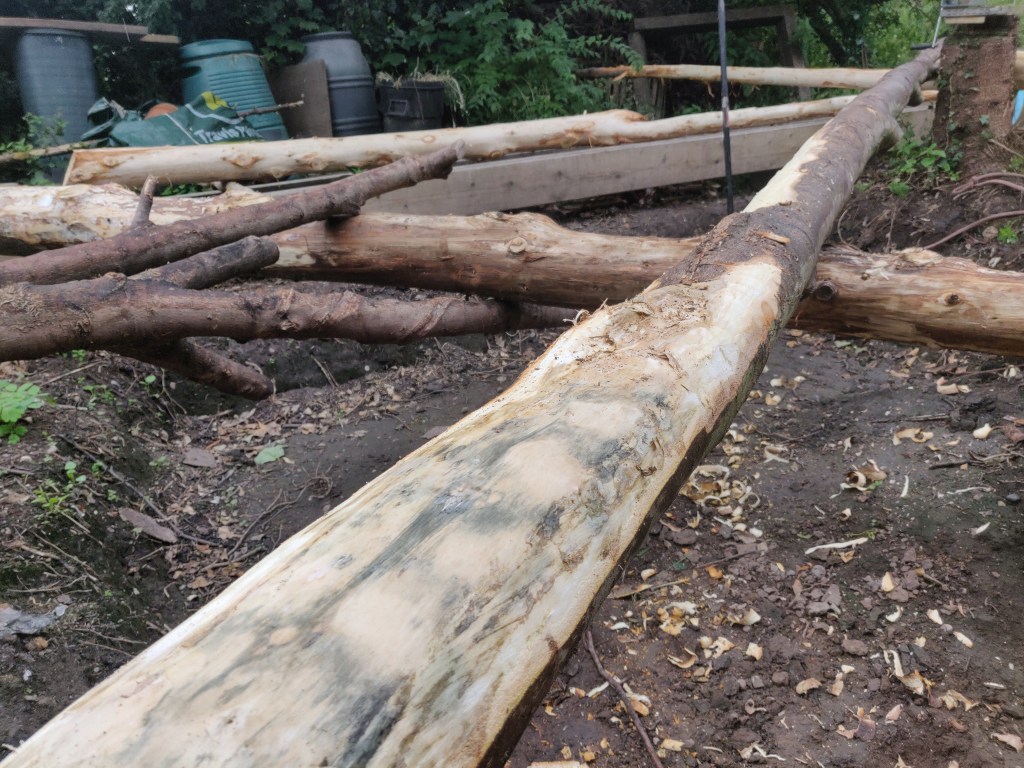
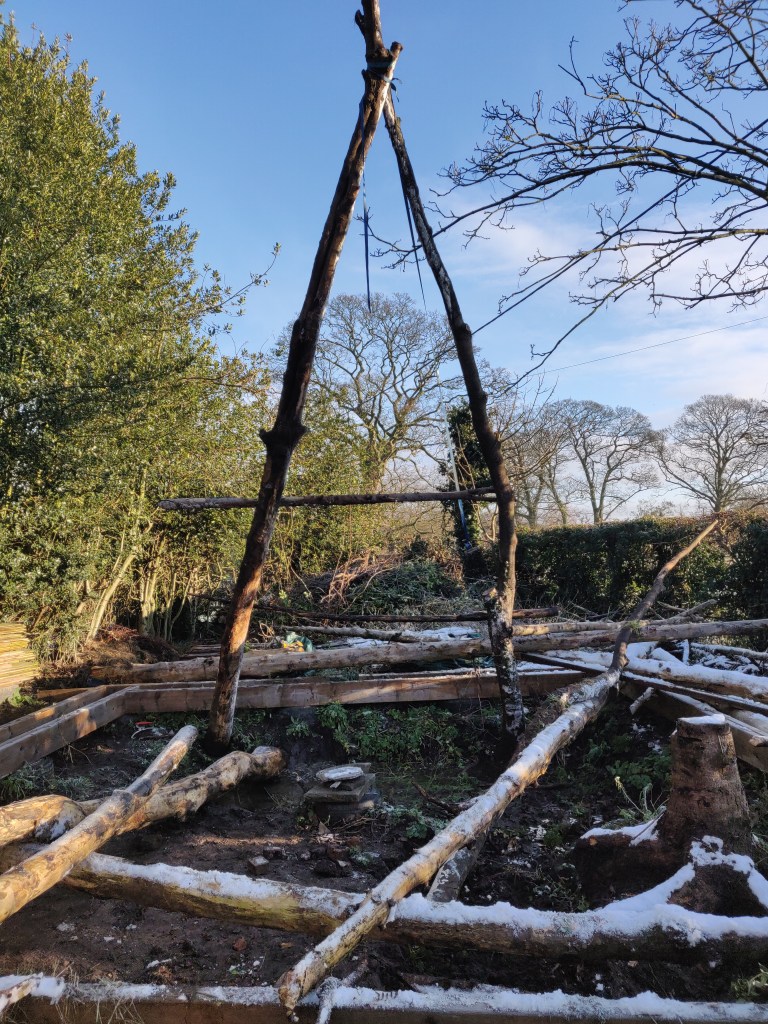
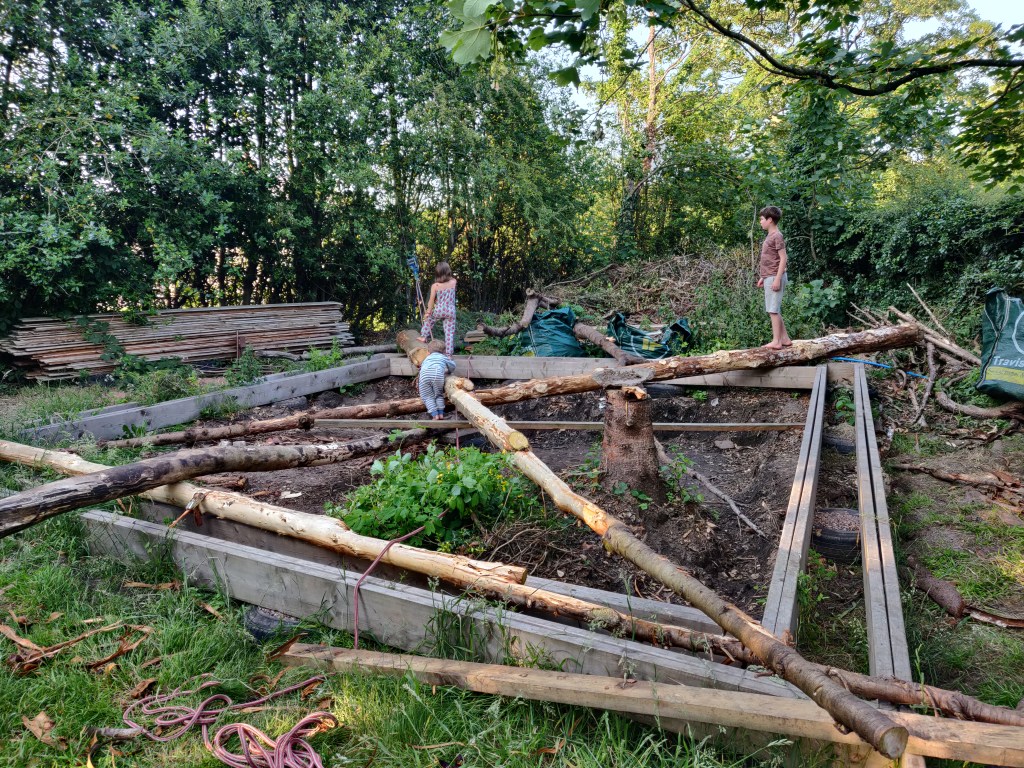
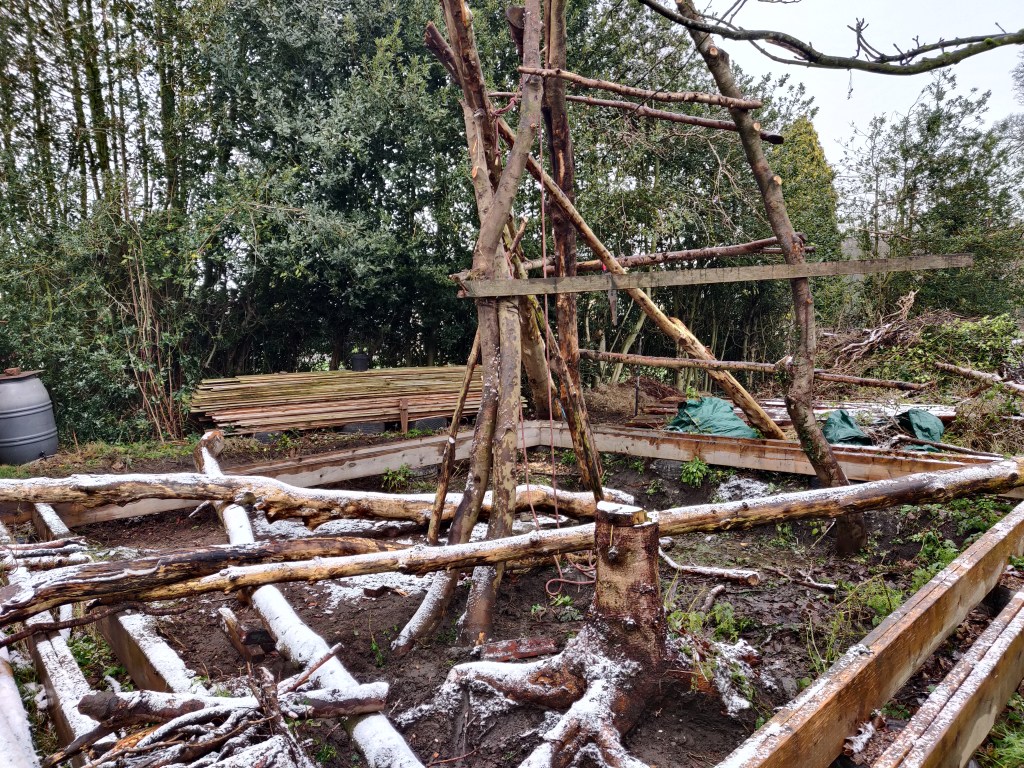
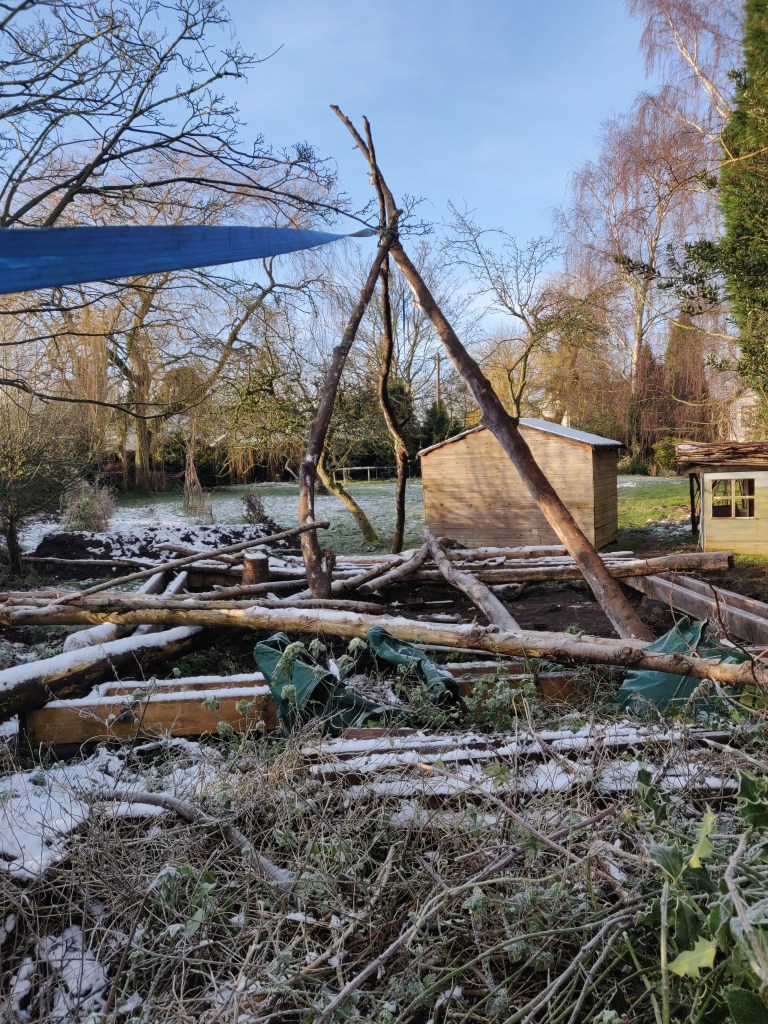
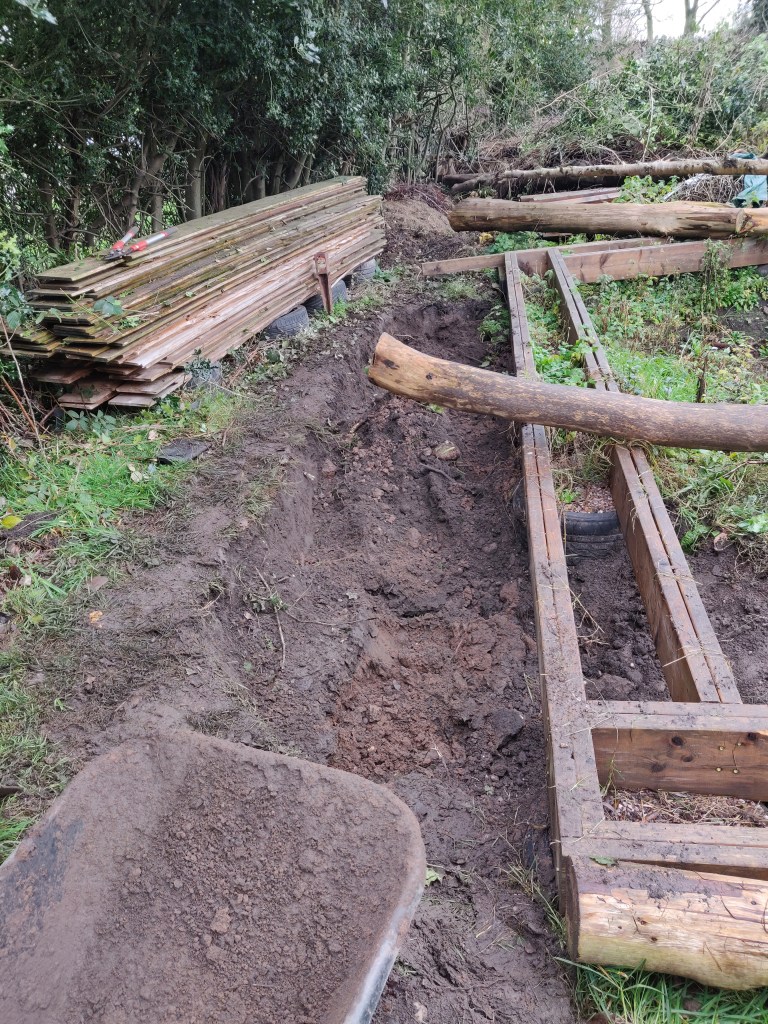
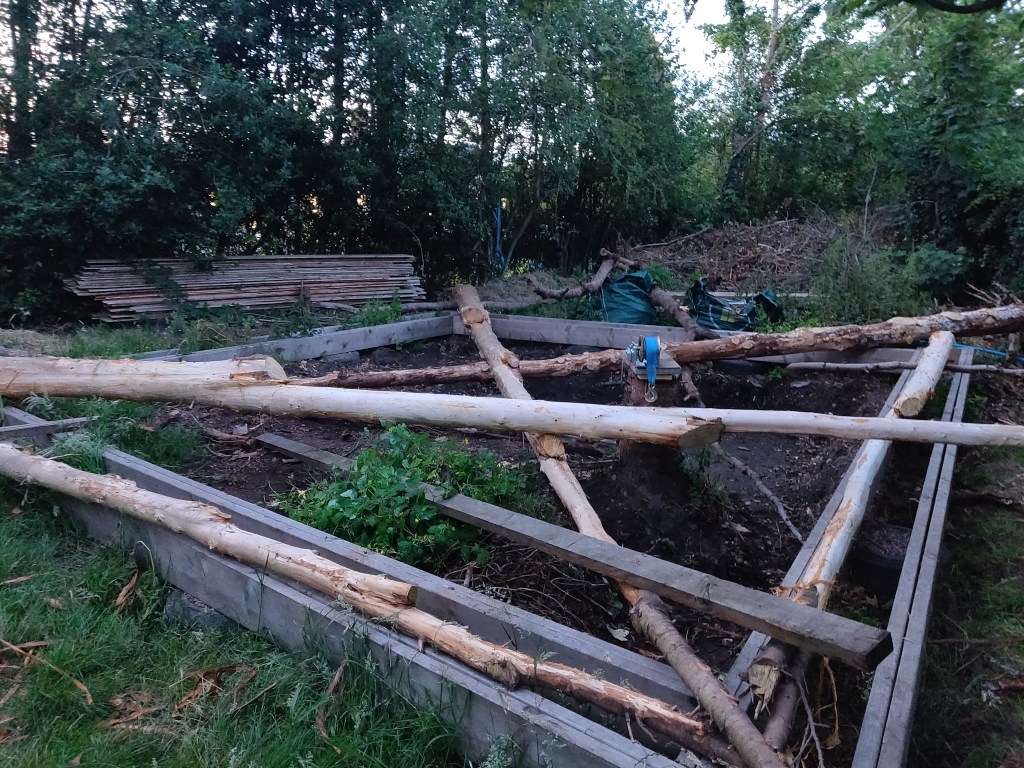
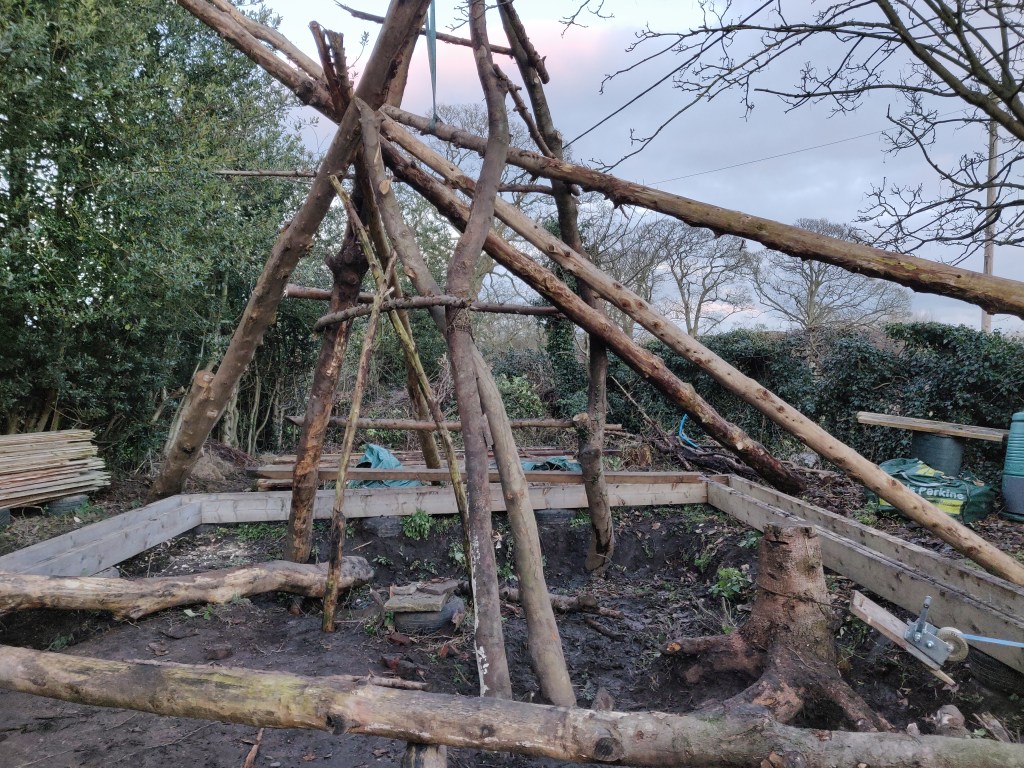
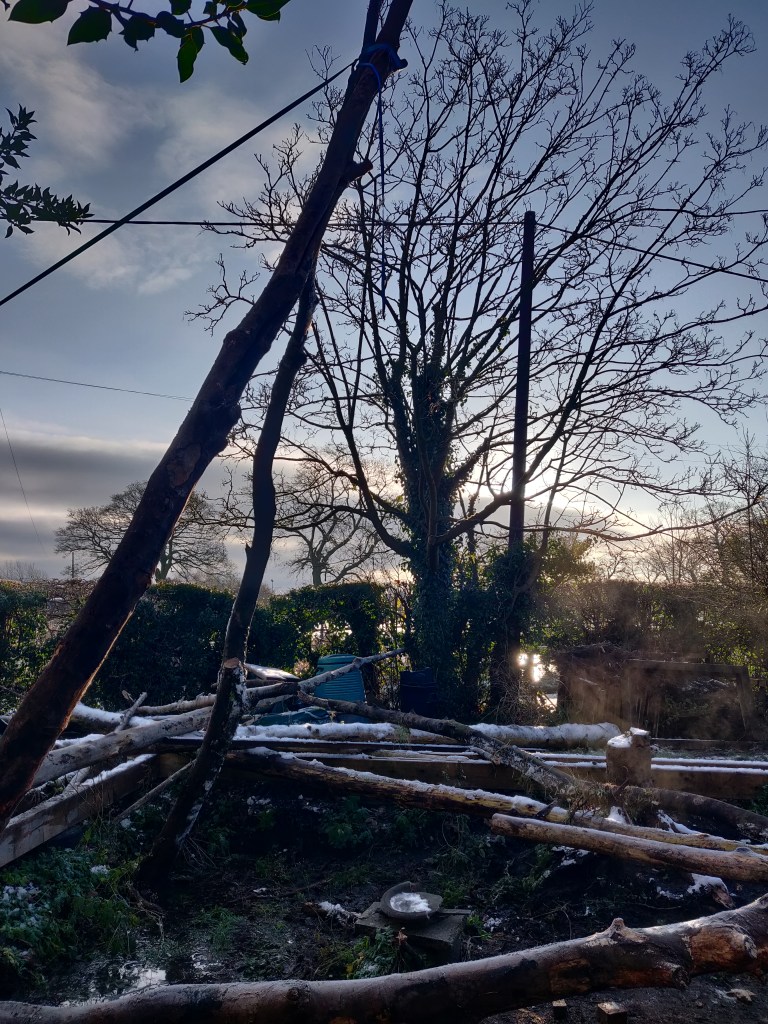
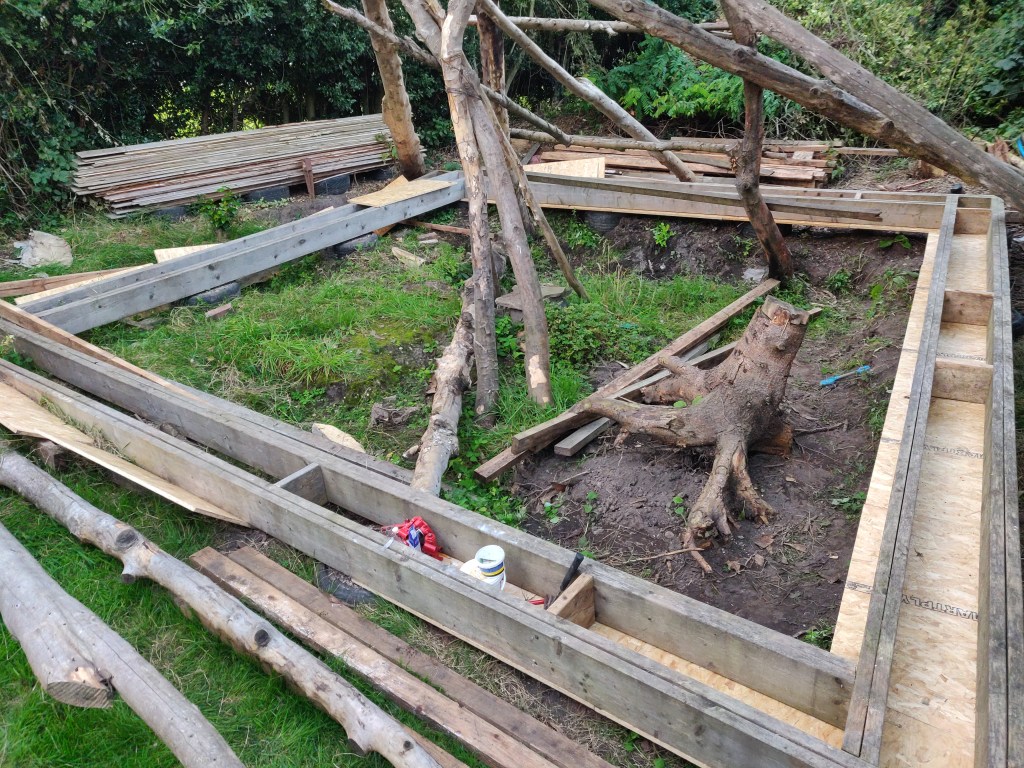
The ground under the structure was slightly too high, so we spent a while dgging it out.
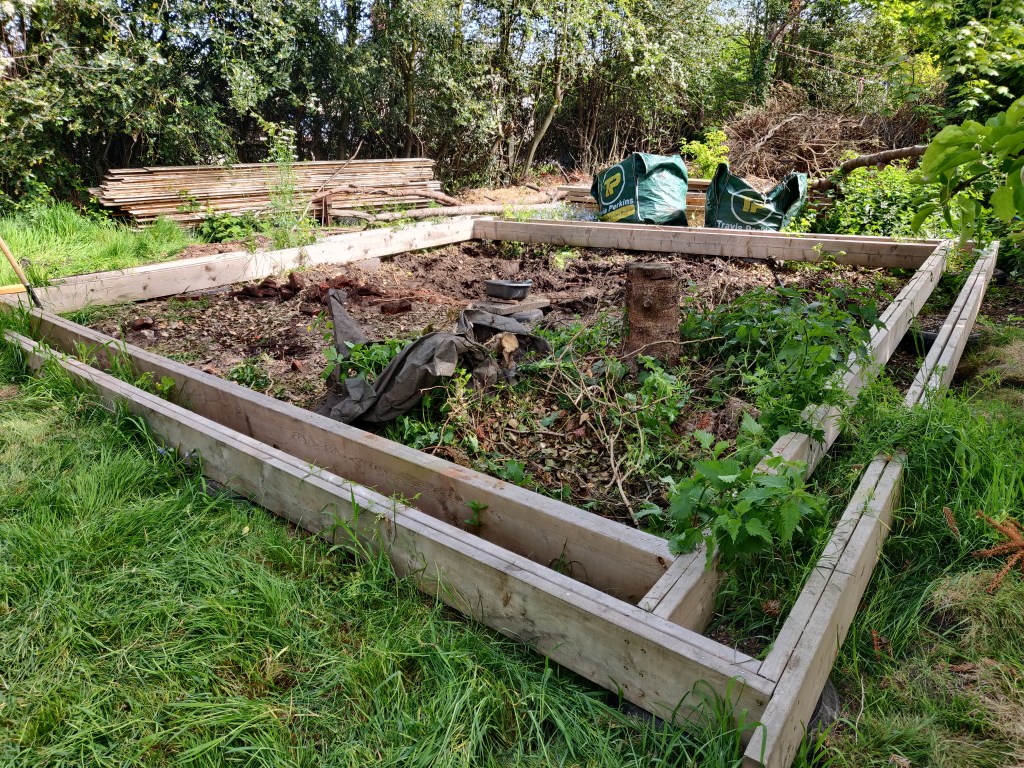
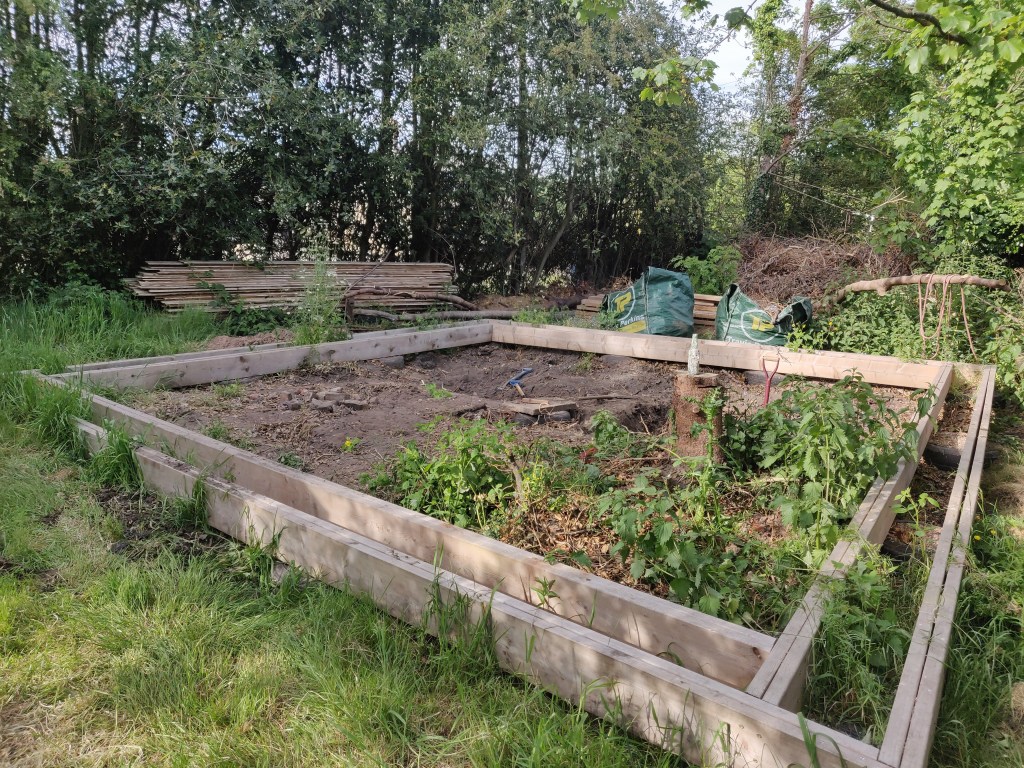
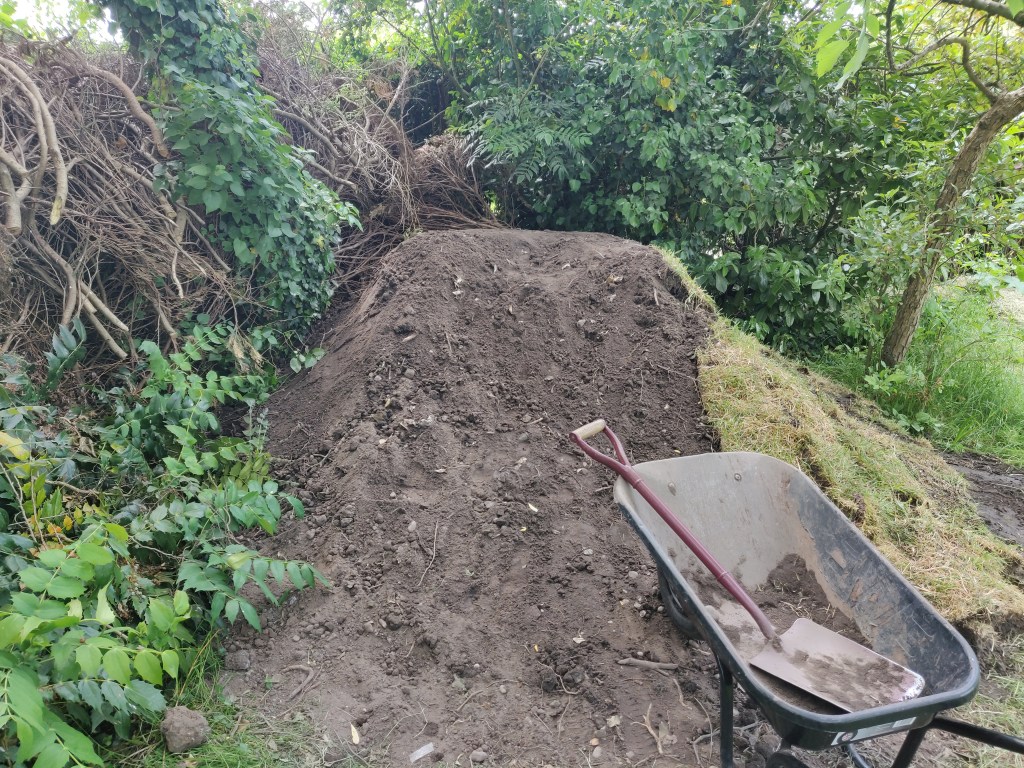
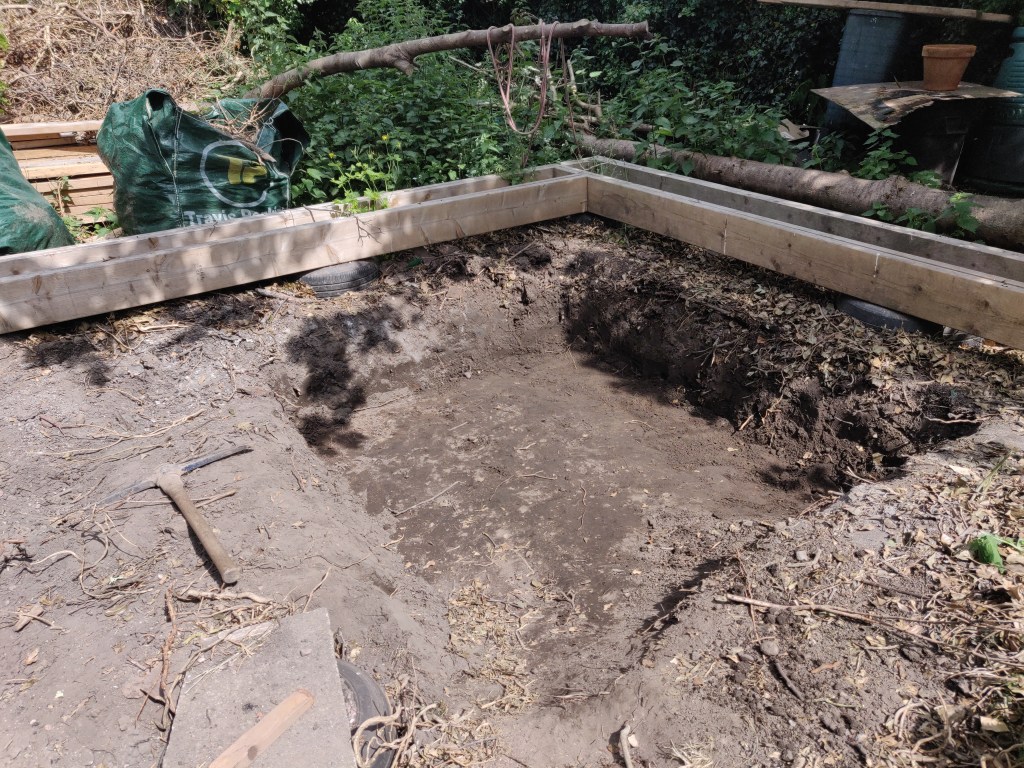
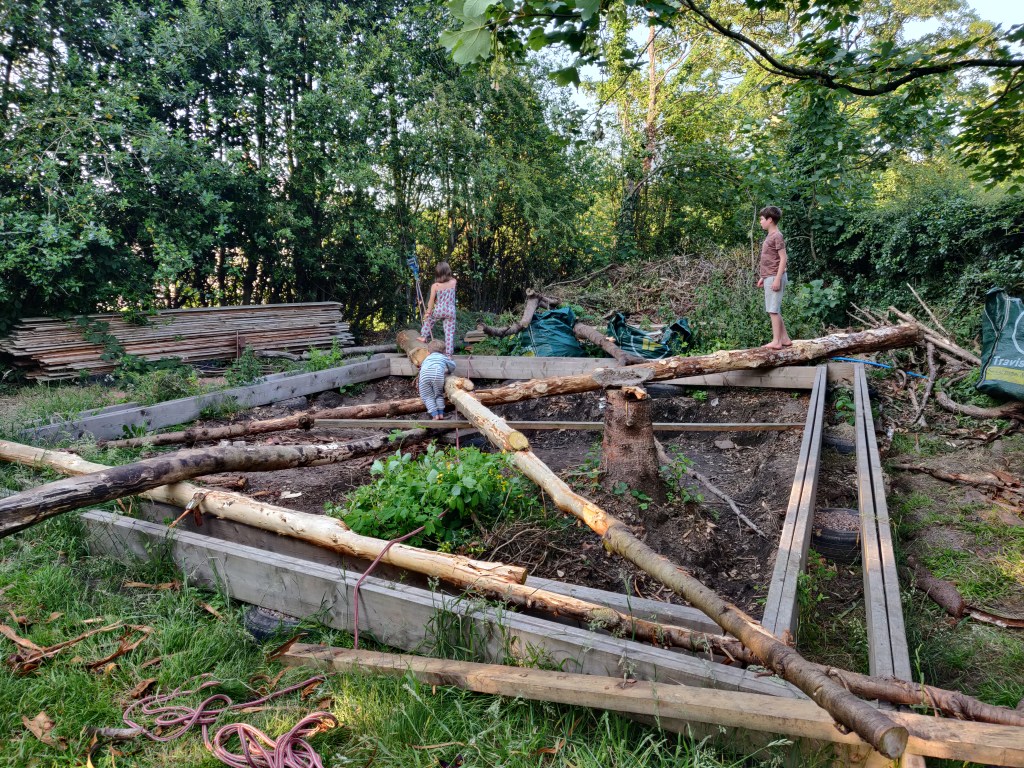
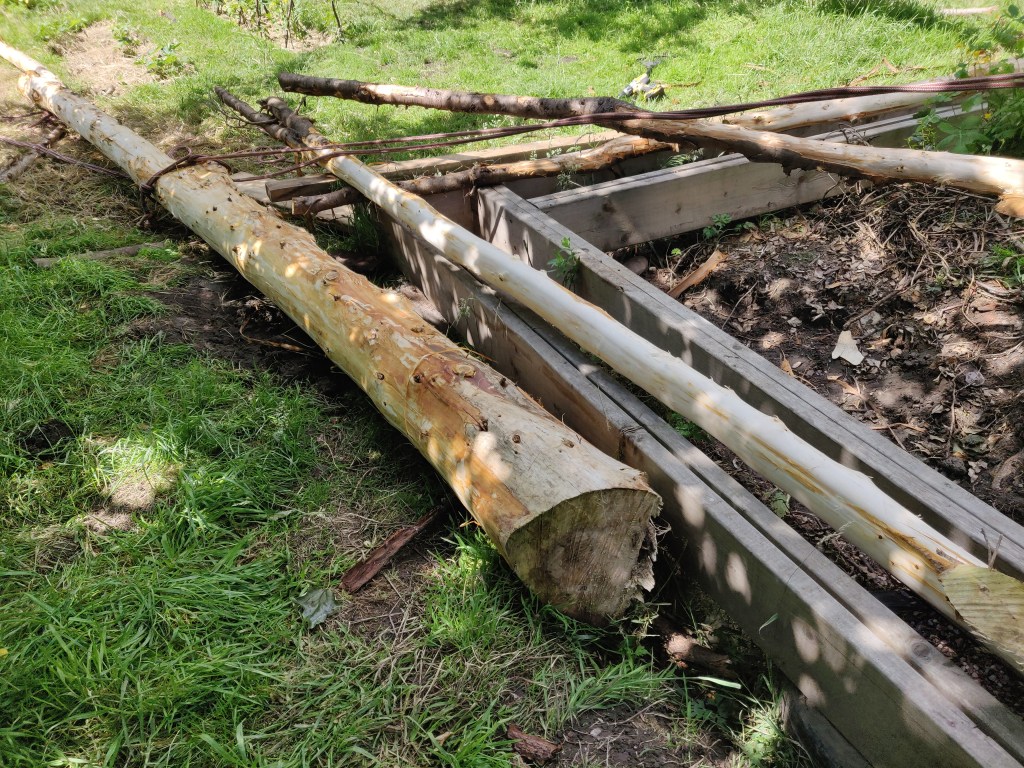
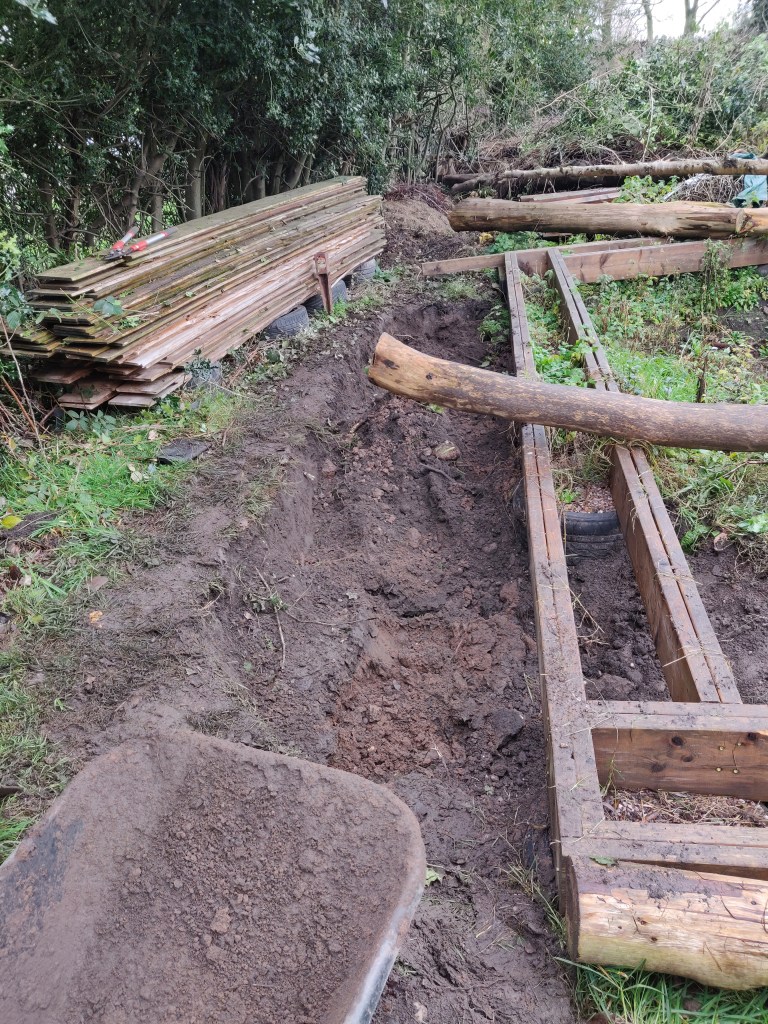
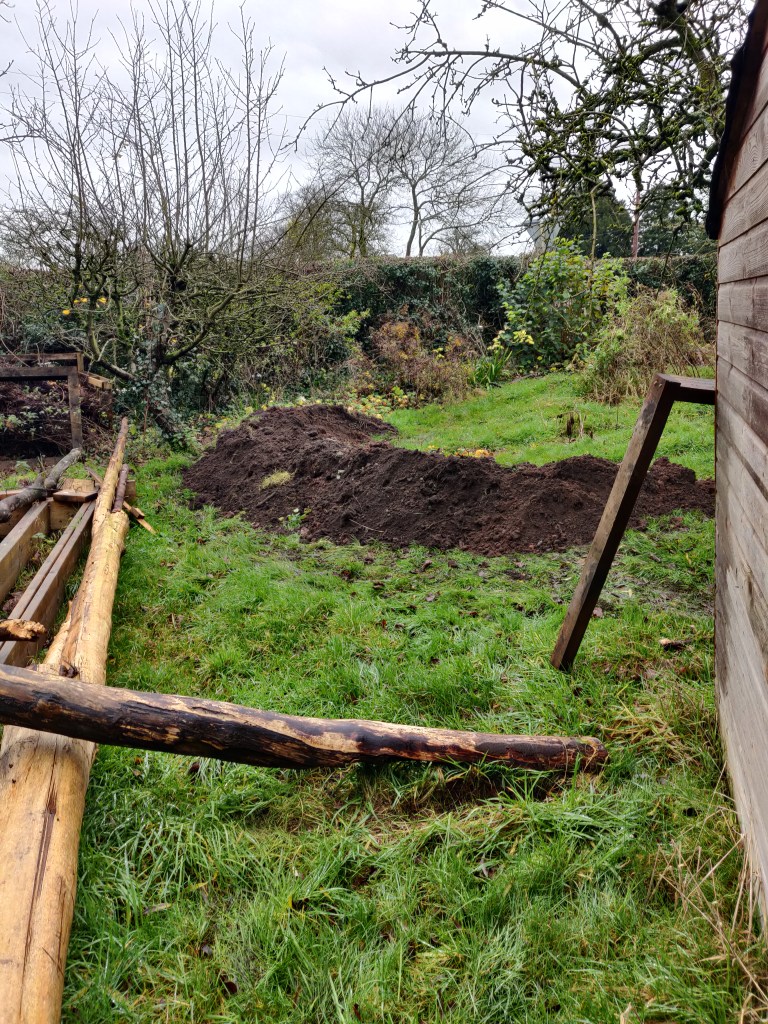
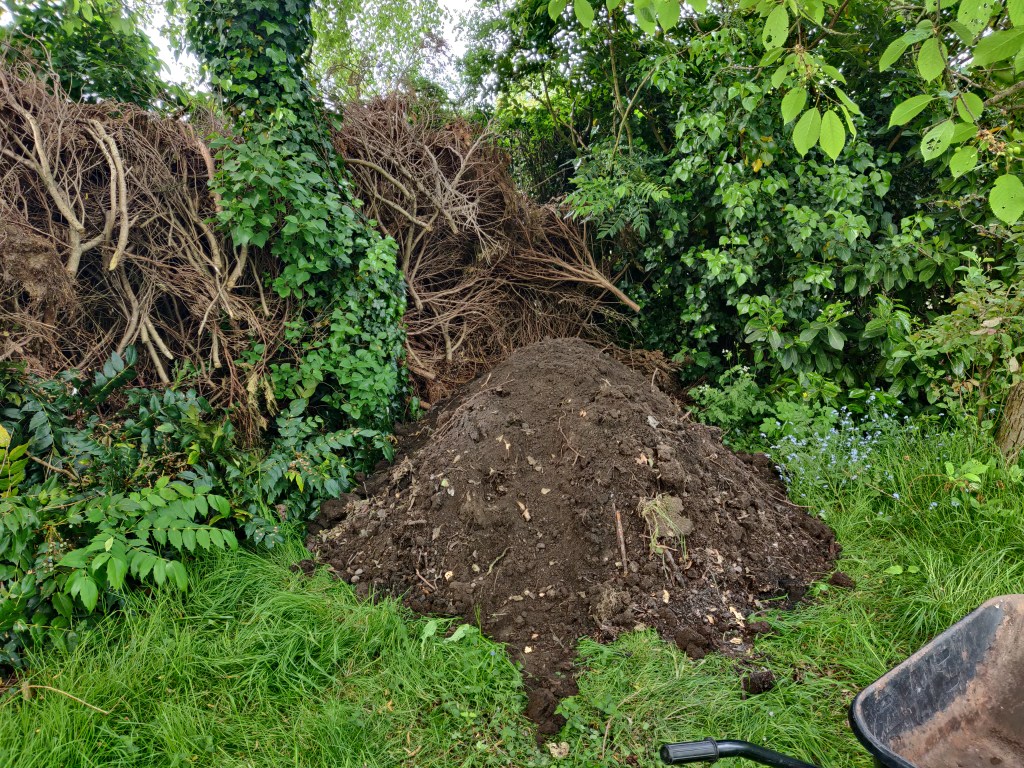
You can see a spoil pile here. This ended up being the start ramp for a BMX track. You can also see the brush from the felled trees in the background.